
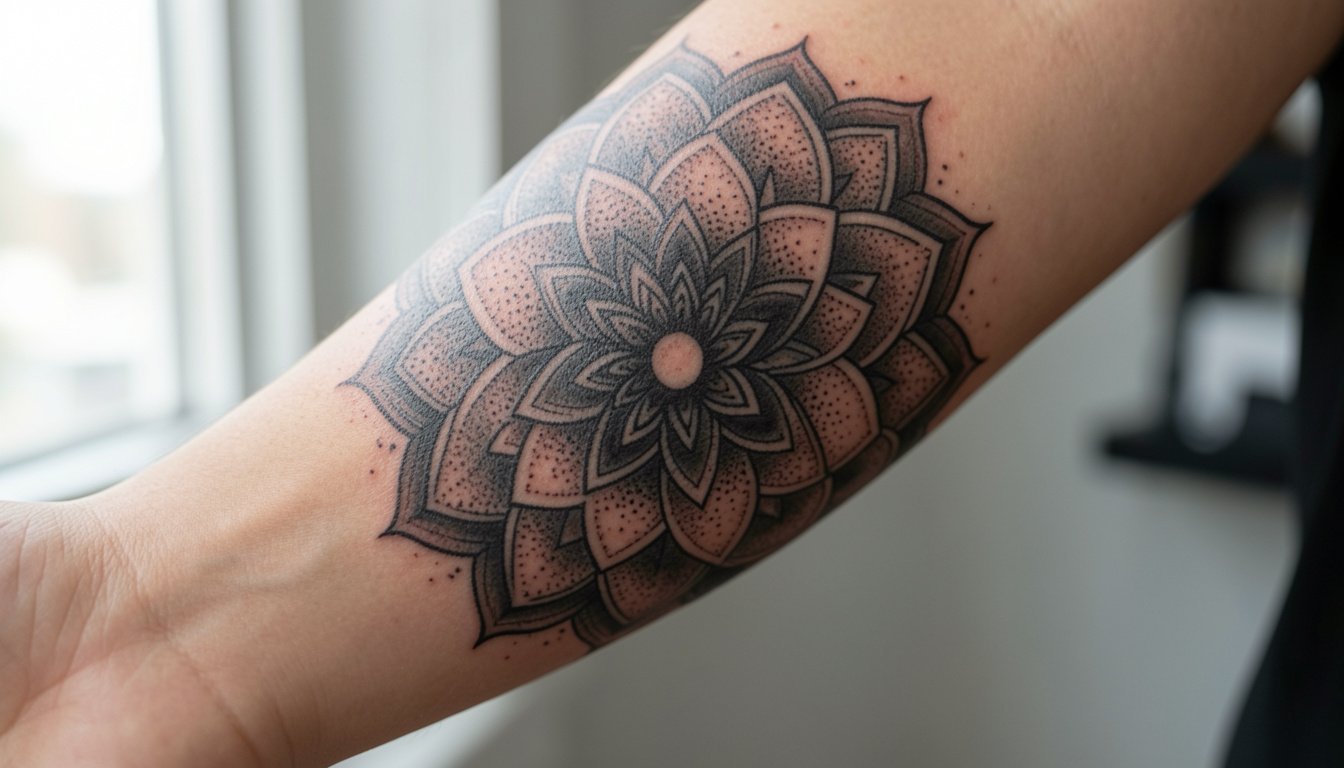
Black and grey sleeves read like a grayscale novel across the arm. They hide and reveal differently than color work, and what looks delicate on a screen can blur on textured skin over time. Expect contrast and spacing to be the real longevity factors, not how ornate the filigree looks on day one. Read on for sleeve ideas that plan for aging, visibility, and wardrobe.
1. Classical Bust and Drapery Sleeve on Upper Arm
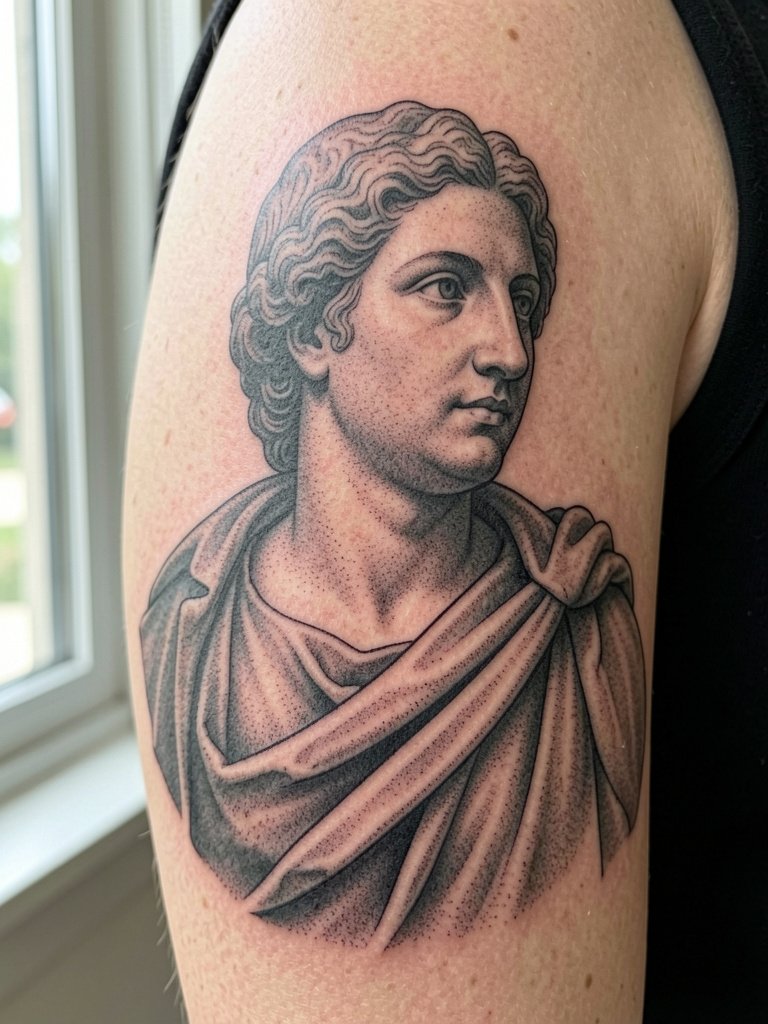
A classical bust sleeve uses portraiture techniques and soft shading to read like a sculpture. This suits someone who wants a coherent, museum-like band that ages with subtle texture instead of patchy blur. Expect a longer session, often two or three sittings totaling four to seven hours depending on coverage. Discuss contrast during your consult so highlights are left as negative space and mids are slightly heavier than a single-needle reference. A common mistake is insisting on ultra-fine contour on high-motion skin, which loses crispness. For shows, roll sleeves up to a short-sleeve linen shirt to frame the sculptural work.
2. Stippling Botanical Full Sleeve
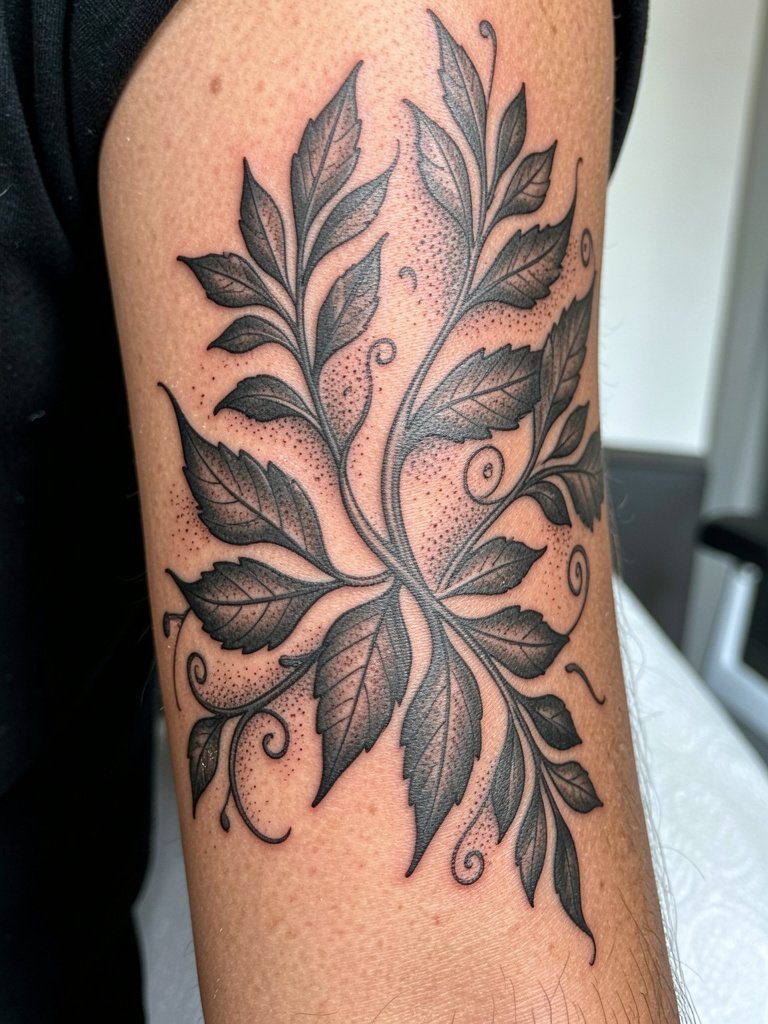
A stipple botanical sleeve relies on dot work and saturation gradients to give depth without heavy outlines. It is ideal for someone who wants texture rather than bold iconography. During the consultation give the artist reference for how dense you want the stippling, and ask them to show healed swatches of similar dot spacing so you know how the negative space will age. Pain is usually moderate around the elbow. Many people regret asking for leaves too small near joints, where blowout is more likely. For outings, pair the sleeve with long-sleeve shirts with rolled cuffs to reveal the best angles.
3. Neo-Traditional Animal Sleeve Around the Bicep
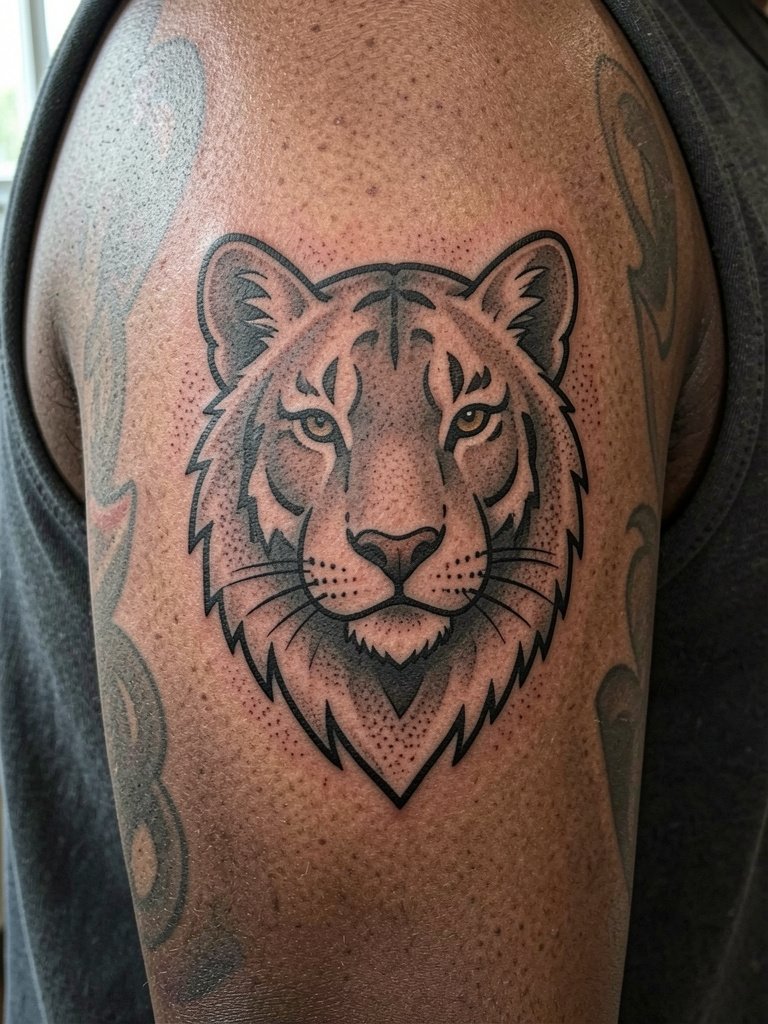
Neo-traditional animal sleeves translate well into black and grey by focusing on bold linework and saturated fills. They are a good fit for clients who want image clarity from a distance. A session typically runs medium length, two to four hours per sitting. Tell the artist exactly how much outline you want thicker to compensate for arm texture, and ask about touch-up timing around the bicep where movement can soften edges. The common mistake is shrinking motifs too small to fit a sleeve layout. For show-off outfits, short-sleeve tees with slightly textured fabric let the silhouette read without distraction, try a fitted cotton tee.
4. Fine Line Ornamental Sleeve, Inner Forearm Focus
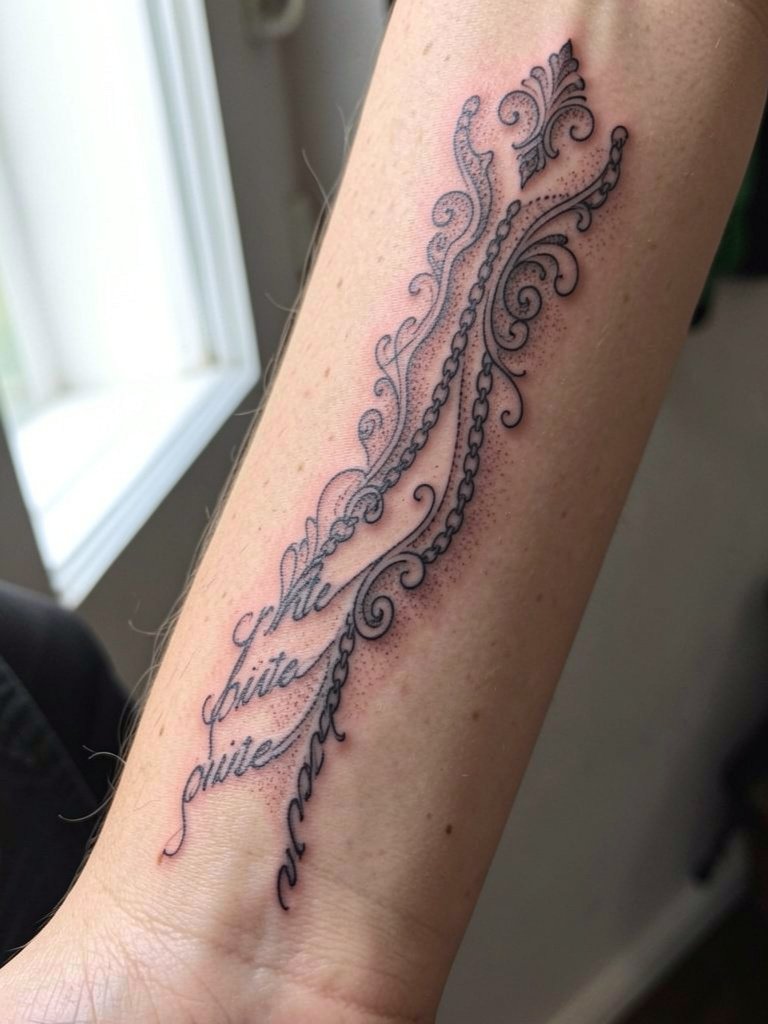
Fine line inner-forearm sleeves look elegant early on but they test the limits of longevity. Fine line on ribs and other flexible areas splits artists into two camps. One camp argues the skin stretches and blurs thin lines within a couple of years, especially under frequent movement. The other camp says if you slightly widen spacing and keep needle depth consistent, fine work will hold up and they can show healed images to back it up. Bring exact measures of line weight and spacing to the consult so the artist can scale the filigree to your skin. For the session wear a loose tank top so the inner forearm sits flat and relaxed.
5. Full Sleeve Portrait Band with Architectural Background
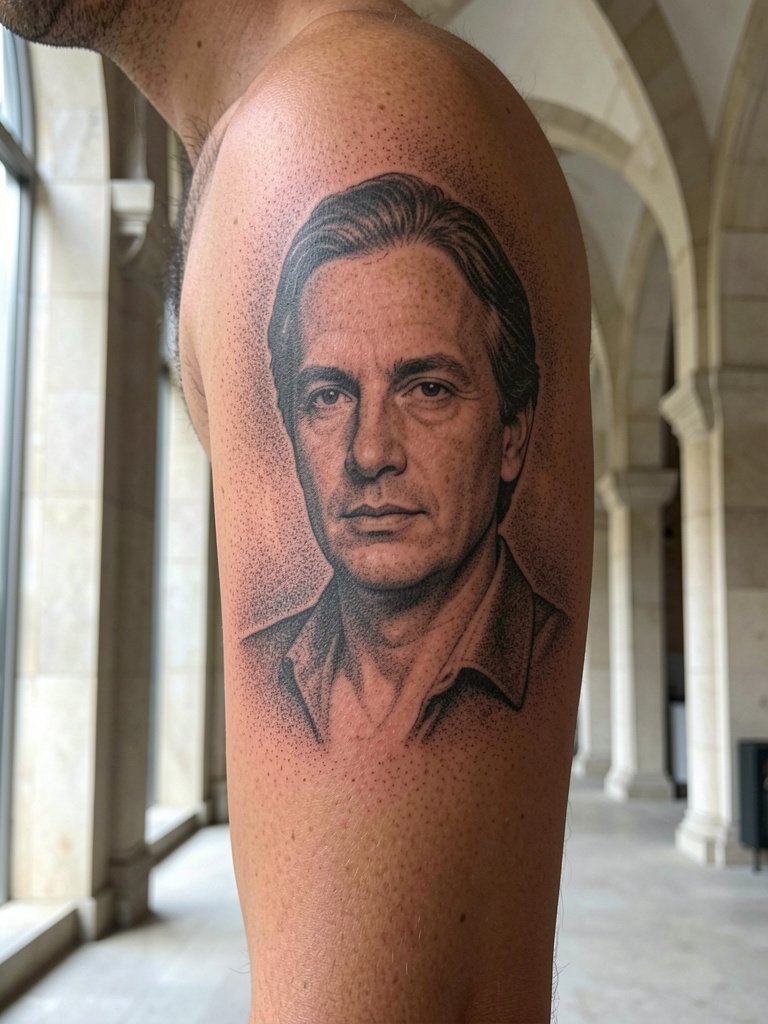
Combining portraiture with architectural elements helps the eye travel and reduces the risk of single focal points aging poorly. This is best for someone who wants narrative across the arm and a sleeve that reads in bands. Expect multiple sessions and note that cross-hatching in backgrounds can shrink visually over time. Ask the artist to show how the architecture will frame the face at six months and at two years, and request slightly heavier midtones so the portrait keeps contrast. A mistake is asking for too many tiny windows or columns that merge after healing. Choose button-up shirts with a relaxed collar during reveal photos.
6. Negative Space Geometric Wrap, Elbow-Friendly
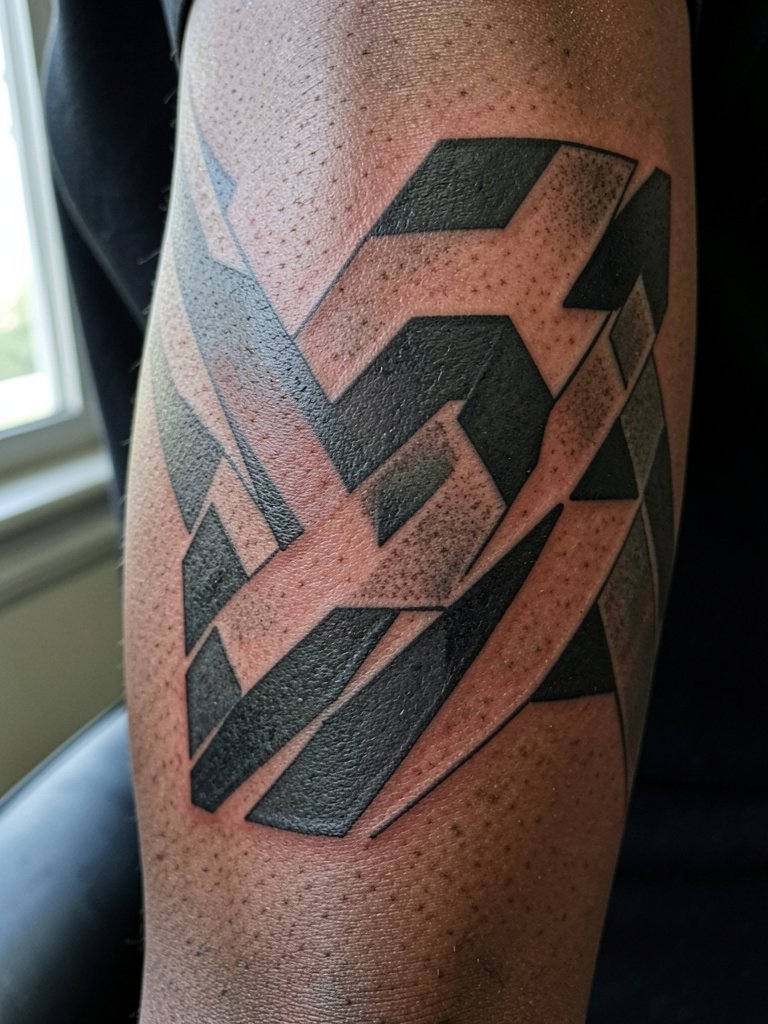
Geometric wraps that respect the elbow crease age better than fine fill there. The tip is to use negative space and larger plane shifts so the design reads even if the crease softens. Talk specifics during the consult and have the artist map how each motif crosses the elbow when the arm is relaxed. Many clients underestimate the session breaks needed around the elbow. Plan for shorter passes and a follow-up touch-up at six to twelve months. For wearing, cuff a lightweight bomber or denim jacket to showcase the wrap without rubbing fresh ink.
Session Day Picks
These items smooth the chair time and the first week of dressing, which is crucial for the forearm and bicep layouts above.
-
Stencil transfer paper kit. Useful for artists who want to try alternate placements on the skin before settling on a final layout that suits the sleeve flow.
-
Topical numbing cream. Apply as directed about 30 to 45 minutes before the session to ease sensitivity on the inner arm and rib areas.
-
Thin protective film roll. Keeps elbow and wrist work shielded from friction in the first 48 hours while still letting the skin breathe.
-
Unbleached cotton crew socks pack. A small comfort trick I mention to clients who want to avoid fabric rubbing on lower-arm pieces during sleep.
-
Aquaphor healing ointment. A widely used option for the thin initial film phase when heavier moisture locking is needed for tight linework.
7. Arm-Encircling Script and Imagery Sleeve
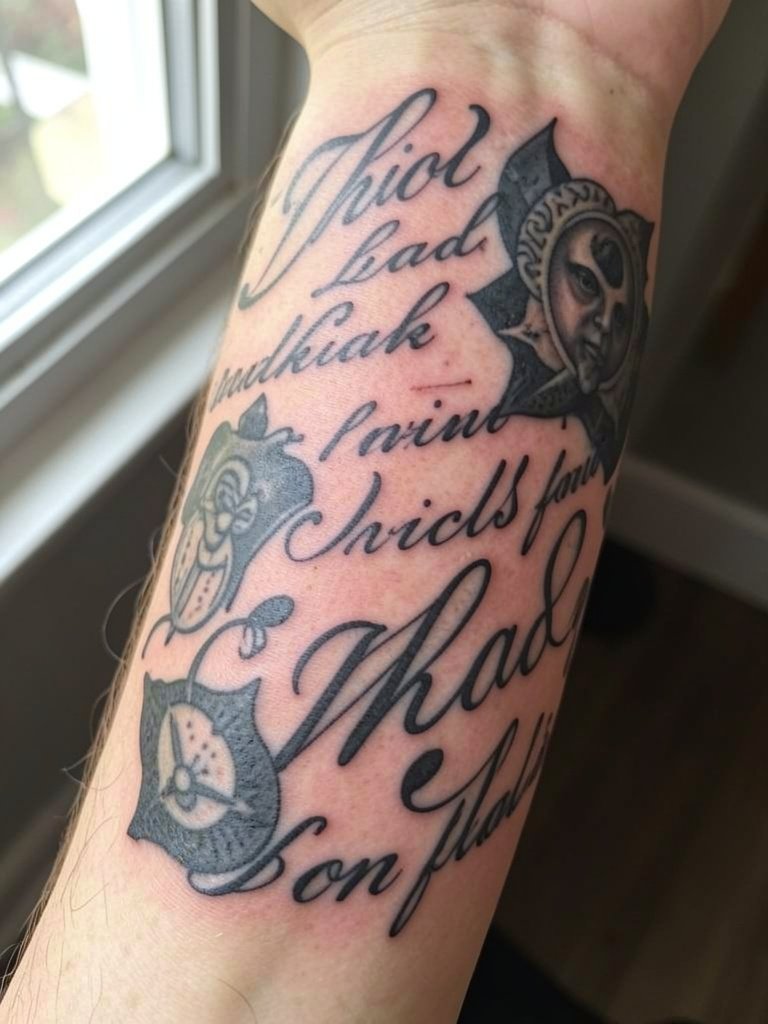
Scripted sleeves work when the lettering has room and the imagery supports legibility. Choose exact text and font weight before tattooing so the artist can scale letter spacing to your forearm curvature. A common mistake is stacking long phrases without breaks, which makes the script compress and blur. Expect mild pain around the forearm near the wrist. Plan a touch-up at eight to twelve months for thin-script areas. For photos, short-sleeve button shirts in neutral tones keep attention on the flows.
8. Surreal Collage Sleeve with High-Contrast Blackwork
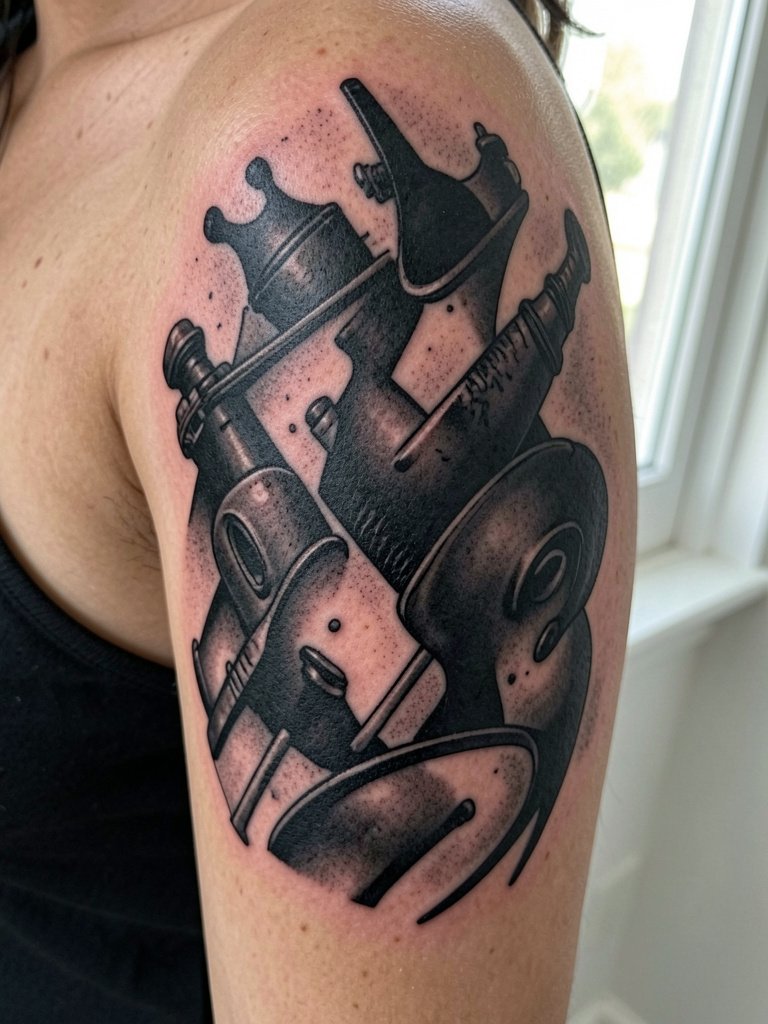
High-contrast blackwork collage avoids the small-detail trap by using silhouette and value shifts. It is ideal if you want long-term readability. Talk through which motifs take the lead and which recede so the composition does not flatten when seen at distance. Expect sessions to vary from medium to long depending on solid-black fills. A mistake is overfilling without breaks, which creates a heavy block that can look flat on some skin types. For styling, pair the sleeve with a heavy knit cardigan that can be left open to reveal the contrast.
9. Micro-Realism Portrait Sleeve, Inner Arm Panels
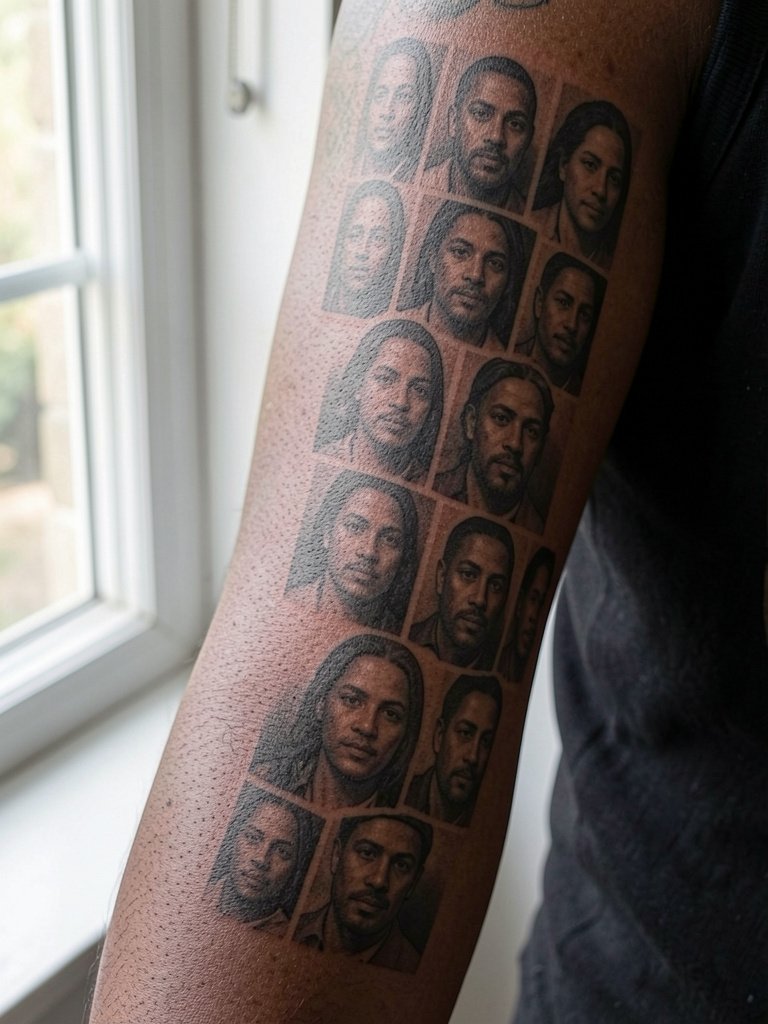
Micro-realism on the inner arm demands precise saturation and slightly larger tonal fields than you might expect for small portraits. The inner-arm skin can be softer, so ask the artist to plan panels rather than continuous tiny details. Many artists will advise a touch-up at six months for micro portraits because highlights often need redefinition. Pain on the inner arm is moderate to high near the bicep crease. For reveal looks, wear a crisp white short-sleeve shirt so the portraits pop.
10. Scripted Anchor and Nautical Sleeve
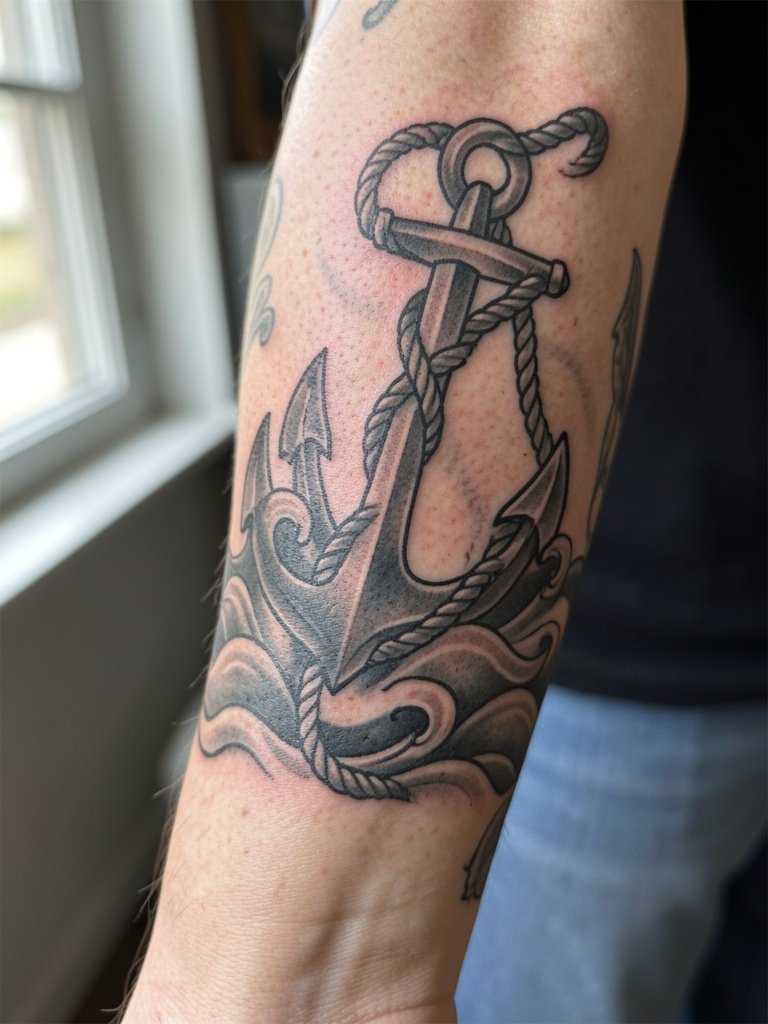
Traditional nautical sleeves translate well into black and grey because they rely on strong silhouette and saturated black. This is a good option for someone who wants the look to last with minimal touch-ups. Discuss line thickness so the anchor and rope remain crisp after settling. A common error is asking for tiny rope detail around the wrist where daily washing and friction speed fading. Session pain is low to moderate on the forearm. Pair the sleeve with rolled jeans and a navy henley for classic framing.
11. Japanese-Inspired Sleeve with Koi and Waves
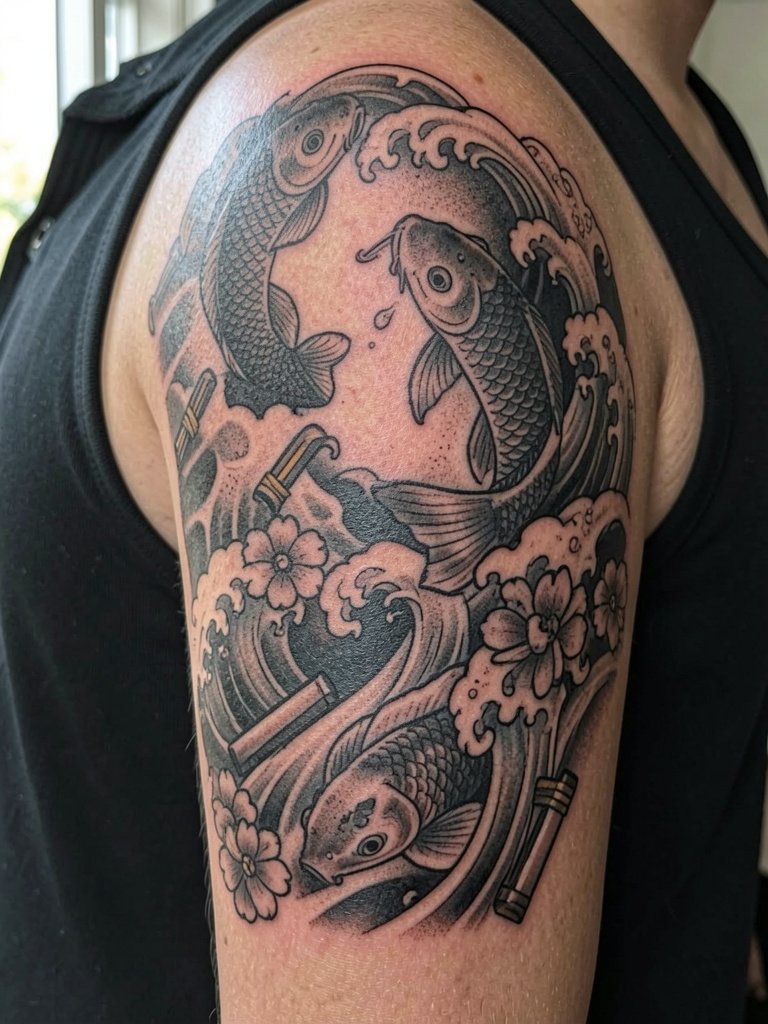
Traditional Japanese motifs adapt well to black and grey when the artist balances saturated black fields with open skin for highlights. Respect the cultural origin by discussing the symbolism of motifs and their placement. Expect multiple sessions and communicate which elements should dominate the composition. A mistake is compressing too many scales or fins into small spaces, which reduces clarity over time. For presentation, a kimono-style open shirt subtly complements the flow while keeping the shoulder visible.
12. Architectural Linework Sleeve with Negative Space Columns
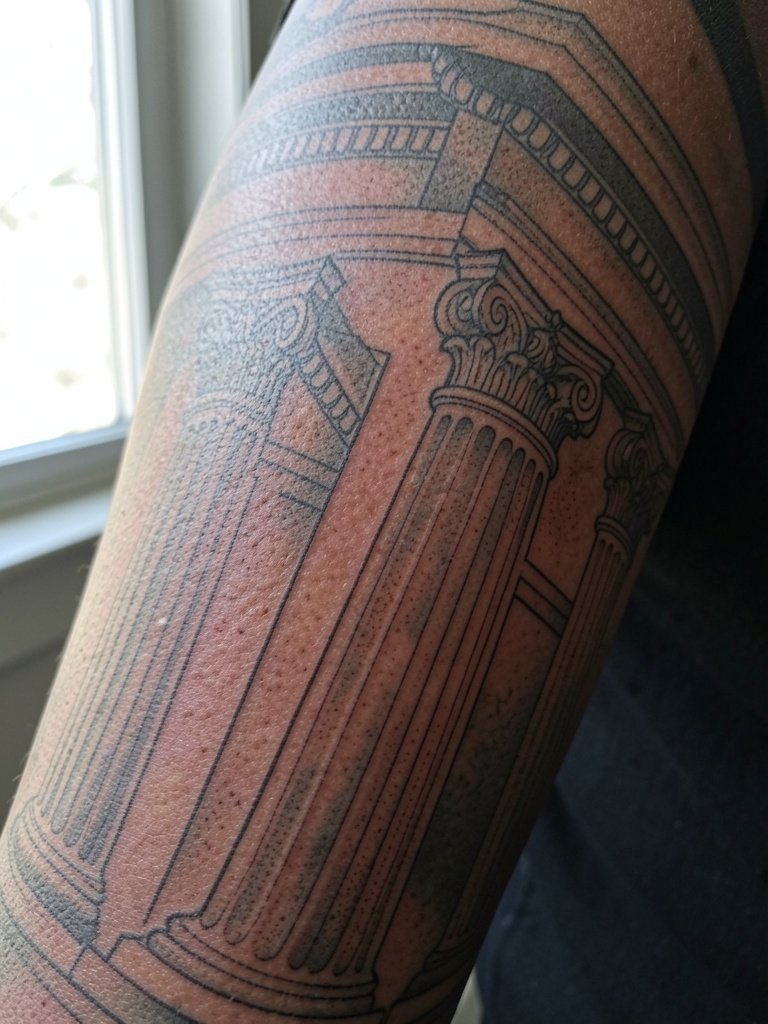
Architectural sleeves benefit from measured spacing so columns and cornices do not crowd as the skin moves. Ask for mock-ups showing how a motif looks at three inches and five inches so you understand scale. Expect longer sessions for crisp linework and plan a six-month touch-up to preserve thin contours. The mistake most people make is forcing decorative friezes into tight curves where the lines will compress. For session comfort, pick a shirt with an easy sleeve removal so the artist can access the shoulder and upper arm cleanly.
13. Sleeve of Mythic Symbols and Sigils
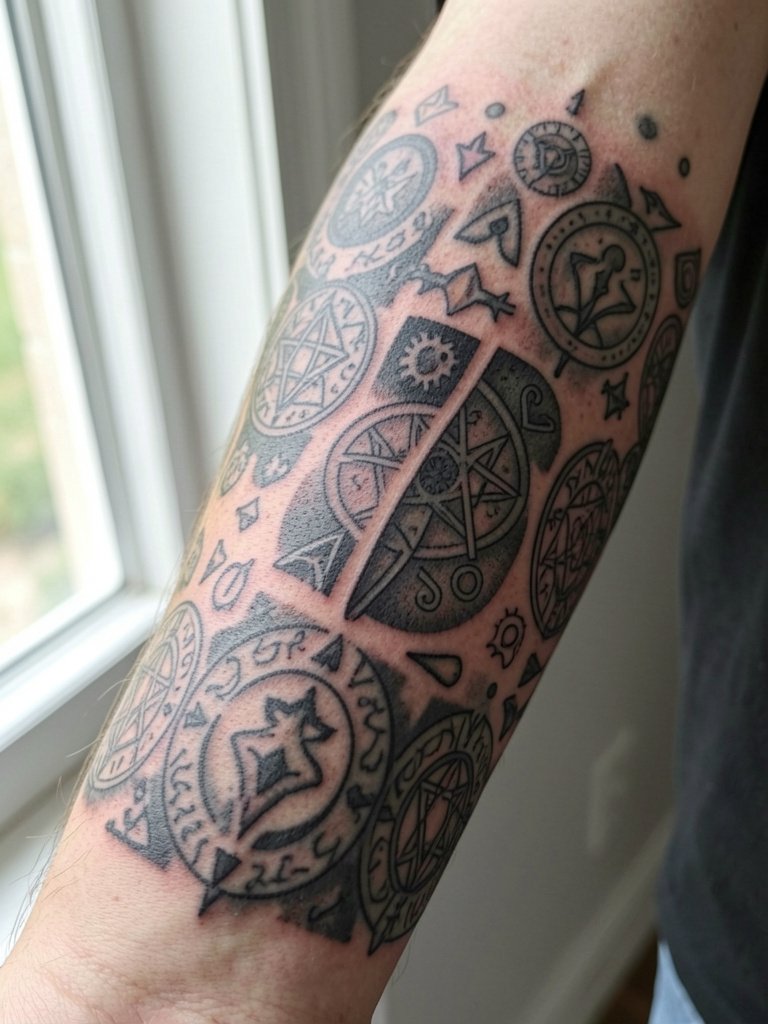
A sigil sleeve works when each symbol has breathing room and distinct saturation. Prioritize the scale of the sigils and decide which should be bold anchors. A common mistake is cramming too many intricate glyphs close together, which reads as texture rather than meaning after healing. Sessions are typically medium length. For showing the work, pair it with layered bracelets and a simple leather cuff that frames forearm panels without covering motifs.
14. Matched Sleeve: Left Arm Black and Grey, Right Arm Color
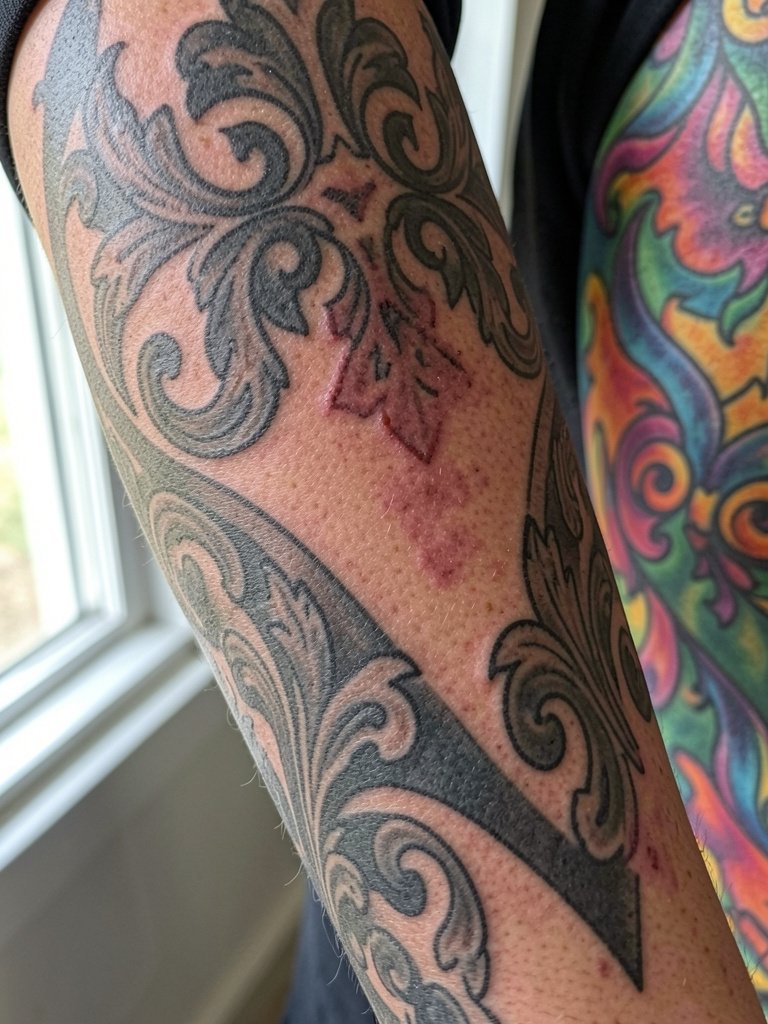
Choosing one black and grey sleeve opposite a color sleeve gives a deliberate contrast and prevents either style from competing visually. When planning, discuss overall tone so the black and grey sleeve keeps the same value read as the color side. A scheduling note is to phase sessions so the heavier black fills heal before color work begins if you want matched visual balance. People often forget to think about how shirts will display both arms simultaneously. A neutral button-down that exposes both forearms keeps the aesthetic intentional.
15. Horror Linework Sleeve, Subtle Grey Washes
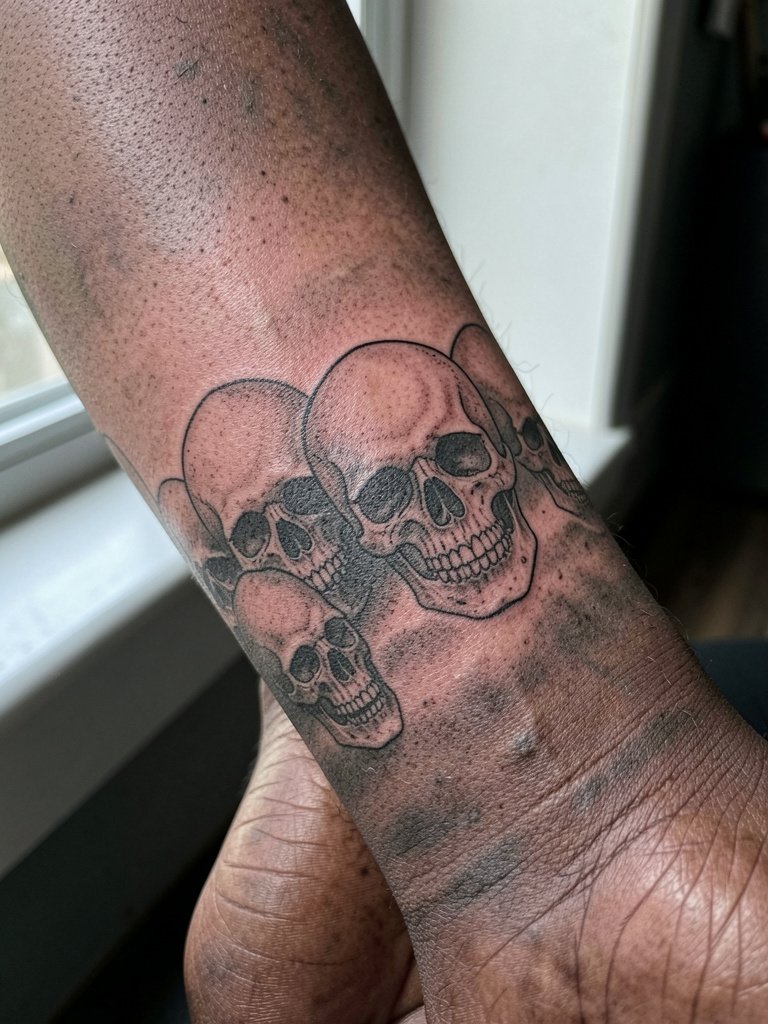
Horror sleeves can achieve creepiness without minute detail by using strong contours and fog-like washes. Ask the artist how heavy the mid-grey areas will be and where highlights will be left as skin. A common error is too many tiny teeth or dots that fade into mush. Expect the session to be medium length with a possible top-up at six to twelve months for delicate midtones. For a dramatic reveal, wear a dark wool overcoat with rolled sleeves that frames the lower arm.
16. Botanical Sleeve with Gap Strategy for Longevity
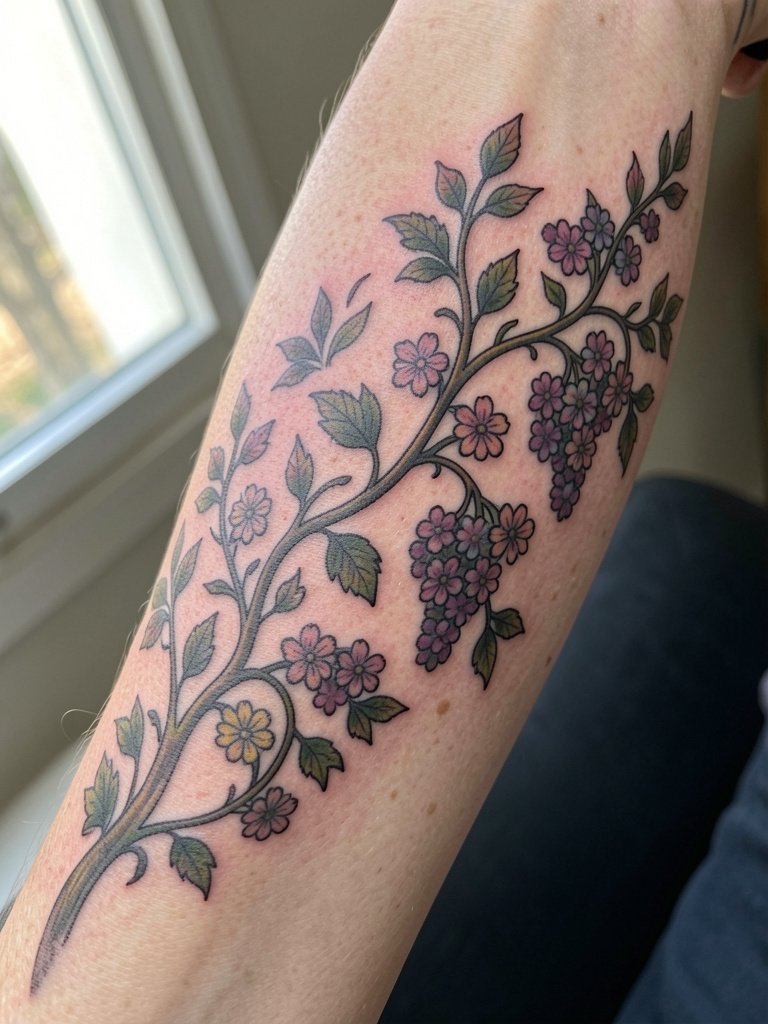
Leaving deliberate gaps in botanical sleeves is a strategy built for aging. Ask the artist to map which areas will remain open so detail does not run together after a few years. This choice reduces density and often shortens session time slightly. A mistake is demanding fully packed foliage that leaves no breathing room. For styling, short-sleeve button-ups with a natural cuff show off the gaps and transitions.
17. Elbow Panel Sleeve with Protective Banding
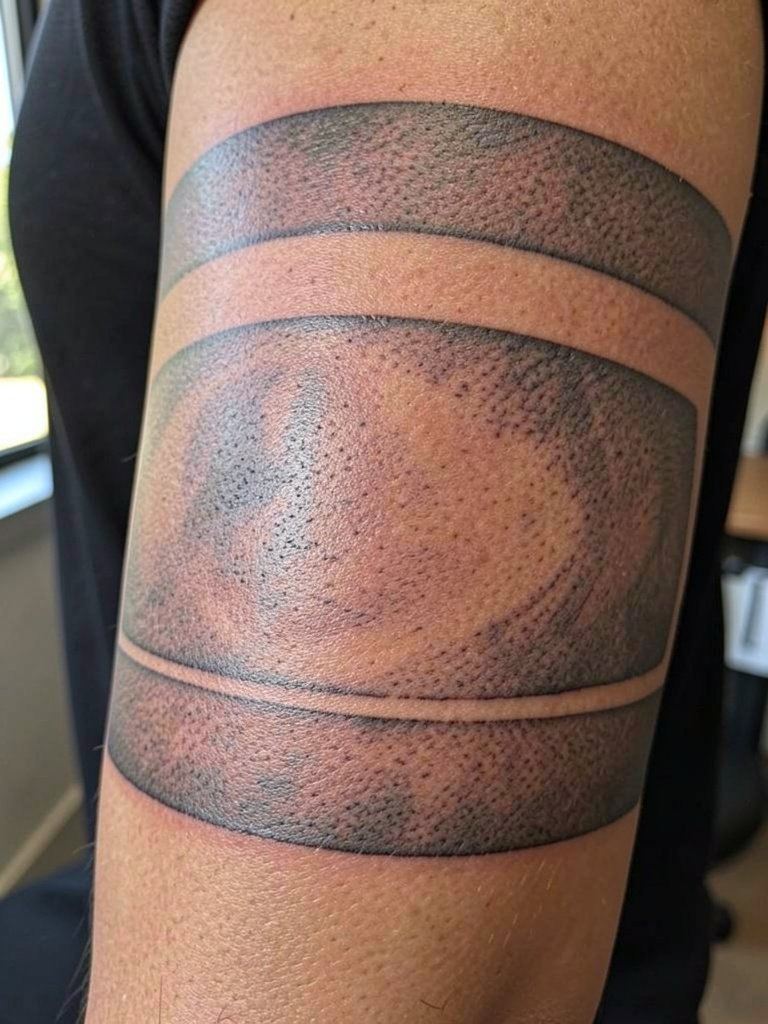
Elbow panels that bracket the crease with bands let the design move without losing the central motif. During the consult, mark the arm in neutral position so the artist places bands where they prevent detail loss. Expect the elbow passes to feel sharper and require breaks. A common mistake is placing tiny detail across the joint crease, which disappears quickly. For protection post-session, choose soft cotton sleep sleeves to avoid rubbing at night.
18. Sleeve of Maps and Coordinates, Linear Composition
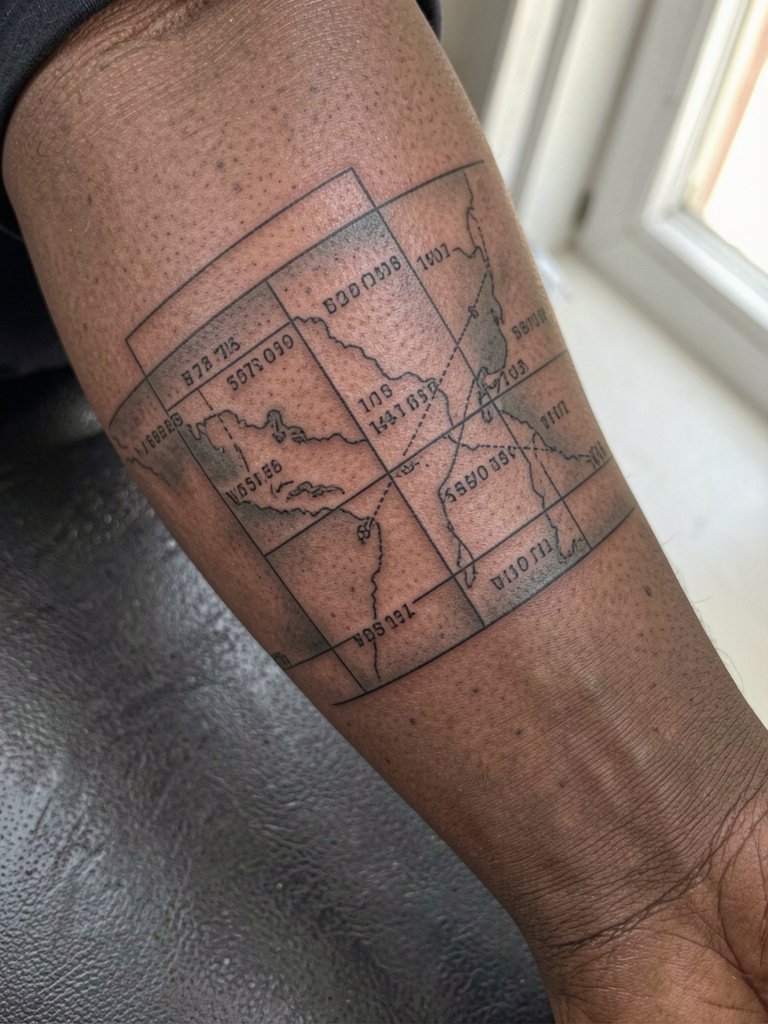
Map sleeves that use coordinates and minimal fixtures need exact text specification to avoid illegible results. Provide the exact numbers or place names so the artist can choose the right font size. The primary risk is type that is too small and blurs into a line. Ask for proof stencils at actual size to confirm readability. Sessions are moderate. For wear, a light field jacket with rolled sleeves shows the linear flow without covering type.
19. Full Sleeve of Mythological Creatures
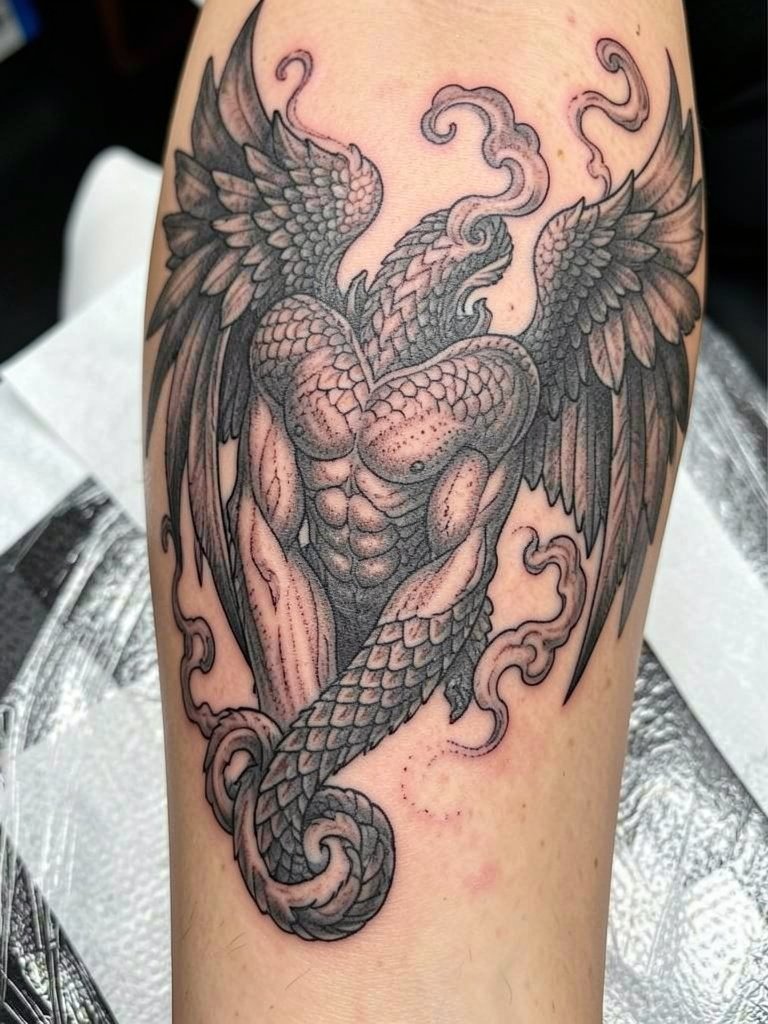
Large mythic sleeves are about rhythm and repetition so scales and wings do not compete. Discuss which creature takes focal priority and where negative space acts as a breathing zone. Overcrowding is the main error. Expect long sittings and multiple touch-ups for texture. For reveals, pair the sleeve with a sleeveless hoodie or vest that keeps attention on the narrative spirals.
20. Minimalist Line Sleeve with Strategic Weighting
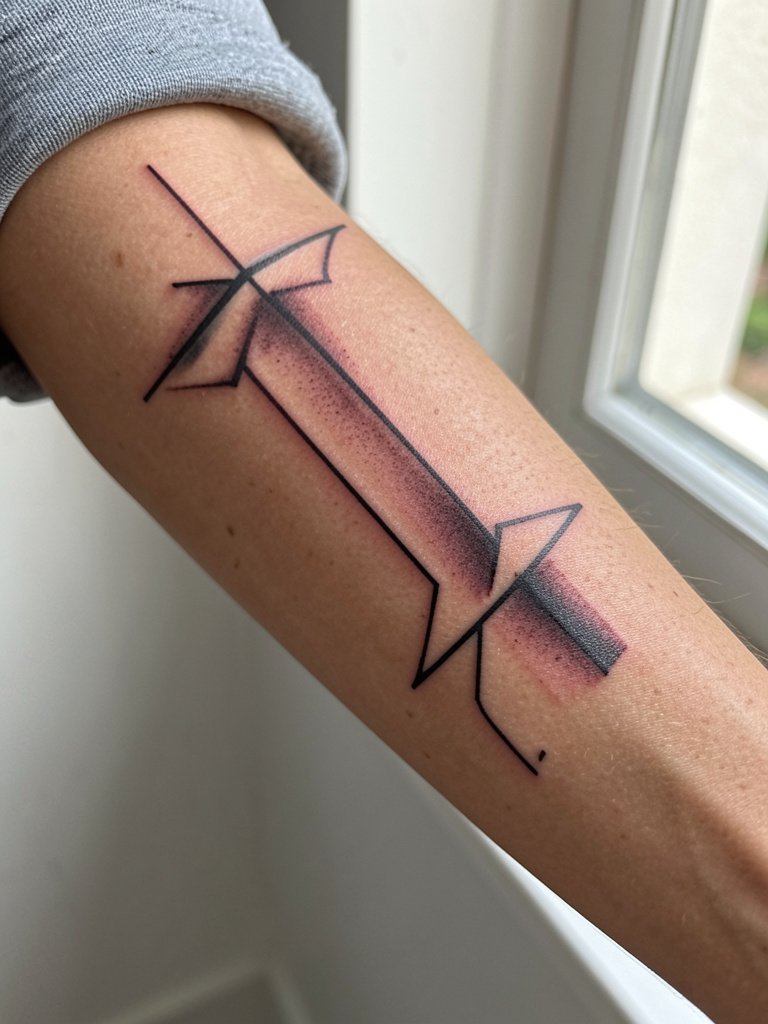
Minimalist sleeves survive when some lines are weighted slightly heavier than a pure single-needle plan. Ask the artist to show a weight map and to suggest which lines should be thickened to avoid blowout on textured areas. A frequent mistake is insisting on identical thickness across the sleeve. Sessions are generally medium. For presentations, a minimalist watch or thin bracelet complements the negative-space approach.
21. Sleeve Featuring Scriptured Bands and Icon Blocks
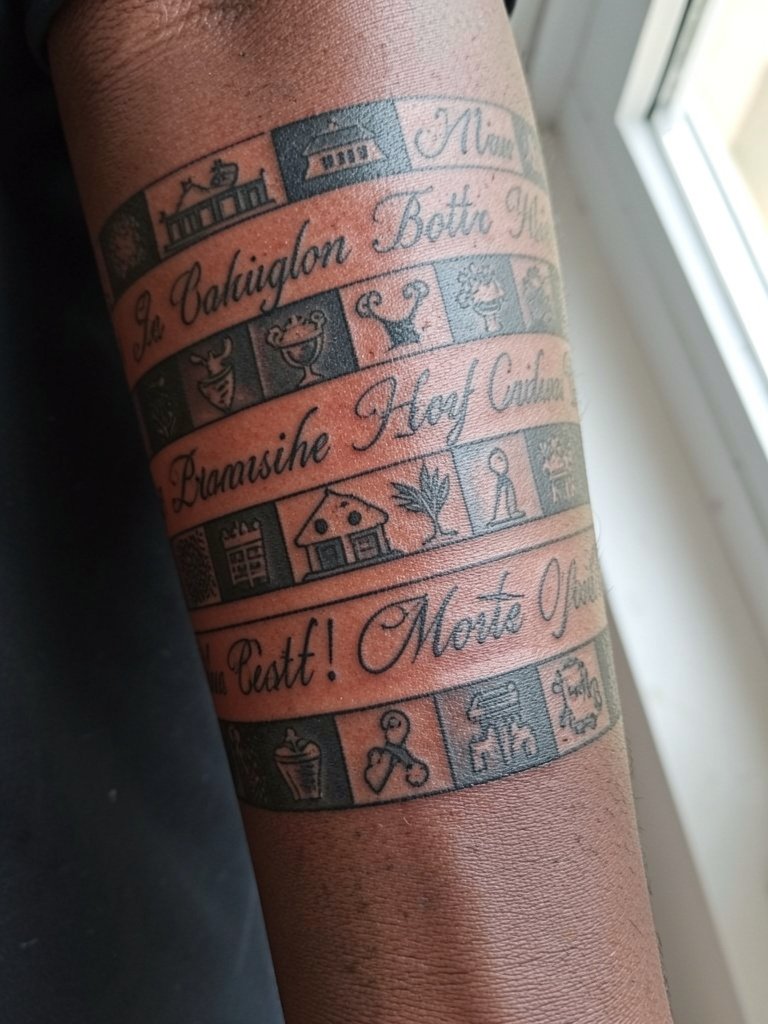
Banded sleeves that alternate script and icon blocks stay legible if spacing is respected. Specify exact band heights during planning so each element breathes. People often underestimate how narrow script bands compress when the arm flexes. Expect medium-length sessions and a touch-up window at twelve months for script lines. For styling, layer with a simple chain bracelet that sits between bands and frames the wrist.
22. Industrial Mechanics Sleeve with Gear Motifs
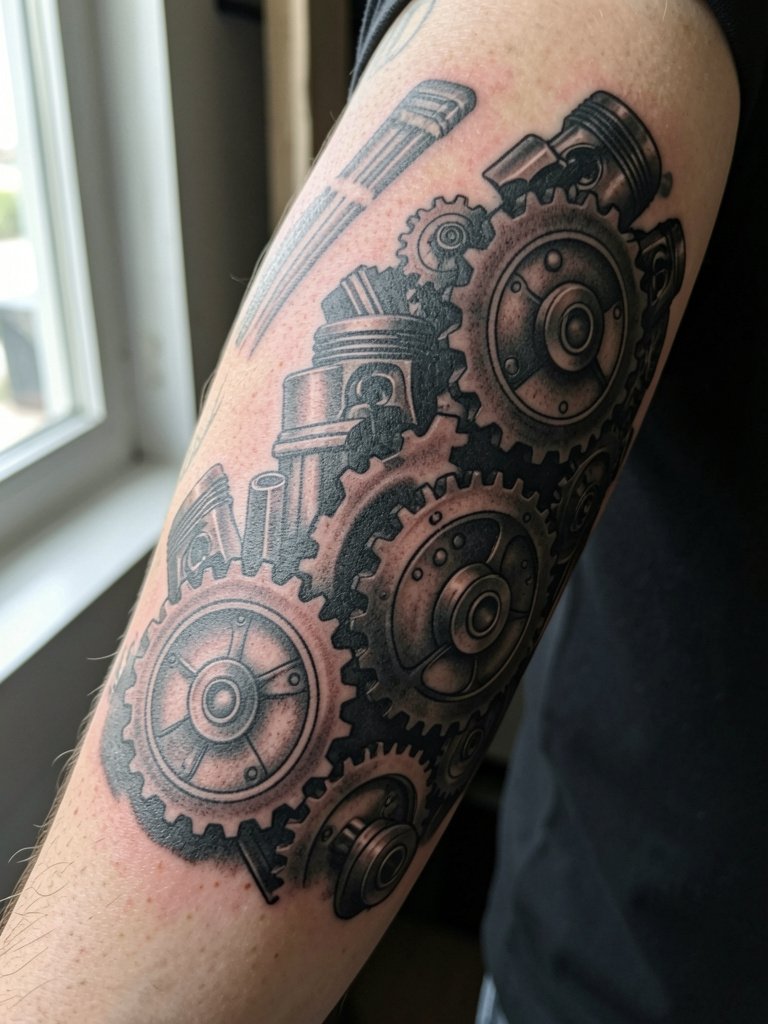
Mechanical sleeves read best when gear teeth and pin placements are slightly exaggerated in scale to avoid fusion over time. During consultation have the artist indicate which edges will be crisp anchors and which will be soft-shaded. A common mistake is tiny interlocking teeth that blur. Sessions vary. For a finished look, cuff a mechanic-style canvas jacket to reveal the gear runs.
23. Full Arm Mosaic Sleeve with Tile Work
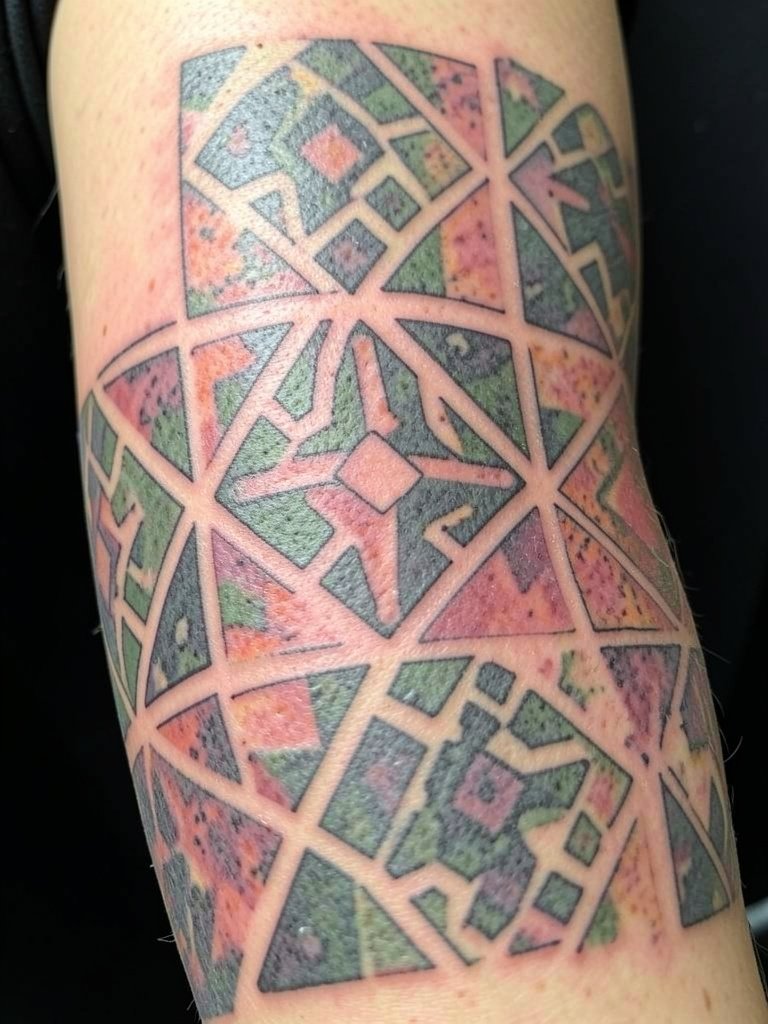
A mosaic sleeve is successful when tile sizes are adjusted by placement. Larger tiles over joints and smaller tiles on flatter planes keep the pattern legible. Ask the artist to scale a few sample tiles on your arm so you can see how pattern density changes with curvature. The main mistake is uniform small tiles everywhere, which can look grainy as skin ages. Expect multiple sessions. For photographs, roll up sleeves or swap to a three-quarter cuffed shirt that shows the tile progression.
Frequently Asked Questions
Q: How do I choose between fine line and bold blackwork for a sleeve?
A: Consider where the sleeve sits and how often the area moves. Fine line works on flatter stretches of skin with low friction like parts of the outer forearm. Bold blackwork holds up better on textured or high-motion zones. One practical approach is to mix both, using bolder anchors where needed and finer detail in protected panels.
Q: How long will touch-ups be necessary for a black and grey sleeve?
A: Touch-up frequency depends on saturation and placement. Solid black anchors often keep their read for years, while thin scripts or stipple fields often benefit from a touch-up between six and eighteen months. Plan a realistic follow-up visit when you schedule the last long sitting.
Q: Where can I find healed examples and portfolios without naming specific artists?
A: Search social platforms for curated keywords and use location filters to find healed shots. Try hashtags and phrases that include the style and placement, then filter by "healed" in post captions. Forums and portfolio sites often have tagged galleries where you can compare healed work in different skin tones.
Q: What should I wear to a multi-hour sleeve session?
A: Wear clothing that gives easy access to the area and stays comfortable during breaks. For forearm sleeves a loose short-sleeve or a button-down with removable sleeves works well. For shoulder and upper-arm work pick a tank top or sleeveless top so the artist can position the arm without fabric bunching.
Q: Are there cultural concerns with certain sleeve motifs?
A: Yes. For motifs with cultural origins you should discuss symbolism and provenance before booking. Some designs carry specific meanings in their original cultures. Being upfront lets the artist advise respectful placement and adaptation.
