
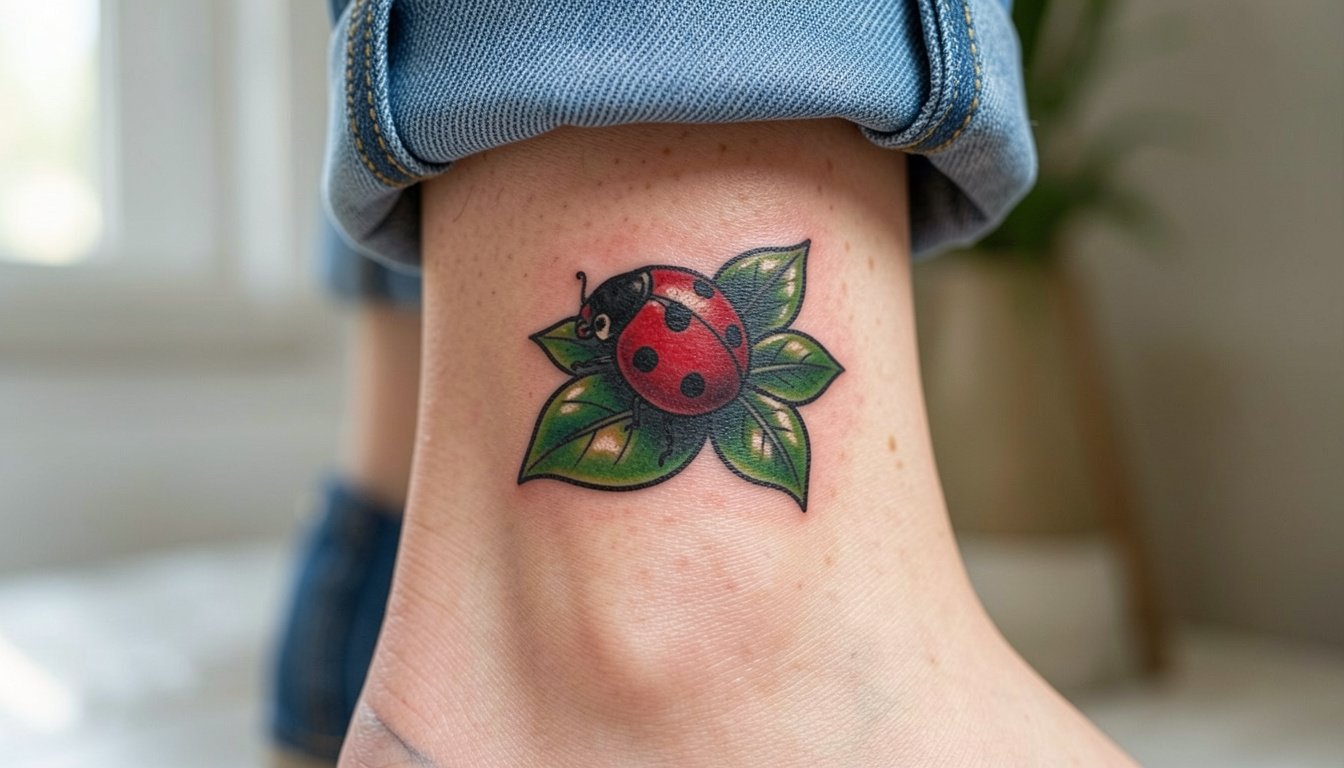
Tiny ladybug tattoos look irresistible on social feeds, but the smallest versions often trade longevity for instant likes. Fine single-needle dots can blur and fade faster on high-motion spots, and saturated color can cook out on sun-exposed skin. Expect some discomfort on wrist and finger work, and plan for a touch-up around year two for many placements. Read on for small ladybug approaches that keep the silhouette clear and still pair well with real outfits.
1. Fine Line Ladybug on Inner Forearm
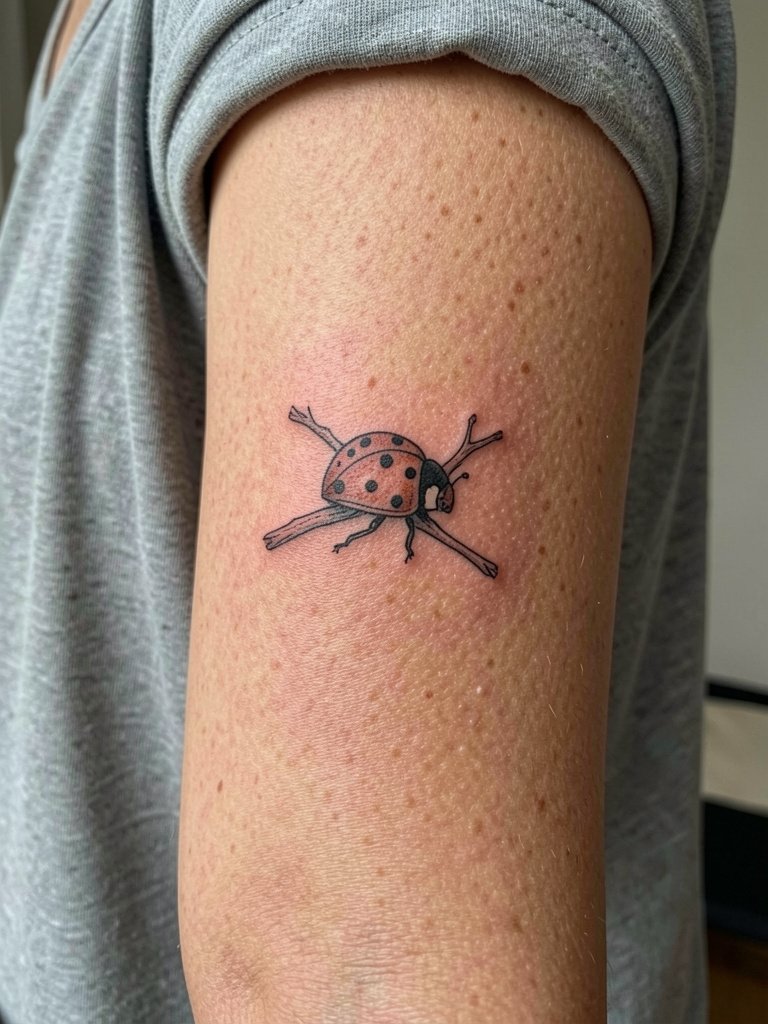
A single-needle ladybug on the inner forearm reads delicate and moves with the arm. The placement is low on the pain scale, a three out of ten for most people, and a micro session like this is usually thirty to forty minutes. The common mistake is going too tiny for this exact style, which invites early blurring. I recommend slightly heavier single-needle linework and a three to four millimeter clear space around the spots so the silhouette survives two to five years. For showing it off, roll the sleeve cuff or wear a linen tank top that leaves the inner forearm visible.
2. Tiny Color Spot on Ankle
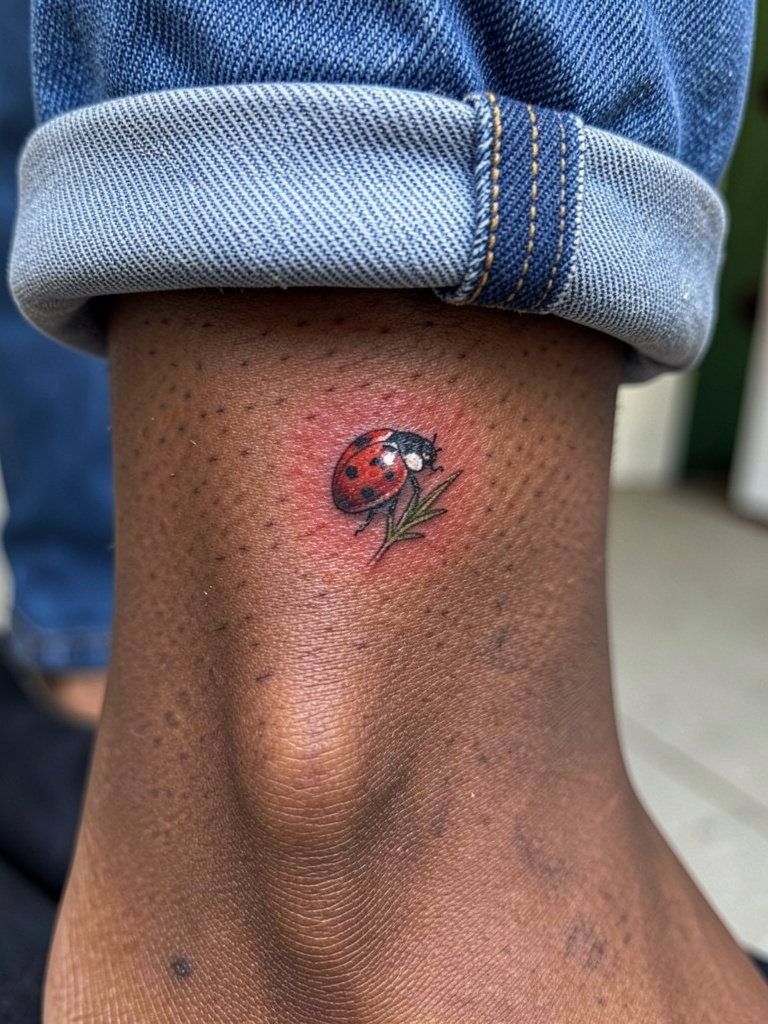
Ankle placements hide well under socks and shoes during the first week but they also get scuffed. Expect a session length of about forty minutes. This style benefits from fuller saturation in the red so color does not read patchy after six months. A common error is asking for soft watercolor fill on the ankle, which fades unevenly from friction against footwear. If you want to show it off for summer evenings, pair it with open-back sandals that keep the ankle visible without chafing the healing area.
3. Micro Ladybug Behind the Ear

Behind-ear ladybugs read playful and private. The area is sensitive but the session is brief, often under twenty minutes. Blowout risk is moderate because the skin there is thin, so request slightly bolder outline contrast rather than whisper-thin filigree. A frequent mistake is asking for dense color in that tiny space which can muddle after a year. This design pairs with short hair or updos that naturally reveal the nape, so grab a simple hair claw clip for session-day ease and to show the healed piece.
4. Tiny Ladybug on Collarbone

A collarbone ladybug makes for a visible accent that photographs well. Pain level ranges from four to six depending on sensitivity and the artist will need roughly thirty to sixty minutes. The aging story depends on spacing and chest movement. Many people pick a tiny, shallow fill and then need a touch-up at year two. Avoid packing too many tiny details into this placement. For outfits that frame the clavicle, try a wide V-neck blouse that naturally reveals the tattoo without tugging at the fabric.
5. Single-Spot Finger Ladybug
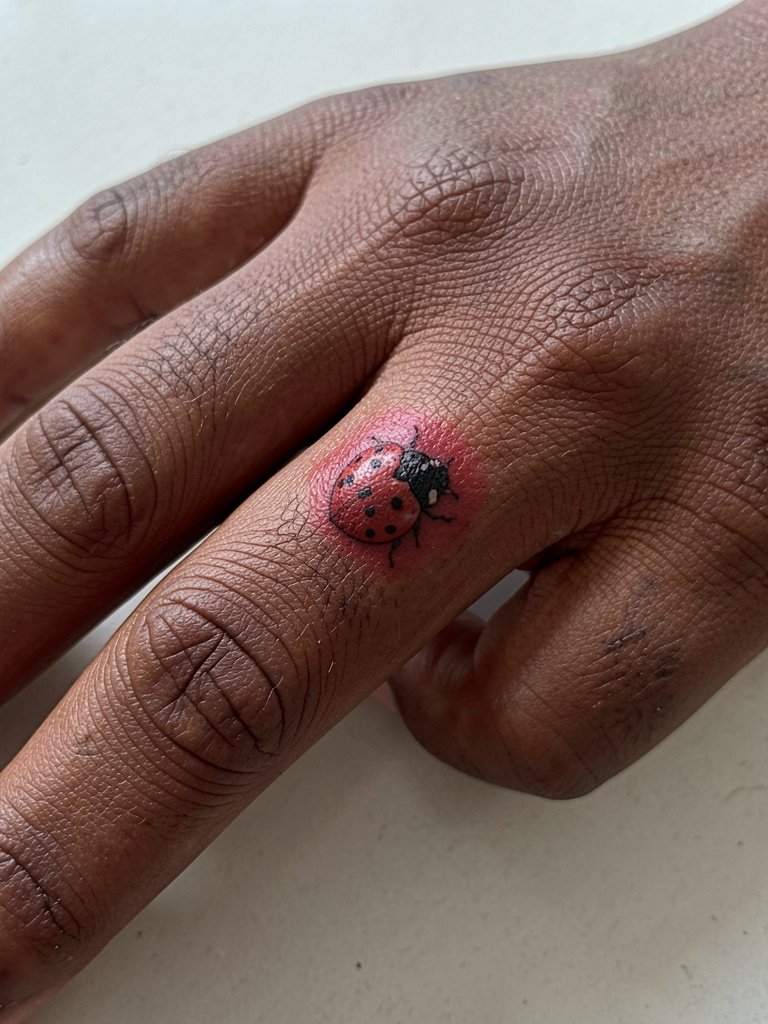
Finger tattoos are notorious for fading and migrating because of constant washing and skin turnover. Expect a higher touch-up rate and plan for a follow-up at six to twelve months. One camp says tiny finger single-needle detail blurs within a year, especially on side placements. Another camp argues that slightly heavier lineweight and careful depth makes small finger icons last several years. If you want this spot, opt for stronger linework and realistic expectations about touch-ups. Match it to jewelry by wearing thin stackable rings that keep eyes on the hand.
6. Chain of Ladybugs Around the Wrist

A wrist chain reads like jewelry without the weight. The inner wrist has a medium sensitivity rating and a typical session of thirty to fifty minutes for a three-bug chain. The mistake is clustering the bugs too tightly which makes the vine area blur after two years. Ask for three to five millimeters of breathing room between motifs so the shapes remain distinct. For session day, wear a loose long-sleeve top you can roll, or choose a drawstring linen pant if you prefer comfort going to and from the shop.
Studio Day Picks
Those first six tiny placements illustrate different healing patterns for wrist, finger, and forearm work. A few practical items smooth the session and the first week.
-
Stencil transfer paper kit. Lets you see exact linework placement on skin before the needle arrives, helpful for the forearm and collarbone layouts in the ideas above.
-
Low-dose topical numbing cream. Applied about forty minutes before lightens the edge on wrist and behind-ear sensitivity without compromising line clarity.
-
Thin protective film roll. Keeps ankle and finger pieces clean while you move around during the first couple of days.
-
Fragrance-free gentle body wash. Soft cleansing for delicate micro pieces during showers helps avoid irritation early in healing.
-
Aquaphor healing ointment. A thin layer in the first two days locks in moisture for fine line areas without clogging the skin.
7. Stipple-Shaded Ladybug on Calf

Calf pieces give the artist room to play with stipple shading so the ladybug gains dimension. Pain is usually low to moderate and session time can run forty-five to ninety minutes depending on stipple density. A common error is insisting on single-needle texture at a very small scale which loses contrast from a distance. For longevity, ask for stronger saturation in the black contrast and a slightly larger scale. Pair this placement with mid-calf boots when you want the ink just peeking out.
8. Watercolor-Suggested Ladybug on Upper Thigh
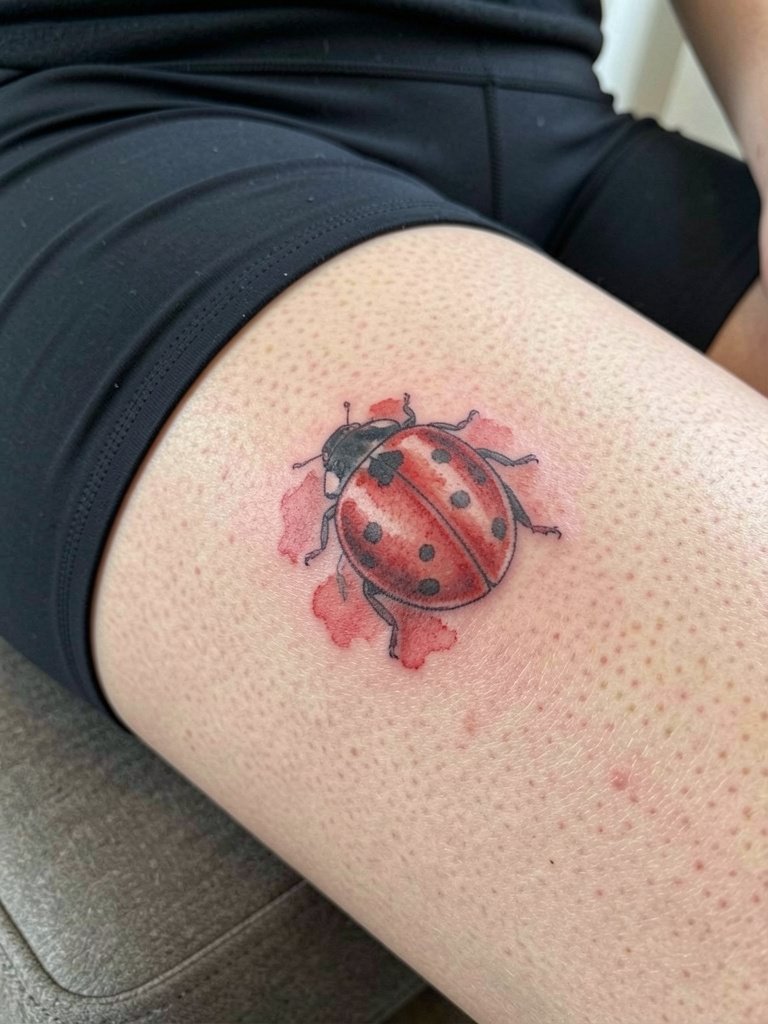
Watercolor approaches give an artistic feel but they age differently. The thigh is a low-risk area for blowout, and the session can be an hour or more if you want layered color washes. The mistake is expecting watercolor to stay crisp for five years without touch-ups. The version that holds best uses soft washes framed with a subtle black anchor so shapes remain visible as pigment fades. For session comfort, wear modest athletic shorts you can sit in comfortably without tugging at the area.
9. Blackwork Ladybug Silhouette on Nape
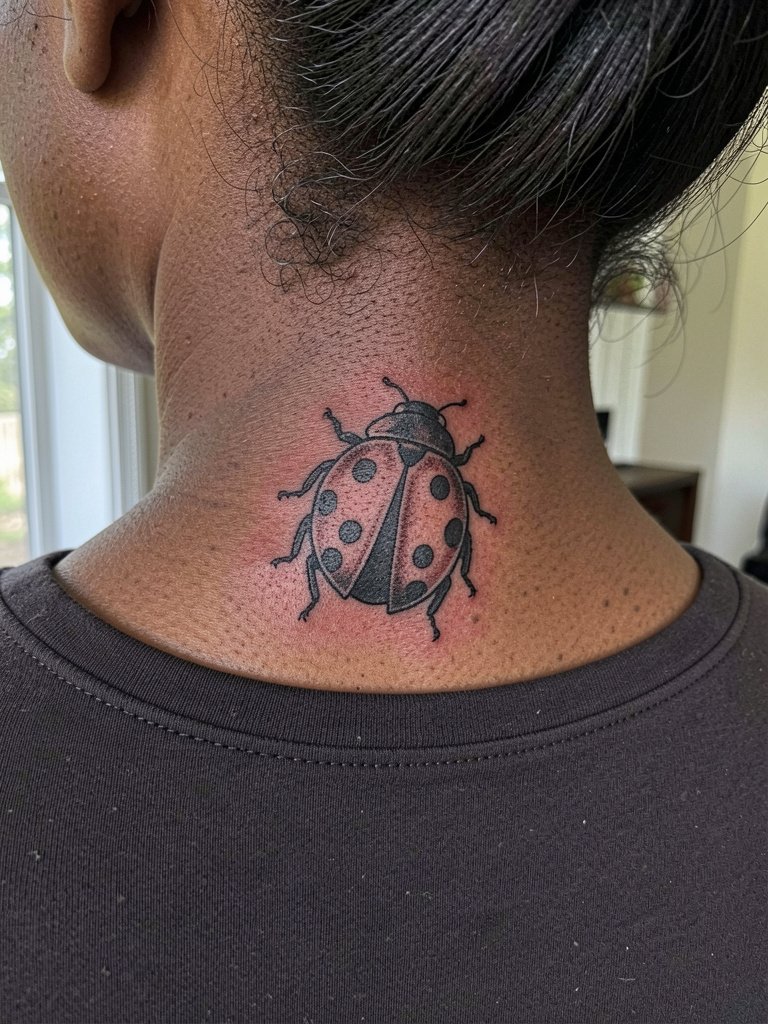
Blackwork holds up extremely well at the nape thanks to lower sun exposure and thicker skin there. Pain is moderate and a small solid black piece often takes twenty to forty minutes. Mistakes occur when artists try to render tiny internal details inside the silhouette, which can muddy with age. Solid black with negative-space spots reads clearly for many years and usually needs only rare touch-ups. It looks great with upstyles, so keep a simple messy bun clip for showing it off.
10. Minimal Geometric Ladybug on Ribcage
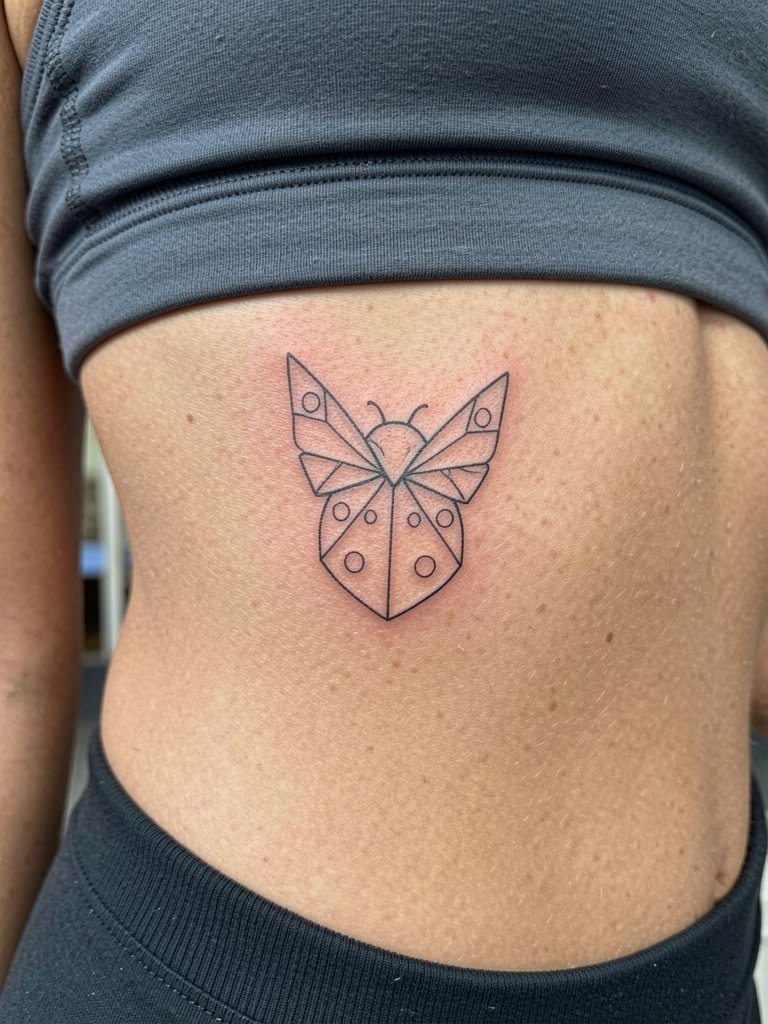
Ribcage work is high on the pain scale but very discrete. Sessions vary from thirty minutes to two hours depending on complexity. There is a debate about fine line on ribs. One camp says the skin stretch and movement blur fine lines within two years, especially under the breast. The other camp insists that with slightly wider spacing and correct needle depth, fine line geometry can settle well and last. If you choose ribs, plan for a pain-managed session and a likely touch-up at year two.
11. Portrait-Style Ladybug on Shoulder Blade
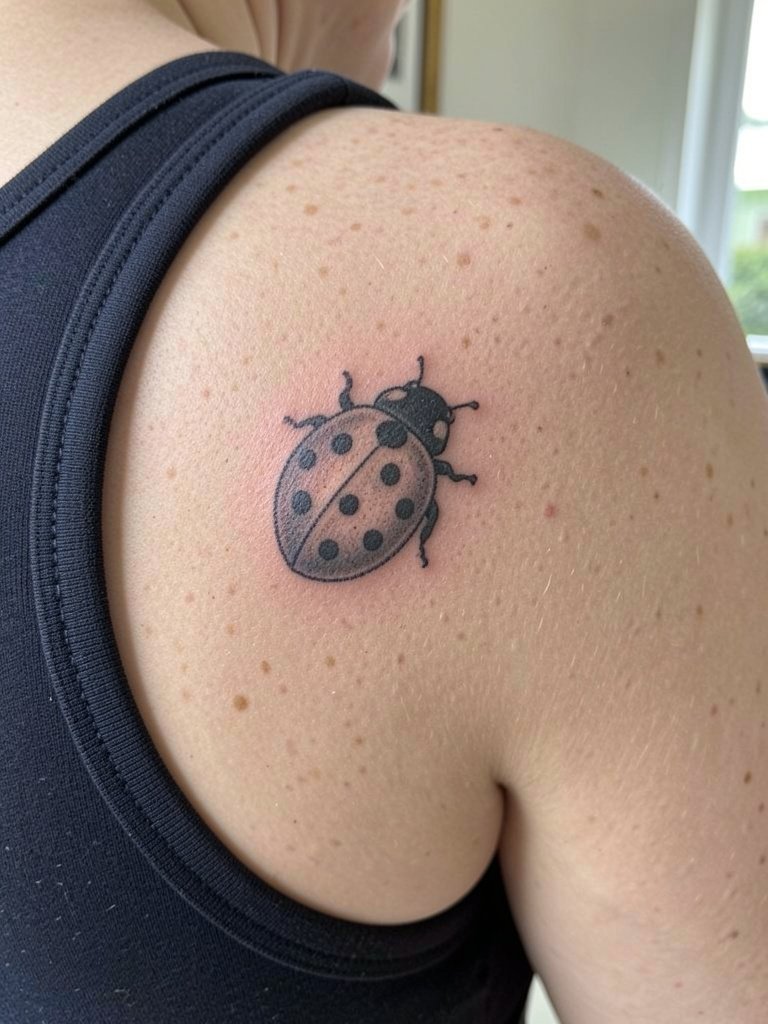
Shoulder-blade placements let artists render subtle three-dimensional cues with stipple and whip shading. Pain is usually low and sessions are comfortable for most. A typical misstep is requesting ultra-fine realism at a scale too small to show detail after two years. Bigger negative-space cues preserve the shape better. This spot pairs with back-bearing tops, so try a strappy cami for casual reveal.
12. Tiny Ladybug on Inner Bicep

The inner bicep is shielded from sun and friction, which helps fine details. Pain is moderate; the session usually lasts thirty to fifty minutes. A common error is planning the artwork too close to the armpit crease which adds friction and speeds fading. Ask for a placement centered midway between elbow and axilla with a touch more contrast in the spots. For session comfort wear a loose tank top so the artist can work without fabric bunching.
13. Tiny Ladybug on Side of Finger Knuckle
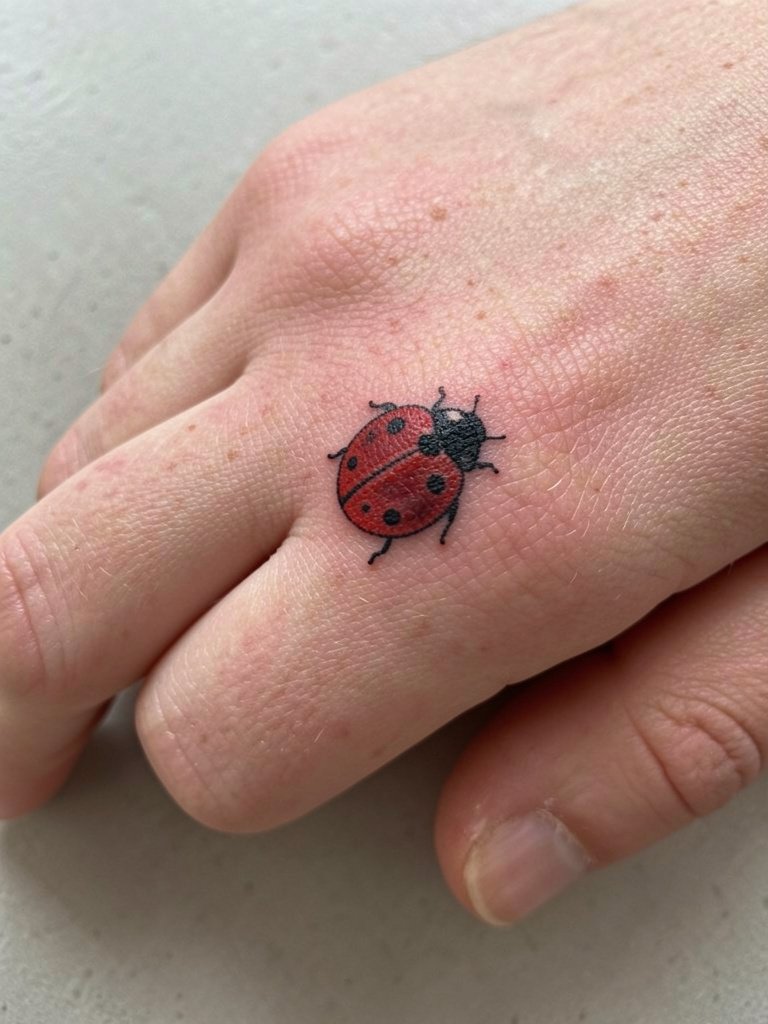
Knuckle placements show quickly but require commitment to maintenance. The skin there regenerates fast and the result often needs touch-ups every year. One camp recommends avoiding knuckles for micro detail because frequent washing causes rapid fade. The other camp says that bold black silhouettes with minimal color hold better than intricate spots. If you pick this, choose bold contrast and plan for yearly check-ins. Keep rings simple and consider a thin silicone ring alternative during sessions or workouts.
14. Tiny Ladybug with Floral Accent on Thigh
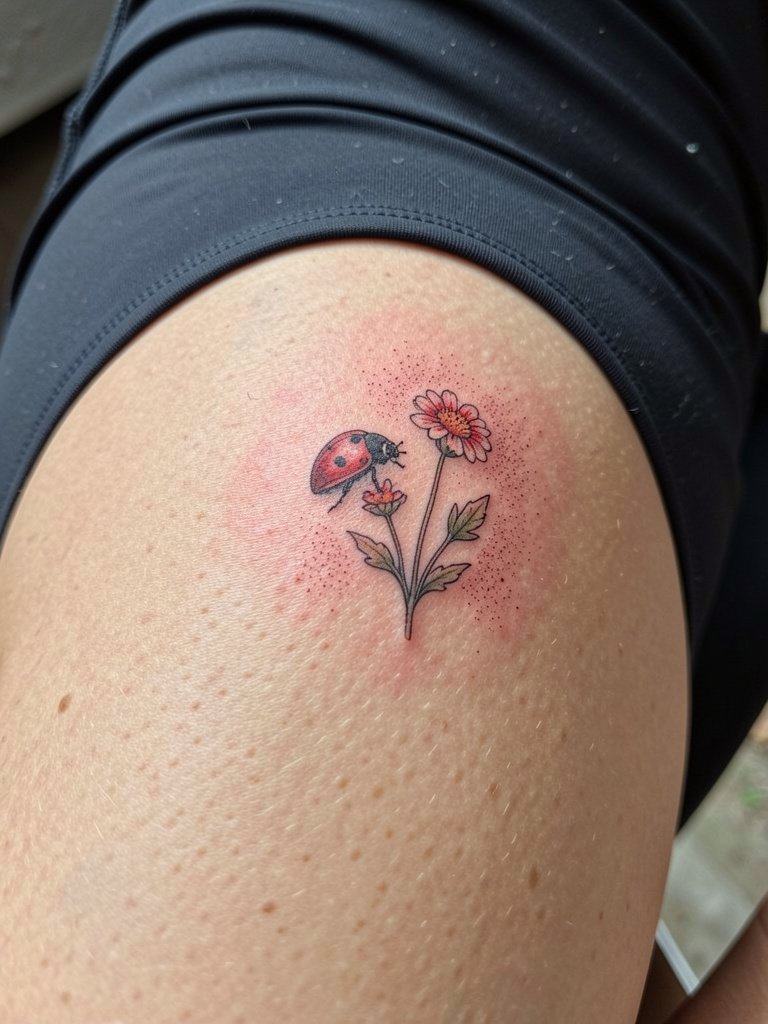
Upper-thigh placements are forgiving for color and detail and the session is low on pain compared with ribs. Common mistakes include placing the design too close to the underwear line where friction accelerates fading. For a floral pairing, ask the artist to give the bug a slightly larger silhouette than the flower details so it remains the focal point as pigments soften. For showing it off, try a flowy midi skirt that occasionally reveals the thigh without tugging.
15. Small Neo-Traditional Ladybug on Outer Forearm
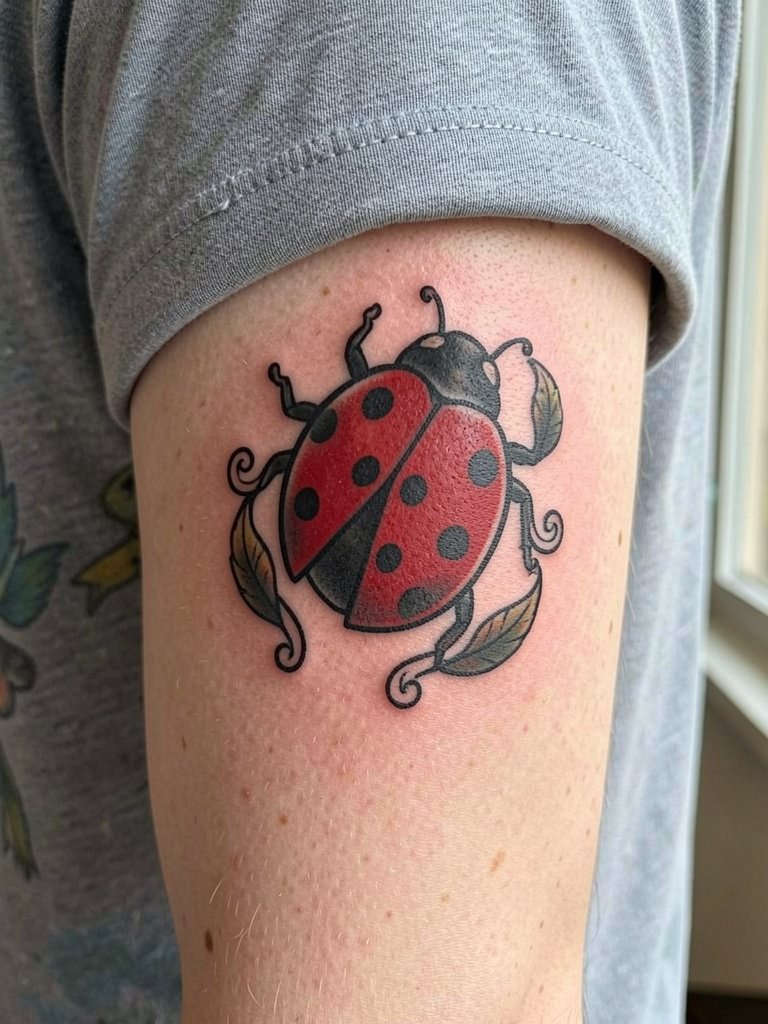
The outer forearm is one of the most cooperative canvases for small neo-traditional pieces. Pain is low and sessions last forty to sixty minutes depending on color blocking. A common mistake is tiny internal ornamentation that disappears at six months. For durability, insist on solid color saturation and clean outlines. Pair with casual rolled sleeves or a short-sleeve denim jacket to frame the piece without covering it.
16. Tiny Ladybug on Hip

Hip tattoos sit in a low-friction zone but they encounter waistline rubbing if placed too low. Sessions are moderate in length. The usual mistake is centering the art right at the waistband where jeans abrade the edge. Keep the bug above the waistband and request slightly bolder outer contours so it reads through time. For outfits that show the hip, try a low-rise summer top that keeps the area visible without constant friction.
17. Tiny Ladybug Ring Around a Freckle on Shoulder

Using a freckle as negative space anchors a micro design in a meaningful way. Pain is low and the session is short. The key is accurate placement so the freckle remains central as the skin shifts. A frequent mistake is overworking the area to "perfect" the ring which leads to scarring and loss of detail. For pairing, consider a delicate gold pendant necklace that complements the shoulder vignette.
18. Tiny Ladybug on Lower Back Edge
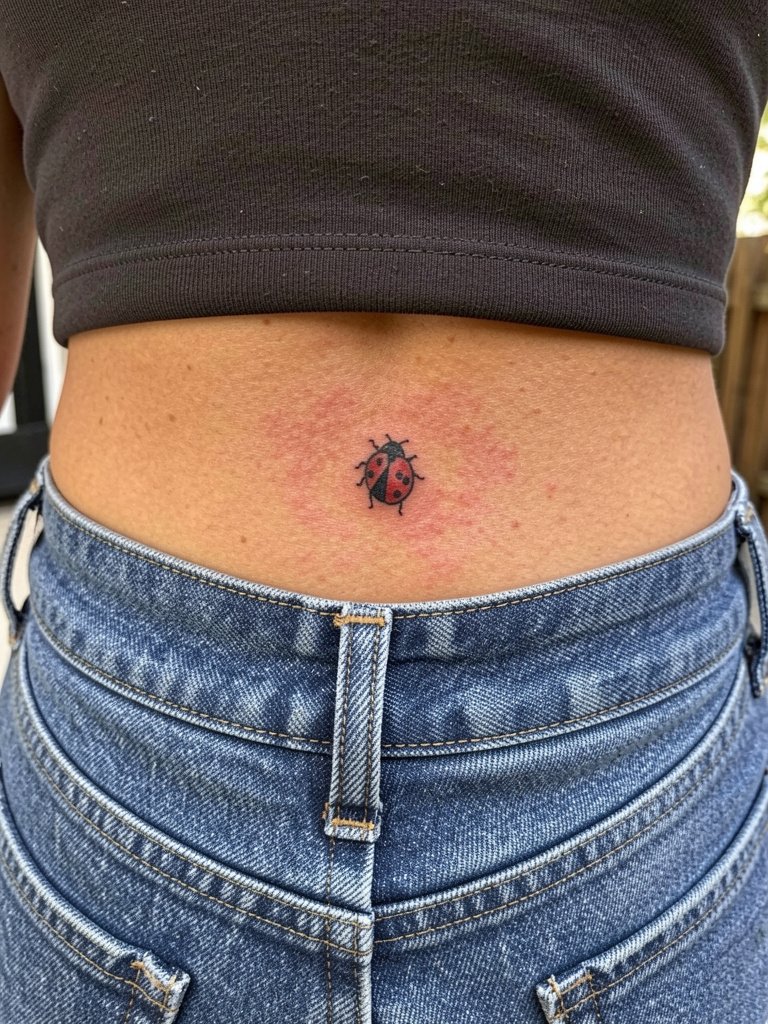
Lower-back placements avoid sun exposure when clothed and can preserve color longer. Expect mild to moderate discomfort and a thirty to forty-five minute session for a tiny motif. The common error is placing the design too low where the waistband constantly rubs. Position it just above the waistline and ask for crisp outer edges so the form reads as pigment migrates. To style, wear a cropped tank top that keeps the tattoo visible for short windows without stress on the area.
19. Single-Line Ladybug on the Side of the Neck
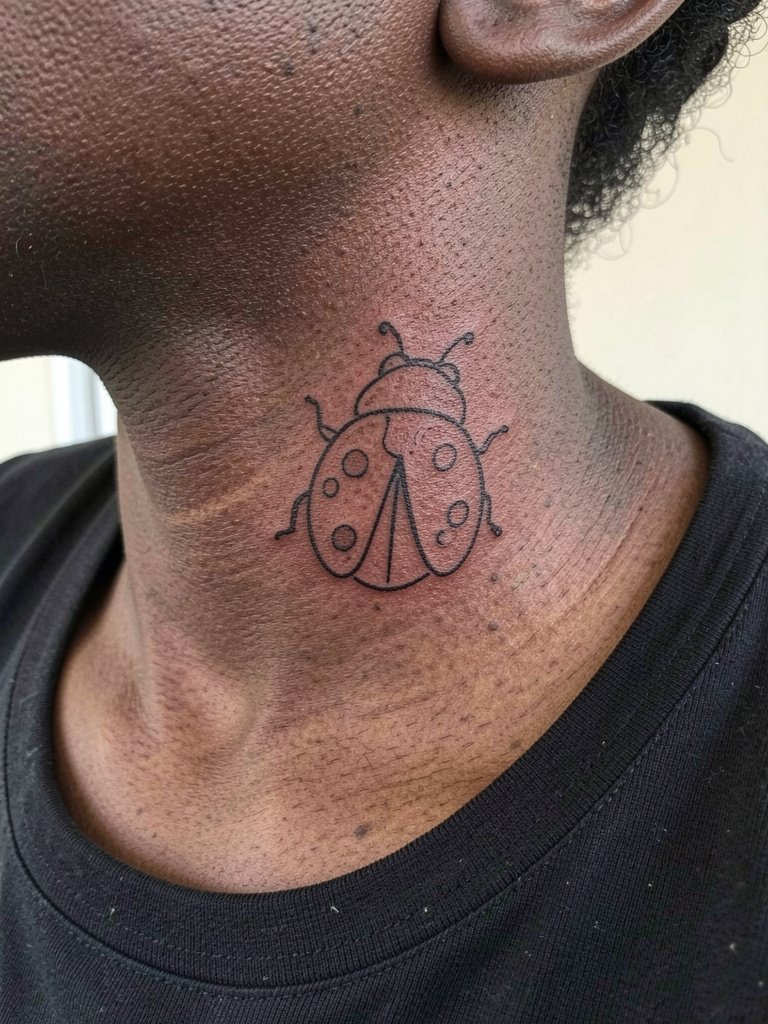
Neck placements need careful consideration for visibility and professional contexts. Pain is higher than forearm work and sessions for a tiny neck motif are short but sharp. The mistake is demanding ultra-thin single strokes that can blur in twelve to twenty-four months. Request a slightly thicker continuous line so the silhouette survives. If you wear necklaces, pick a chain that does not rub the area, or opt for a subtle choker-length chain when showing it off.
20. Tiny Ladybug with Negative-Space Wings on Chest
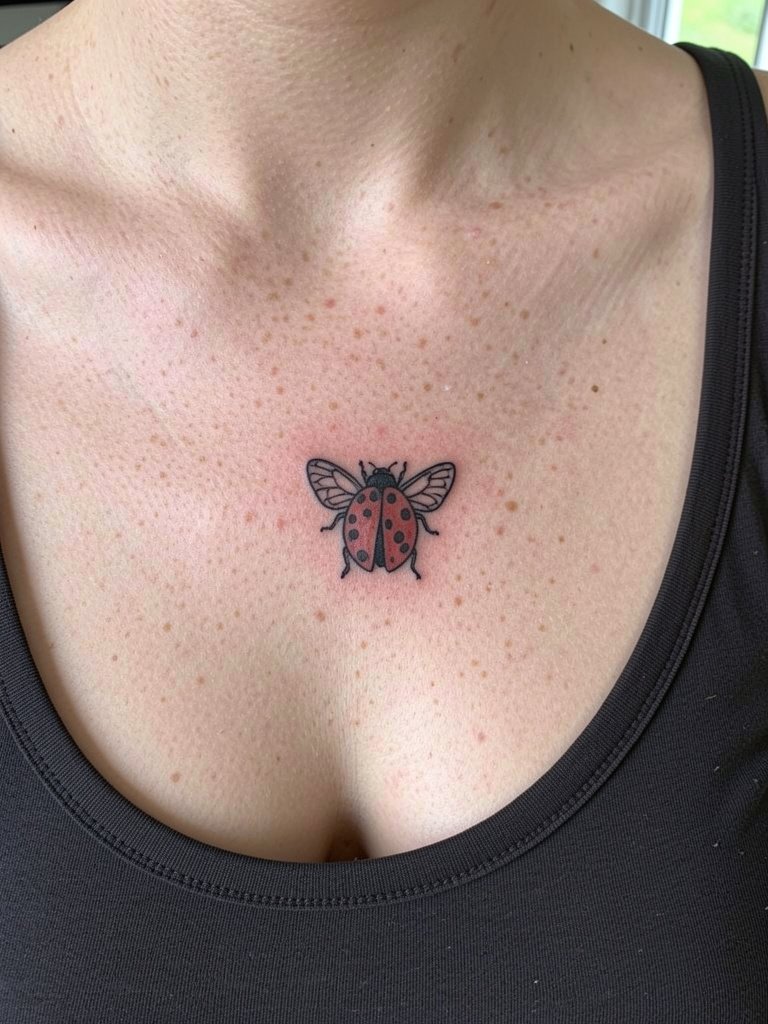
Negative-space techniques reduce the amount of pigment needed and can help small designs stay readable. Chest skin varies with movement so expect a moderate pain level and a forty to sixty minute session for crisp outlines. A mistake is leaning too heavily on tiny interior dots instead of letting negative space do the work. With careful spacing this approach needs fewer touch-ups. A low-cut top or open-collar shirt frames the area without forcing it.
21. Tiny Ladybug on Back of Hand
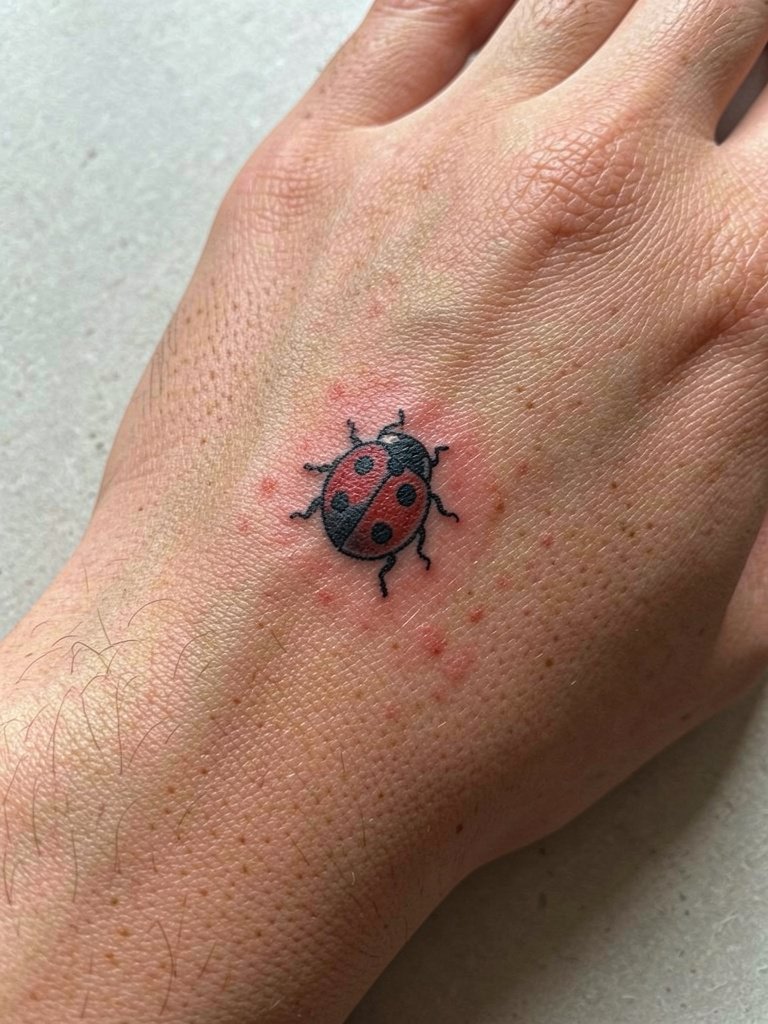
Back-of-hand work is highly visible and subject to rapid wear. Sessions usually take twenty to forty minutes for a small piece. Artists split into two camps on hand tattoos. One camp says constant exposure and hand washing cause rapid fade and blowout. The other camp recommends bolder silhouettes and thicker linework to extend longevity. If you choose this site, accept that touch-ups are likely and plan a maintenance appointment in twelve months. Keep hand jewelry minimal and consider a thin slim bracelet to complement rather than cover the piece.
22. Tiny Ladybug with Metallic Accent on Toe
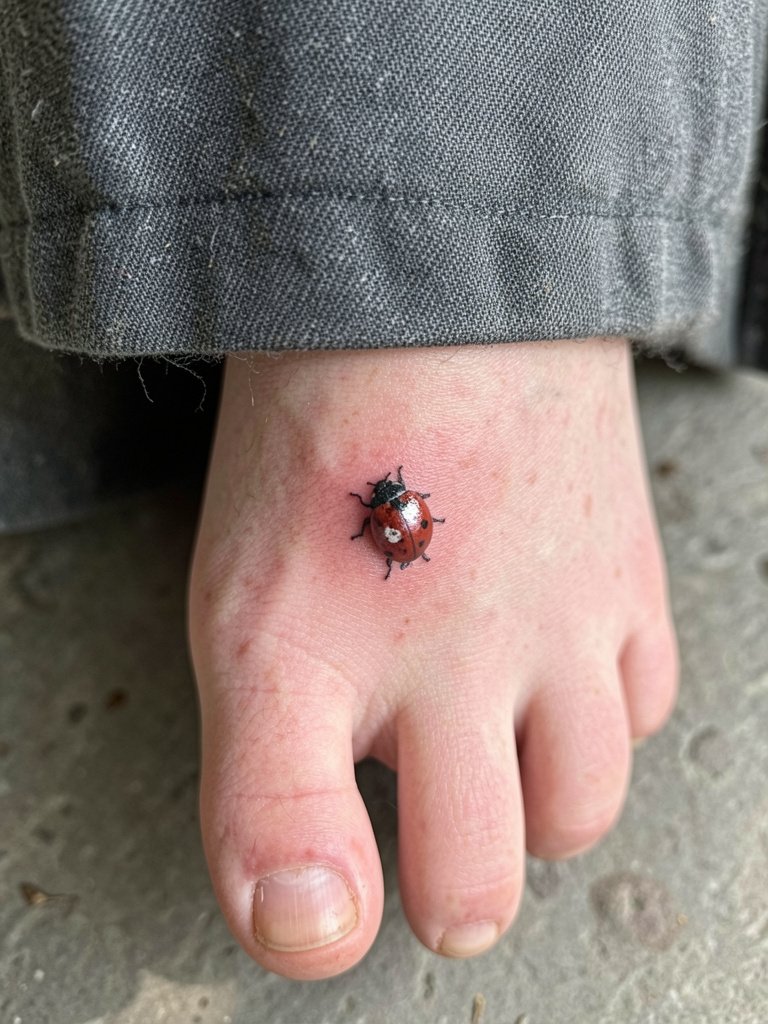
Toe tattoos face friction from shoes and frequent exfoliation. Expect a brief session and a higher fade rate. The common mistake is using reflective white ink heavily which often fades to patchy pale marks. For this site, minimal white highlights and solid black anchors work best. If you want it visible, choose open-toe footwear like strappy sandals that reduce rubbing.
23. Tiny Ladybug on Ear Lobe Fold

Ear lobe pieces are very small and sit on soft tissue that heals differently than flat skin. Pain is low but precision matters. A common mistake is asking for tiny color fills that can migrate in the soft lobe over time. For durability, request clean outlines and minimal saturation. Complement with small hoop earrings when you want the tattoo visible, and consider a pair of tiny hoops designed not to rub the ink.
24. Tiny Ladybug Billowing with Motion on Forearm
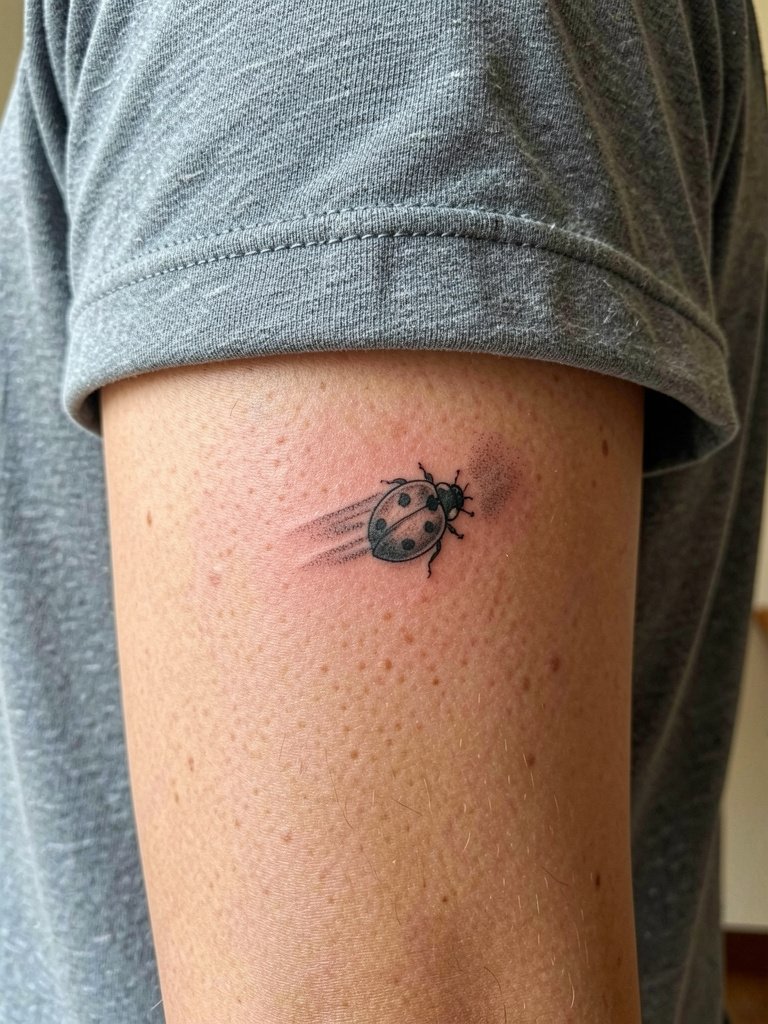
Adding implied motion gives personality and reads well from a distance. Forearm placement makes this legible and low on the pain scale. The mistake with motion lines is overcomplicating them at a small size so they blur together. Keep the motion suggestion simple and maintain strong outer lines. This design looks great with rolled sleeves and a casual short-sleeve button shirt.
25. Tiny Ladybug in a Micro Botanical Cluster on Wrist
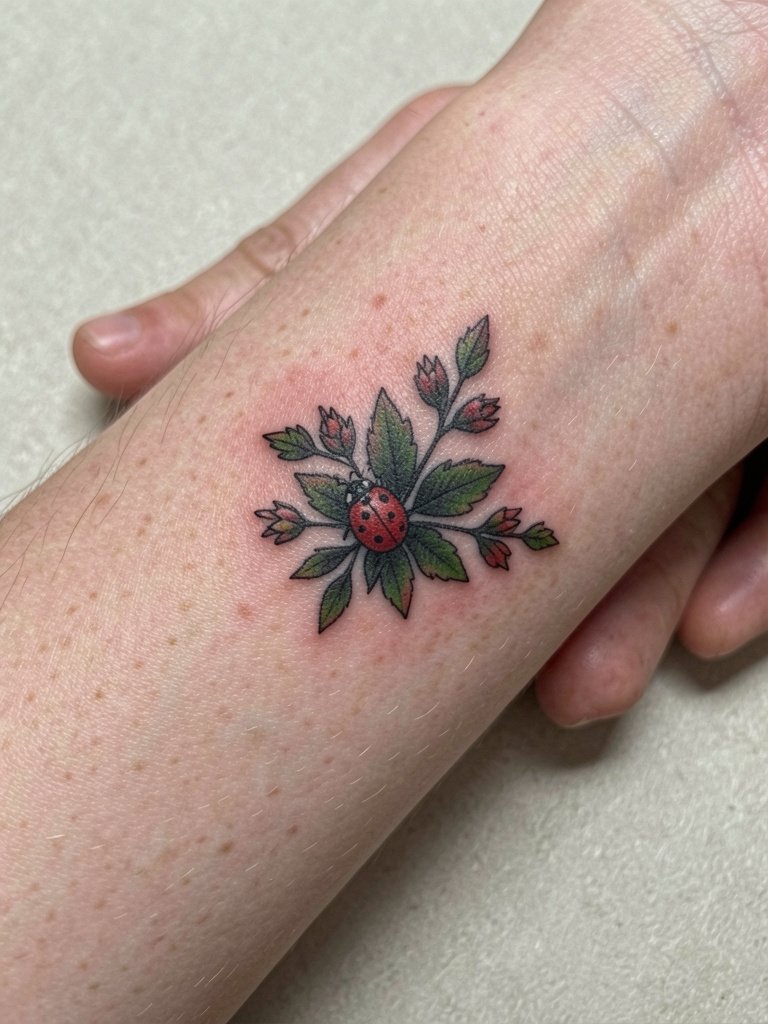
A wrist botanical cluster frames a ladybug and creates visual context that helps small work read well. Pain on the outer wrist is moderate and session time ranges from thirty to sixty minutes. A mistake is packing too many tiny leaves which blend into a smudge after a couple of years. Select defined leaf shapes and slightly larger bug spots so the main element holds up. Wear a slim wrap bracelet to accent the wrist without obscuring the art.
26. Tiny Ladybug with Script Date on Side Rib
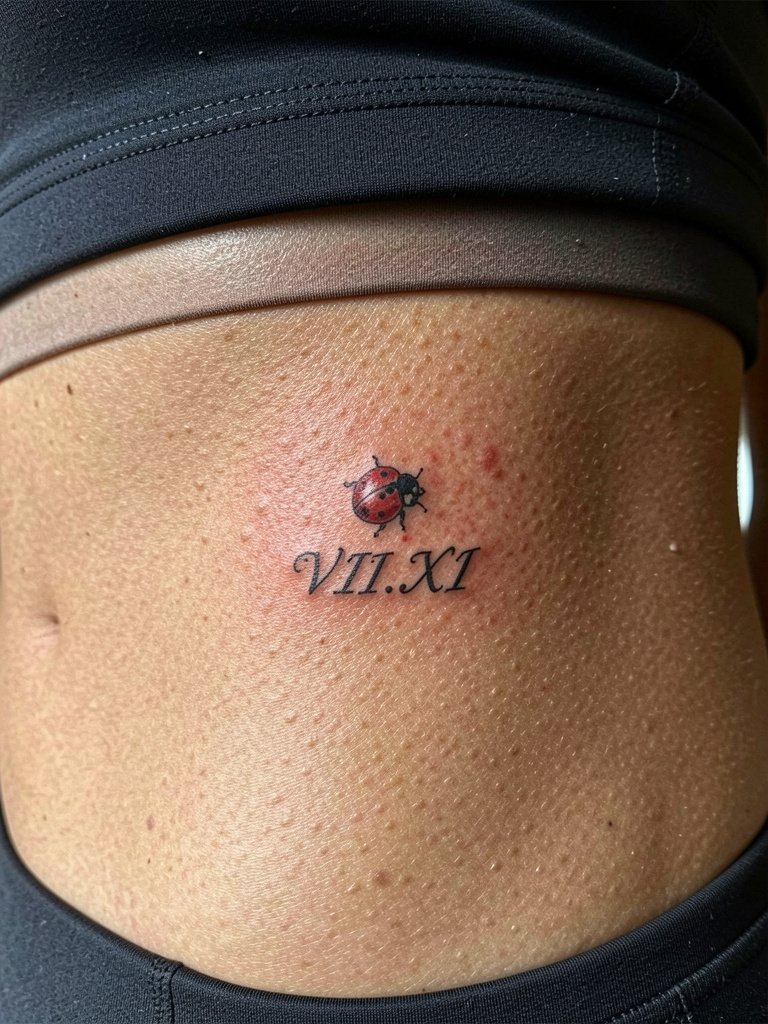
Adding a tiny date gives a piece personal meaning but ribs carry movement and sensitivity. Expect a higher pain score and a session lasting up to an hour for clean script and the bug. A common error is using ultra-fine script that fades into fuzz. Use slightly bolder script that reads at a glance and place the date a few millimeters below the insect. If you want coverage during healing, bring a loose oversized tee that does not press on the area.
27. Tiny Ladybug with Geometric Halo on Sternum Edge

Sternum edge work is intimate and can be more painful. Sessions vary from forty minutes to an hour depending on complexity. The frequent mistake is compressing too much geometry into very small space which makes the halo blur as the skin moves. Simpler arcs and a slightly larger bug silhouette survive better. This placement deserves a specialist with experience in chest pieces because of contour and sensitivity.
Frequently Asked Questions
Q: How small can a ladybug tattoo be and still age well?
A: For most placements, aim for at least two to three millimeters of clear space around the spots and a minimum overall size of about one inch across. Tiny dots under a quarter inch will likely need touch-ups sooner because the linework and saturation have less margin for skin migration.
Q: Which small placements need the most touch-ups and why?
A: Fingers, knuckles, toes, and hands suffer the most because of constant washing and abrasion. The skin there renews faster and the pigment sits closer to the surface, so plan for a maintenance touch-up within twelve to twenty-four months.
Q: Where can I find healed examples and discovery paths without naming artists?
A: Search social platforms for hashtags like #SmallLadybugTattoo, #MicroNatureInk, and #TinyBugTattoo while filtering by location on TikTok and Instagram to see healed shots near you. Reddit tattoo threads and portfolio collections on specialized tattoo sites let you compare healed images across skin tones and placements.
Q: How long is a typical session for these micro ladybug designs and what should I wear?
A: Sessions range from twenty minutes for a single-spot finger to up to an hour for clustered or shaded designs. Wear clothing that gives the artist clear access without fabric pulling at the skin, for example a loose tank top for the inner arm or a cropped tee for lower-back work. Consider bringing a compact hair tie to keep hair out of the way.
Q: Do color ladybugs fade faster than black-only ones?
A: Color can fade unevenly when exposed to sun and friction, but solid, well-saturated color applied by a skilled artist can last years. One camp prefers black-only micro motifs for longevity, and the other camp says small, saturated red holds up if protected and touched up as needed. Both approaches are valid if you accept different maintenance timelines.
