
Full-back work often looks effortless in photos, but the truth is the back reads differently in motion and across years. What trends win on social media do not always hold up on skin that stretches and settles. Before you pick a motif, think about body flow, how much negative space you want, and which details will still read at year three. The first idea below shows a strong composition that helps an artist map the whole canvas.
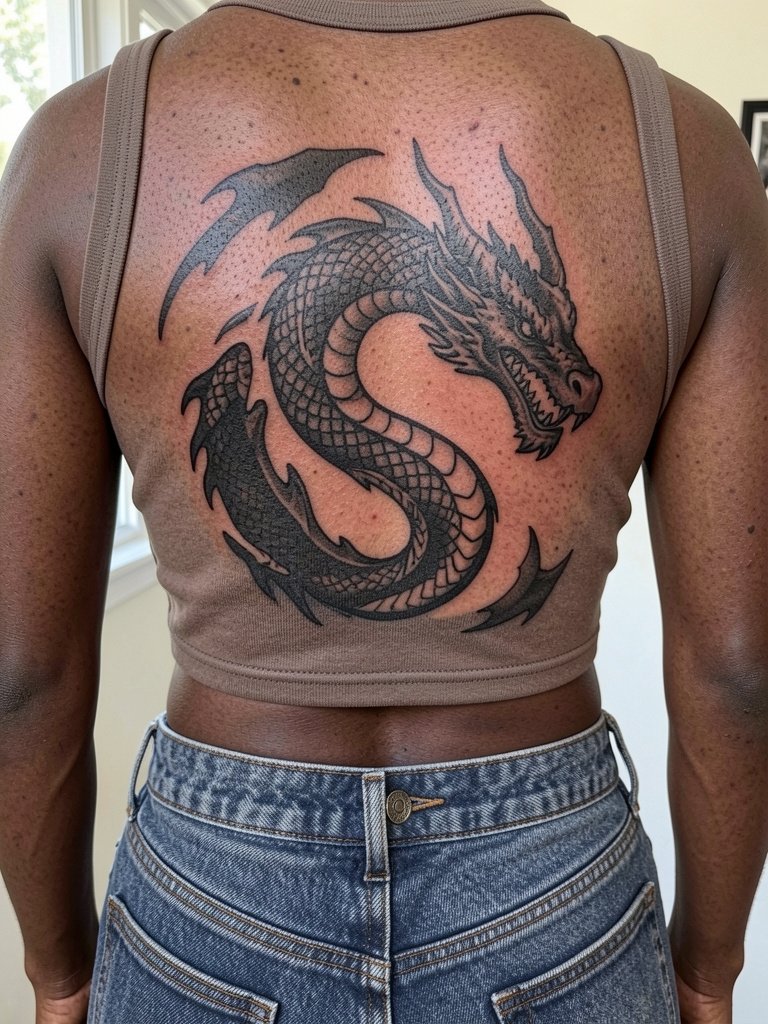
1. Traditional Dragon Panel, Full Back
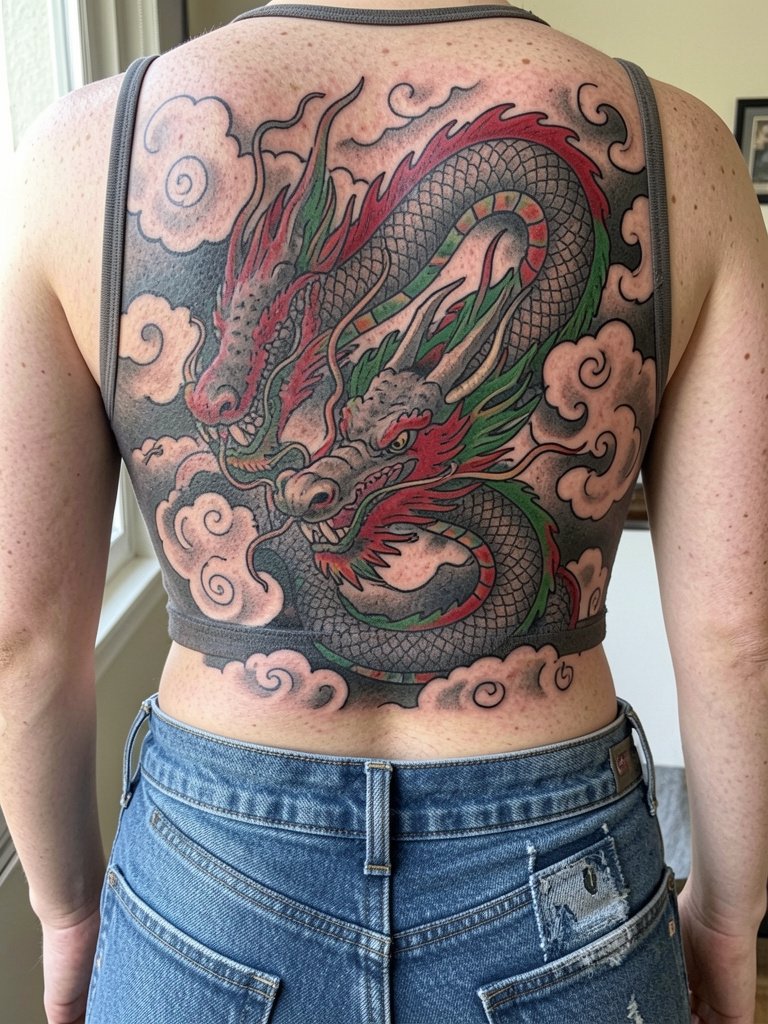
A full-back dragon reads well because it follows shoulder sweep and spine motion. Recommend bold outlines so scales and claws stay defined over time. During consultation bring reference shots showing scale size and flow at a body scale so the artist can map the head, coils, and tail to shoulder blades and lumbar. A common mistake is trying to cram tiny ornamental scales into a space that needs large rhythms instead. Expect multiple outline sessions followed by color and background fills across separate appointments. For showing off, pair this with an open-back midi dress that frames the upper panel.
2. Irezumi Narrative Panel with Background
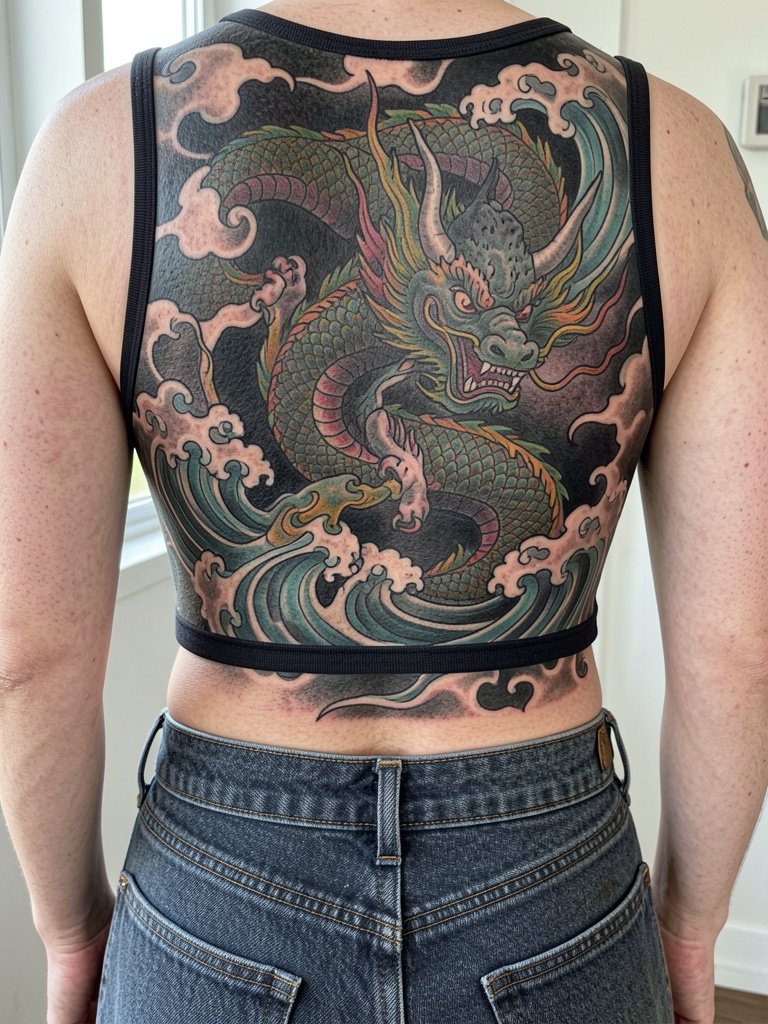
Irezumi panels rely on a unified background to make the elements read as one composition. Tell the artist exactly how much black background you want versus open skin so the flow across the trapezius and lumbar is preserved. A frequent error is applying isolated motifs without a tying background, which makes the piece look like stickers later. Expect long sessions for background saturation and separate sessions for figures. For session comfort wear a button-front shirt you can open so the artist can reach the entire upper back without tugging.
3. Biomechanical Spine-Centered Composition
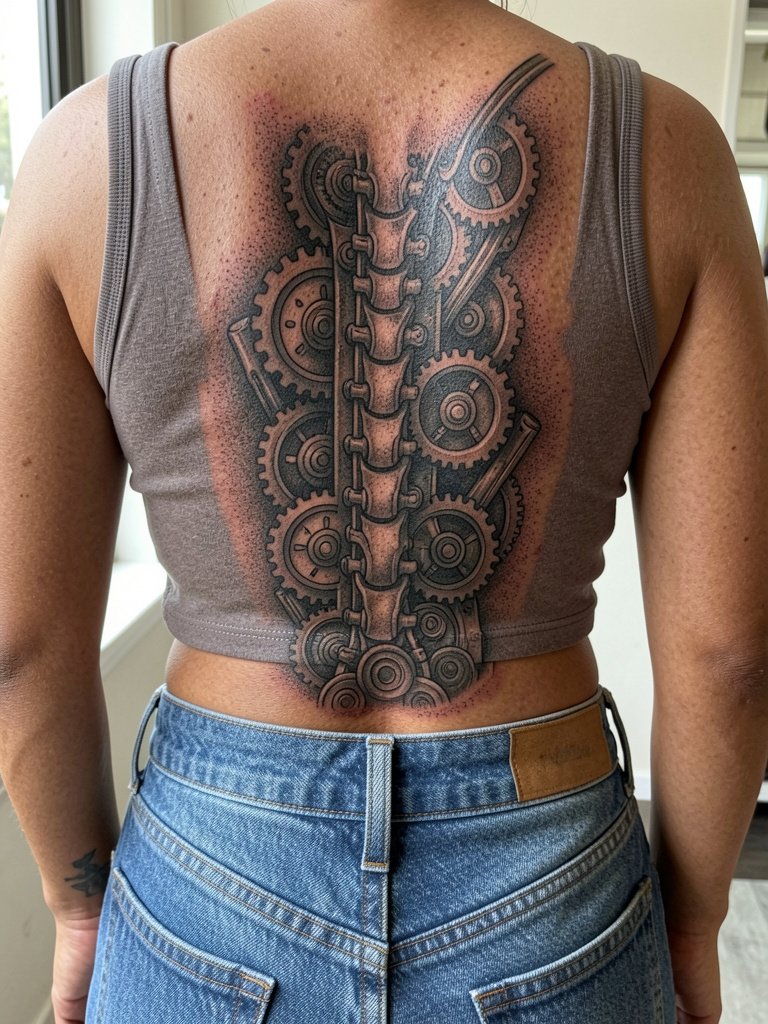
This design uses the spine as the central axis to build a 3D illusion. Discuss how much anatomical reference you want integrated so the plates sit where the spine and muscles move, and bring photos of your back in motion for placement checks. A common aging issue is over-detailing tiny mechanical textures that blur; ask for slightly bigger negative-space separations between gears. Sessions will alternate between outline, deep shadow blocks, and layered stipple shading. For after-sessions when you want the whole effect visible, try an open-back tank to display the spine run.
4. Dragon with Negative-Space Shaping
Negative-space dragons keep the back from feeling overworked and help longevity because less dense saturation reduces long-term fading contrast. When booking, discuss where the skin will remain bare to preserve motion lines and avoid filling small negative details that blur. A mistake is treating negative space like a stencil and filling in later; the piece must be composed around those gaps from the start. Touch-up needs are typically lower for large blackwork areas. Pair this with loose oversized tees for everyday wear and an oversized cotton tee for easy coverage during healing.
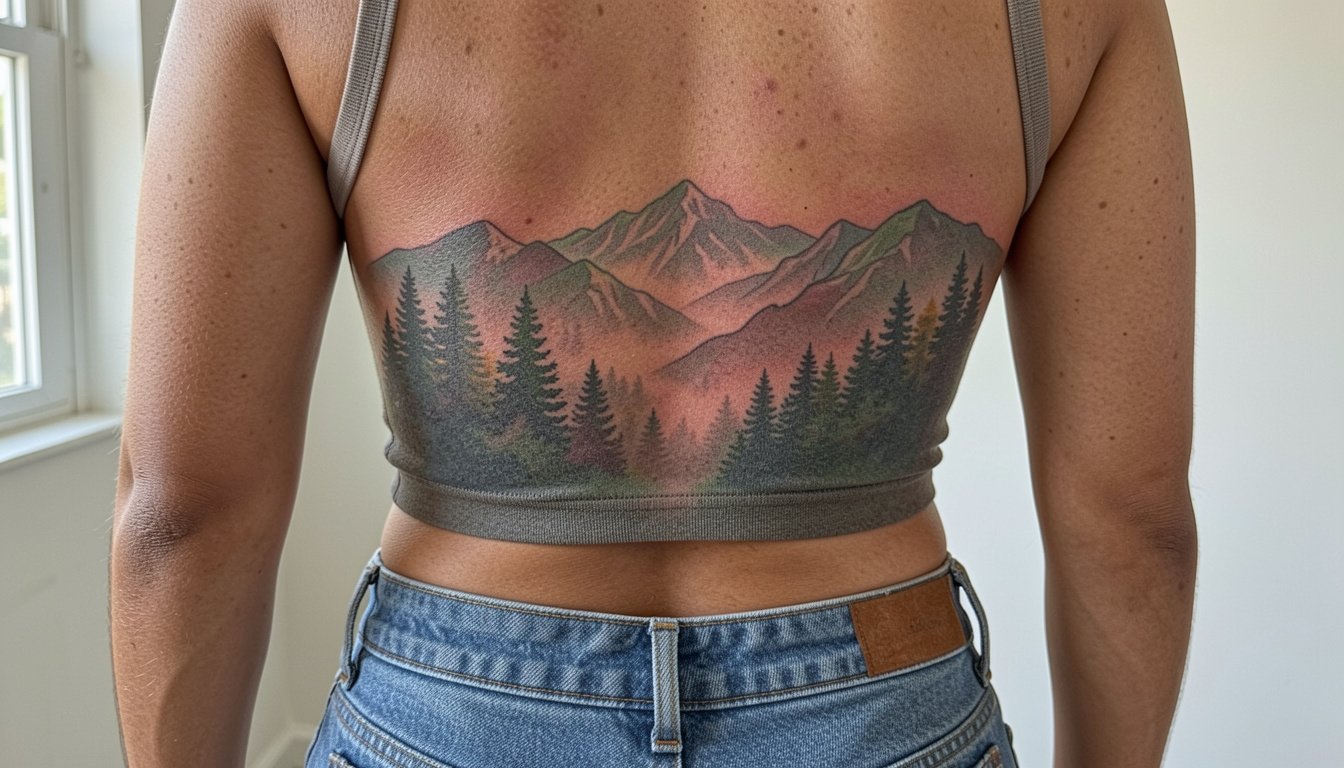
5. Nature Landscape Panorama
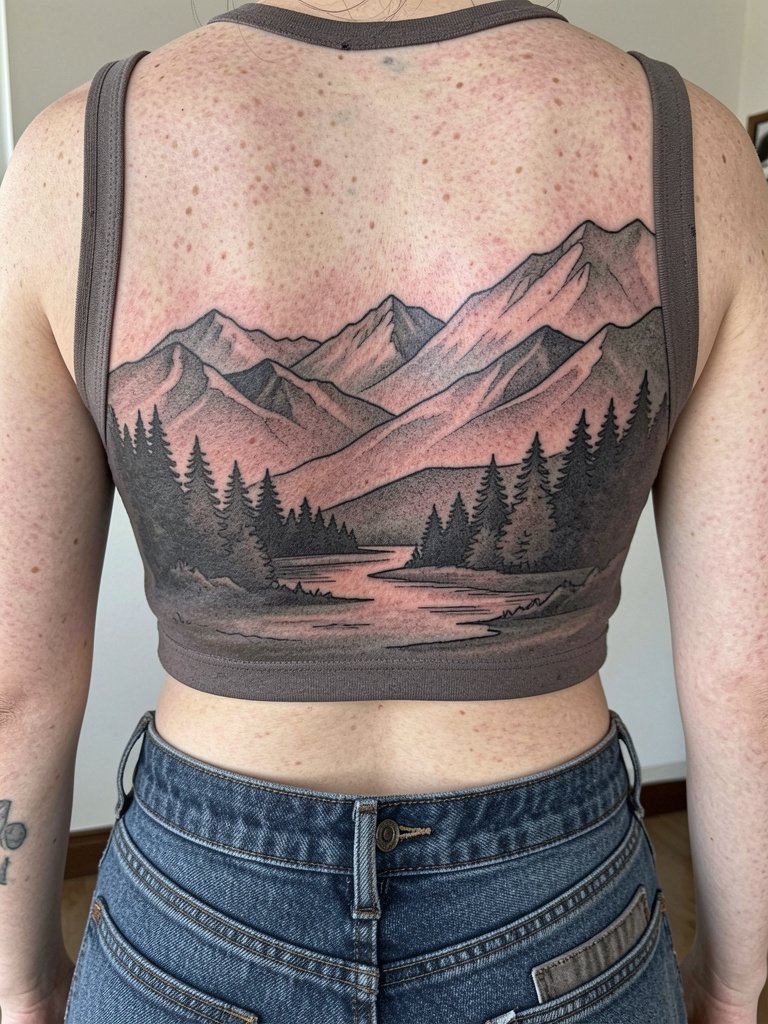
Landscapes use horizon lines to anchor the shoulders and lumbar for a natural flow. Bring reference images at different aspect ratios so the artist can decide what reads at shoulder-width versus center. A typical mistake is compressing a wide scene into a narrow vertical composition, which loses readability. Expect multiple sessions for layered washes and fine atmospheric shading. For the appointment wear a button-front shirt backwards or open so your artist can access the whole canvas without fabric pressure.
6. Mythological Figure Centerpiece
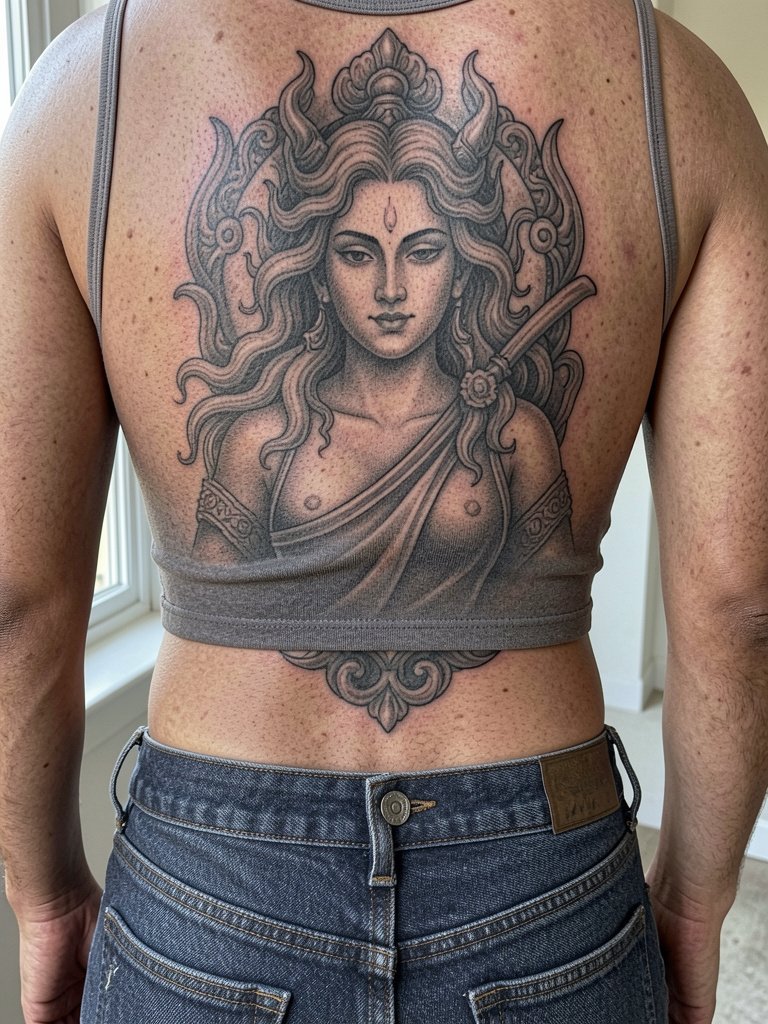
A centered figure reads as a statement and demands careful symmetry planning. Bring photos that show your shoulder balance and posture so the artist can place shoulders, hips, and the figure's gaze correctly. Portrait-like mythic figures age well with slightly heavier contour lines and soft stipple shading in the midtones. One common error is making facial details too small for the back; keep facial features larger and allow the hair and frame to carry fine detail. For evenings out, a backless midi dress will showcase the central figure.
Pre-Session Essentials
The first six ideas cover large panels and background work, so a few practical items smooth the session day and the first week.
- Stencil transfer paper kit. Helps you and the artist test scale and placement on photos before committing to the full back.
- Topical numbing cream. Applied per the product instructions 30 to 60 minutes before a long session can ease rib and lower-back sensitivity.
- Thin protective film roll. Useful for covering small healed or exposed areas when you need an extra barrier during travel home.
- Fragrance-free gentle body wash. Cleans the area without irritants during the initial healing window.
- After-session healing balm search. Look for fragrance-free formulas recommended by the artist and follow their specific application guidance.
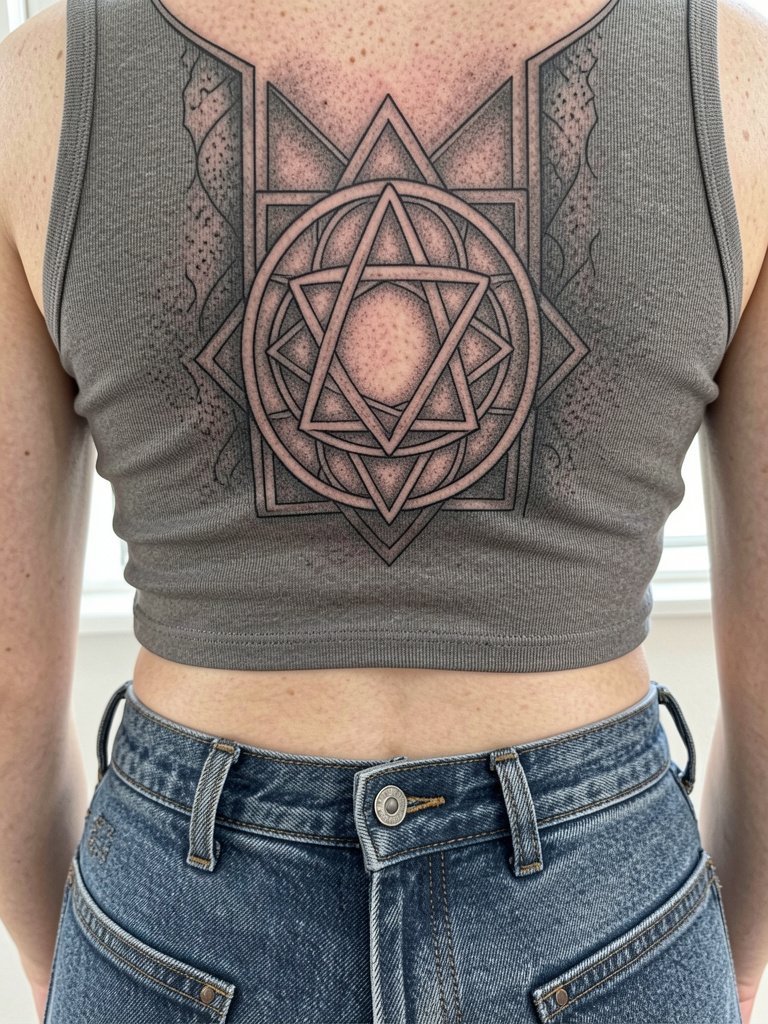
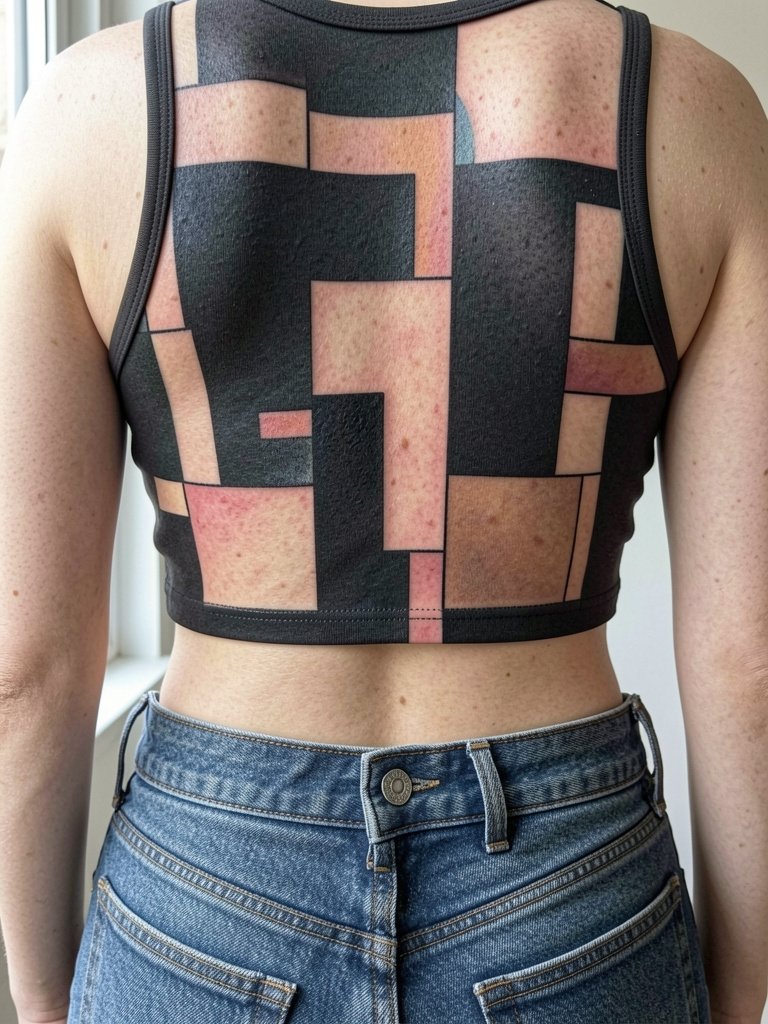
7. Geometric Ornamental Full Back

Geometric work needs breathing room. Tell the artist the minimum repeat size you want so line spacing does not disappear with skin settling. A mistake is choosing overly dense line grids that look crisp at first and then merge. For longevity, slightly thicker linework and consistent spacing preserve the pattern at year two and beyond. Session-wise expect careful stencil alignment and measured linework passes. For a night look consider tie-back tops that frame the centerline.
8. Portrait Realism Across the Shoulder Blades

Portraits demand a large enough plane so facial features do not compress. Bring high-resolution reference photos and ask the artist to show healed examples at similar scale. Small facial detail is a durability risk when placed where the back moves a lot. Sessions usually separate outlines, midtone shading, and highlight passes. For session day wear a loose tank top so you can change without rubbing the fresh ink.
9. Spiritual Symbol with Panel Background
A spiritual symbol can be minimal yet powerful if the background ties it into the back plane. Specify whether you want a standalone emblem or a framed panel so your artist can plan negative space. One common error is shrinking the symbol to the point that detail vanishes at distance. Expect one to three sessions for the emblem and the background. For showing it off, a racerback top lifts the shoulders visually and keeps the symbol center visible.
10. Patchwork Concept Sheet of Smaller Motifs
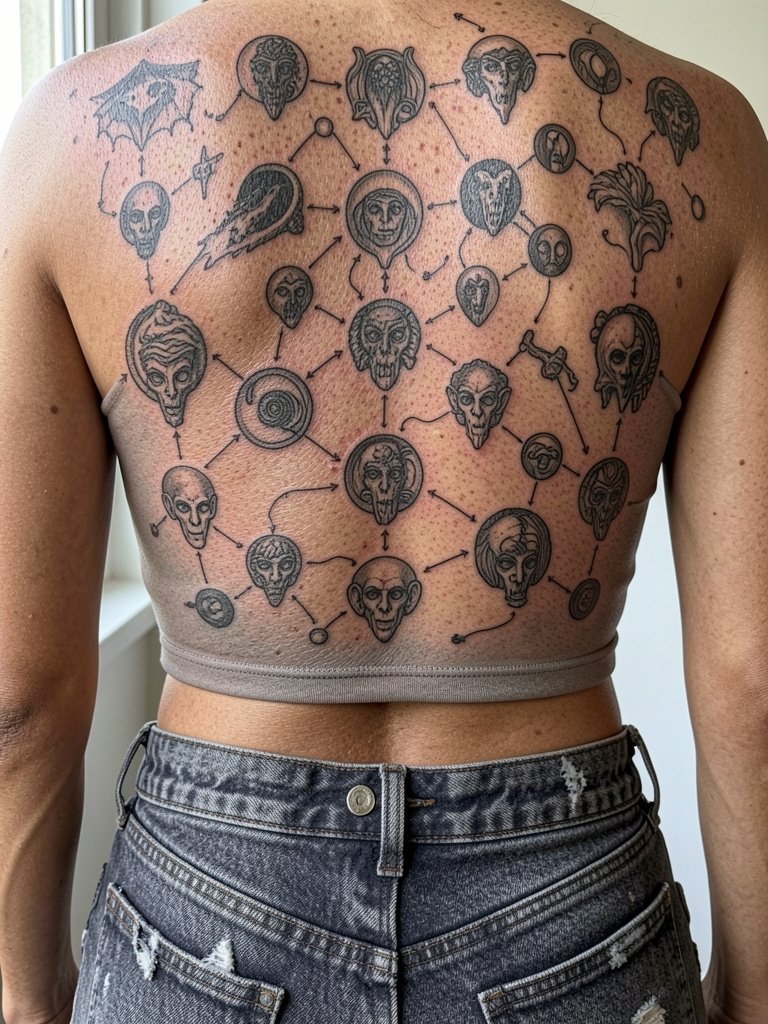
Patchwork lets the back grow over time, but it still needs an overall flow plan. When you bring flash or ready-made pieces, ask the artist to map negative-space corridors between motifs so the composition reads intentional. A common misstep is installing motifs without a unifying rhythm, which makes the back look disjointed. Expect staggered sessions as each motif is placed, and consider future touch-ups to unify tonality. For the appointment wear a button-front shirt you can open for easy access.
11. Spine-Centered Fine Line Column

Fine-line columns divide artists into two camps. One camp says delicate single-needle work on the spine looks modern and elegant and will settle well when given slightly wider spacing. The other camp argues that thin single-needle lines blur on high-tension back skin and recommends bolder contouring for long-term legibility. Both positions deserve attention, so bring healed examples at similar scale and ask for line weights adjusted to your skin texture. A mistake is asking for ultra-thin lines without verifying healed examples on similar skin. Plan on touch-ups at year one for line crispness.
12. Lower Back Ornamental Mandala
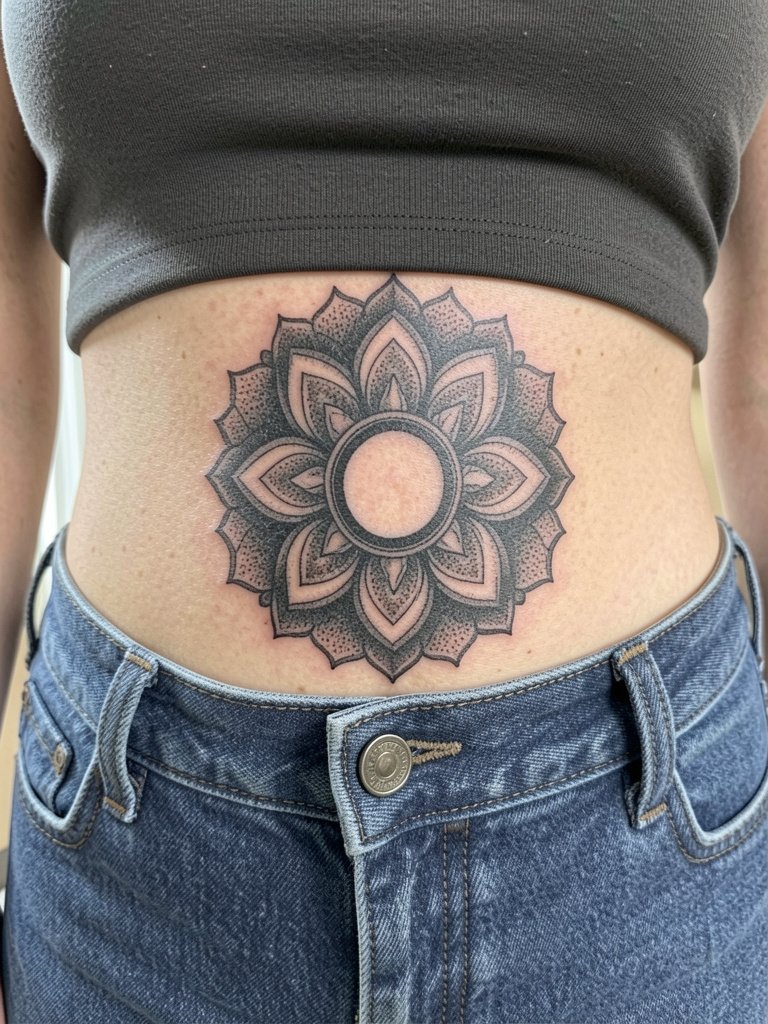
Modern lower-back mandalas avoid the early-2000s look by focusing on symmetry and fine radial spacing. If you worry about stigma, choose a balanced mandala with clean edges and moderate scale so it reads ornamental rather than trend-specific. During consultation request mockups at your waistband line to ensure nothing sits awkwardly under clothing. A common session error is tight band placement that collides with waistbands during healing. For the session wear drawstring sweatpants or loose bottoms that do not press on fresh ink.
13. Lower Back Floral Crest
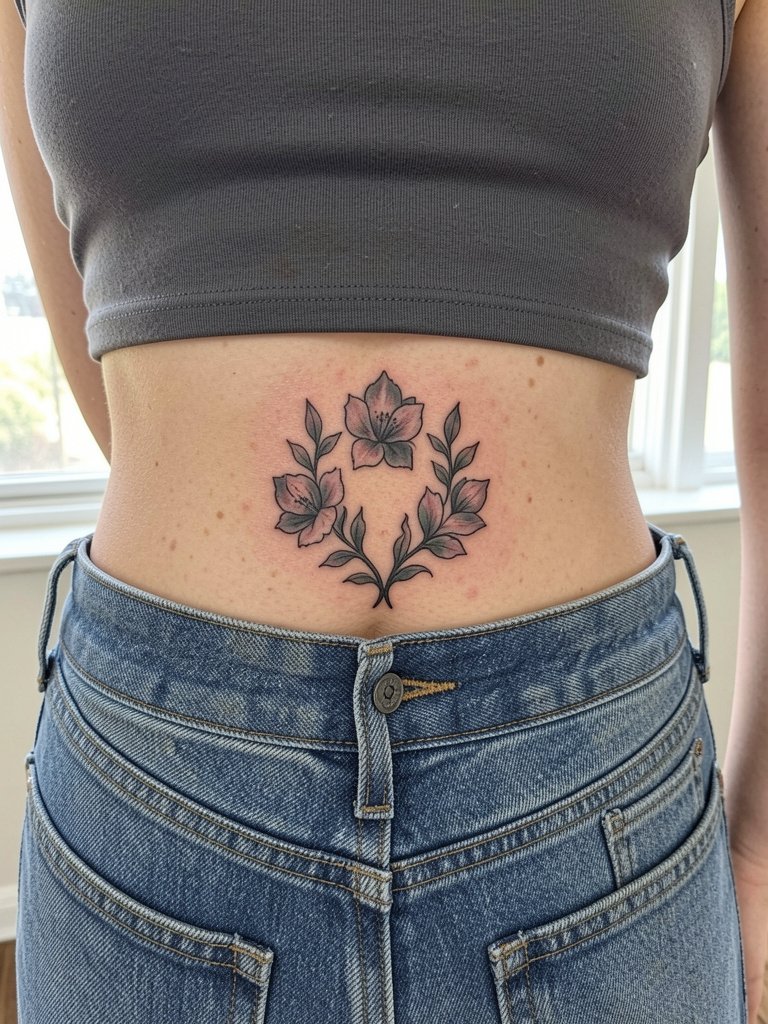
Floral lower-back pieces feel modern when the composition reads like ornamental jewelry rather than a small isolated sticker. Discuss how the apex of the crest aligns with your waistband so the pattern does not sit half-hidden. A common aging problem is tiny petal veins that blur; ask for slightly bolder edges on petals and leave soft shading for interior parts. For the session wear low-rise fitted jeans that sit below the tattoo to avoid fabric rubbing.
14. Ready-Made Full Back Design Adaptation
Ready-made designs are an available path, but artists and clients split on how to use them. One side says ready-made flash saves time and cost and can be personalized through scale, background fills, and shading choices. The other side insists full-back pieces should start custom because body symmetry and movement require bespoke layouts. If you choose ready-made, bring the stencil and request a mapping session where the artist redraws the layout to your posture and shoulder slope. For the session wear an open front shirt you can easily remove to let the artist work without tugging.
15. Blackwork Celtic Knot Composition
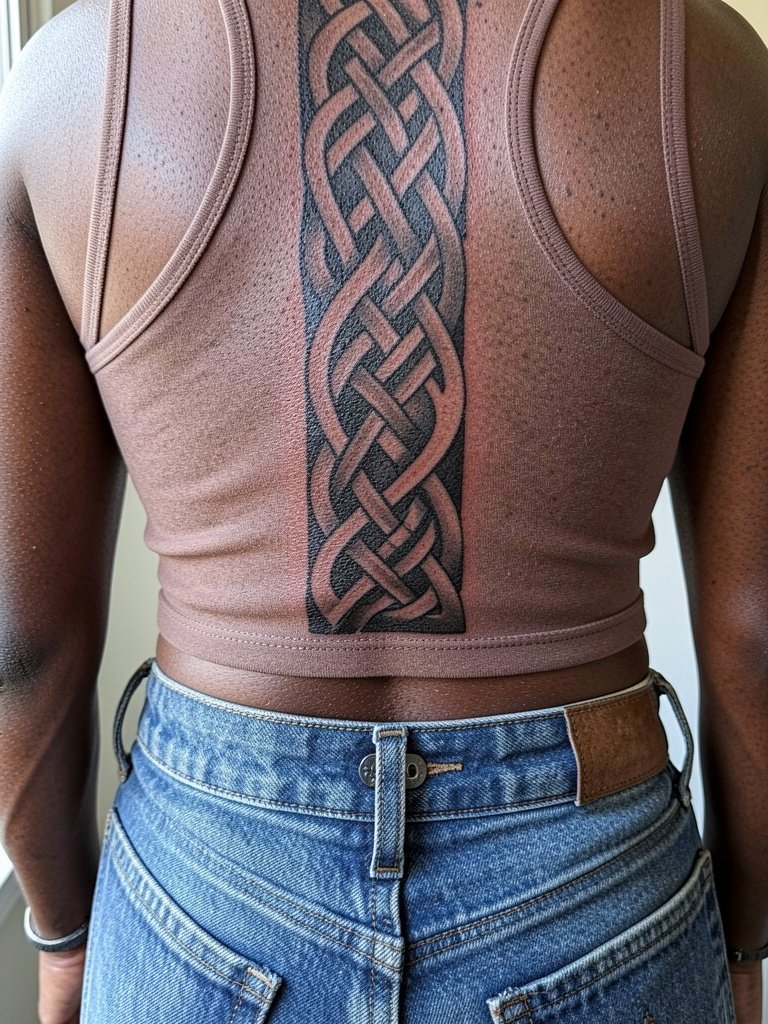
Celtic knots need consistent line weight to avoid visual gaps as skin ages. Specify minimum knot width and ask the artist to show healed knotwork examples at similar scale. A frequent mistake is creating extremely tight interlace that later blurs. Expect large black fill sessions followed by line refinement. For the appointment wear a loose oversized tee to prevent pressure on fresh blackwork.
16. Neo-Traditional Animal Tableau
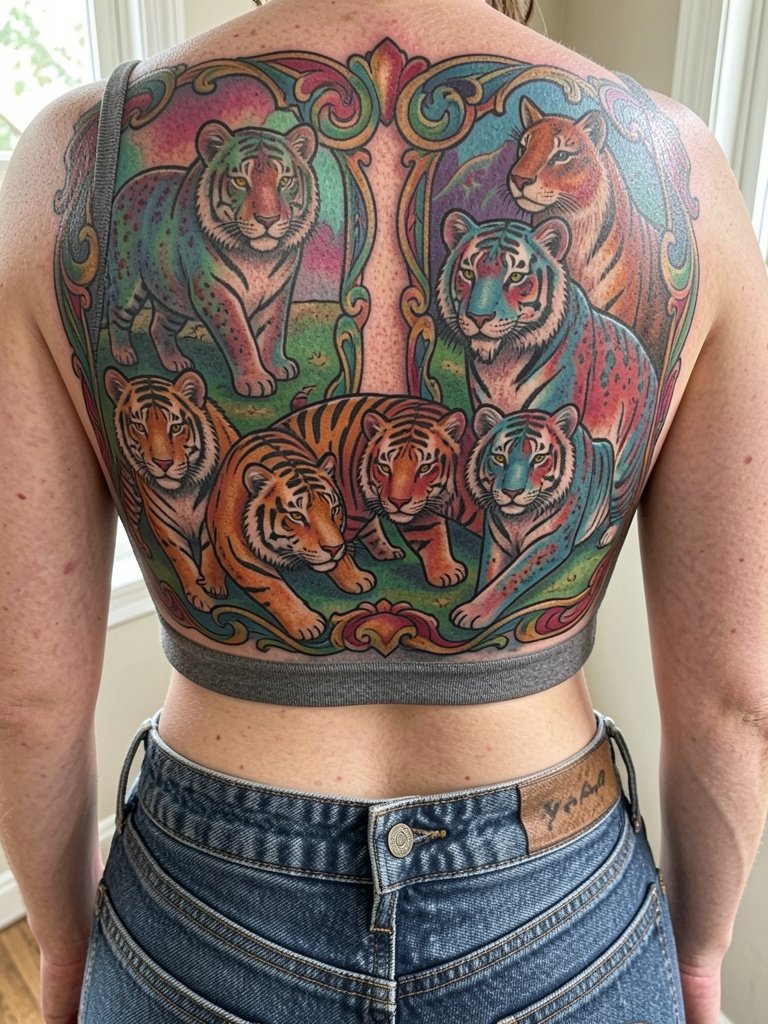
Neo-traditional palettes age well if saturation and contrast are balanced. Plan the tableau so each animal occupies its own zone with respiratory negative space to prevent overcrowding. A mistake is cramming too many small elements into the mid-back where movement is higher. Sessions will separate linework, flat color, and layered shading. For showing the tableau, try racerback dresses or tops that set the animals against the shoulders.
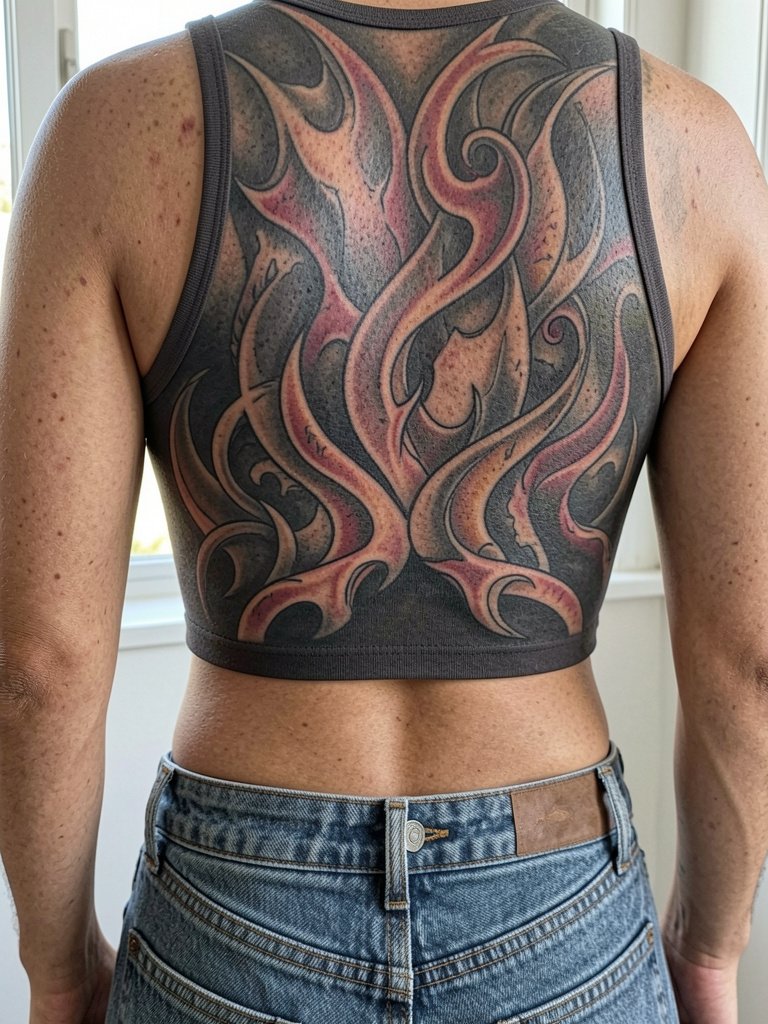
17. Art Nouveau Panel with Flowing Lines
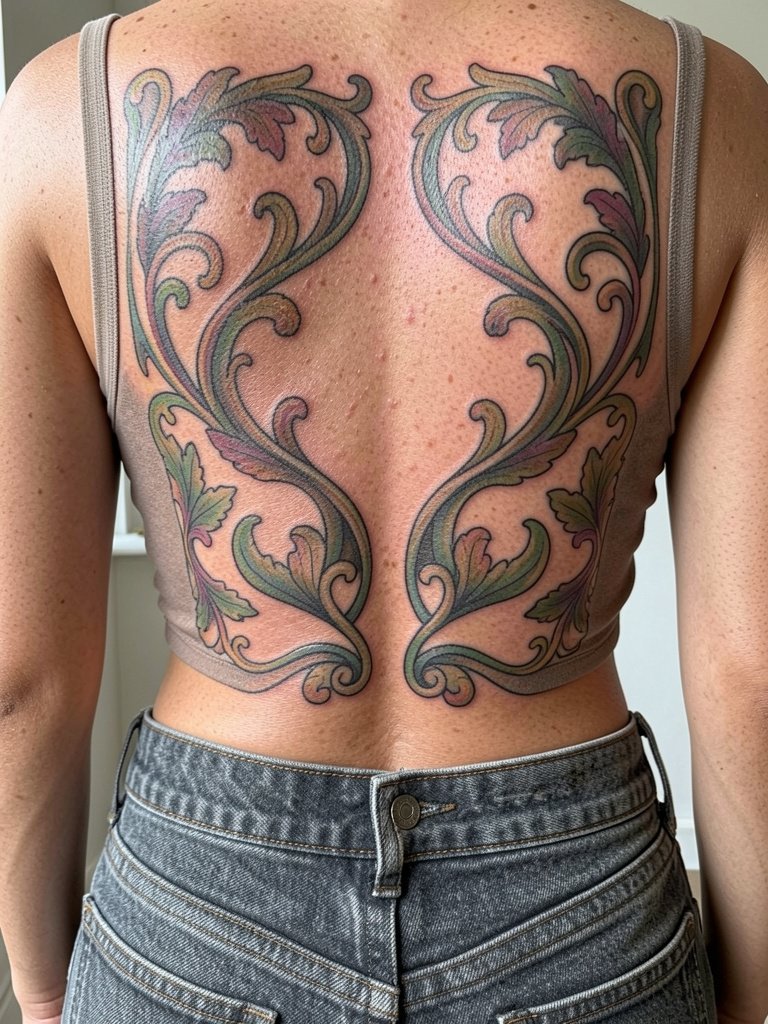
Art Nouveau relies on graceful line flow that complements shoulder curves. Ask for full-body mockups that overlay the pattern on photos so you can confirm how lines sit at the scapulae. A common error is adding micro-detail inside flowing hairlines that later becomes visual noise. Sessions will focus on long, continuous strokes and layered color glazing. For the session wear a wide V-neck shirt so the artist can reach the upper connectors without fabric bunching.
18. Watercolor Landscape with Soft Washes
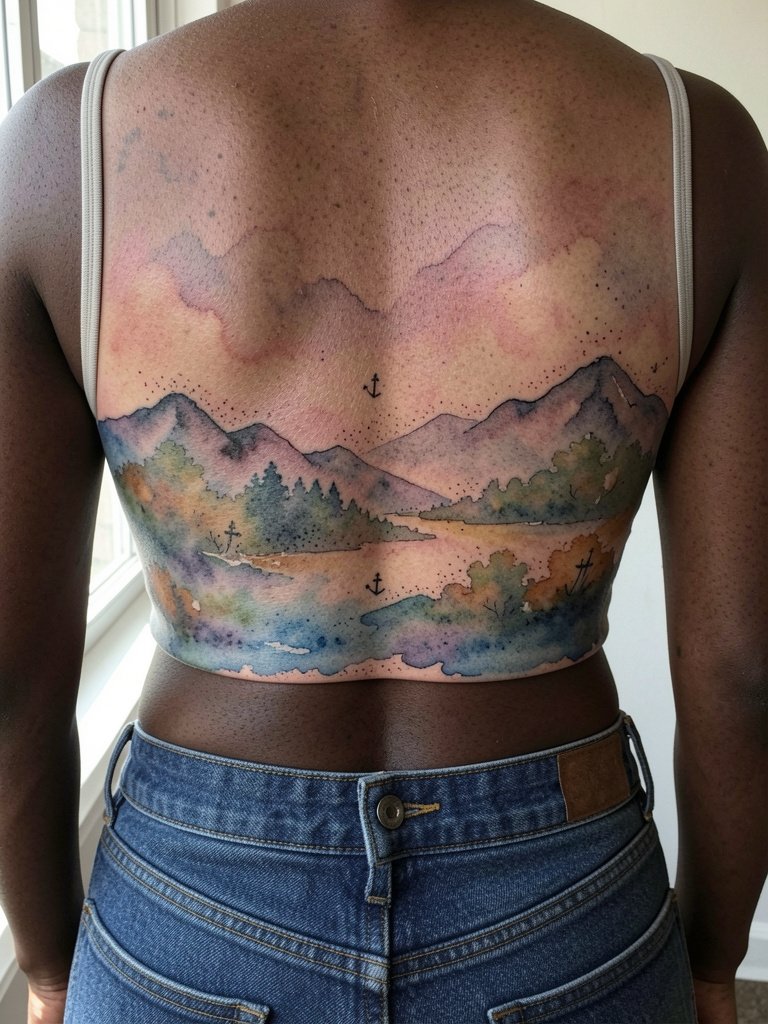
Watercolor pieces look beautiful fresh but they age differently than saturated blackwork. One camp of artists says watercolor techniques require heavier anchors to survive; another camp says careful soft shading and slightly stronger outer contours can preserve the look. If you choose watercolor, request healed examples at five years to understand how colors settle. A frequent mistake is excluding any black anchors, which makes color wash diffuse with time. For the session wear a loose tank top so you can change without rubbing the new ink.
19. Minimal Vertical Script Along the Spine
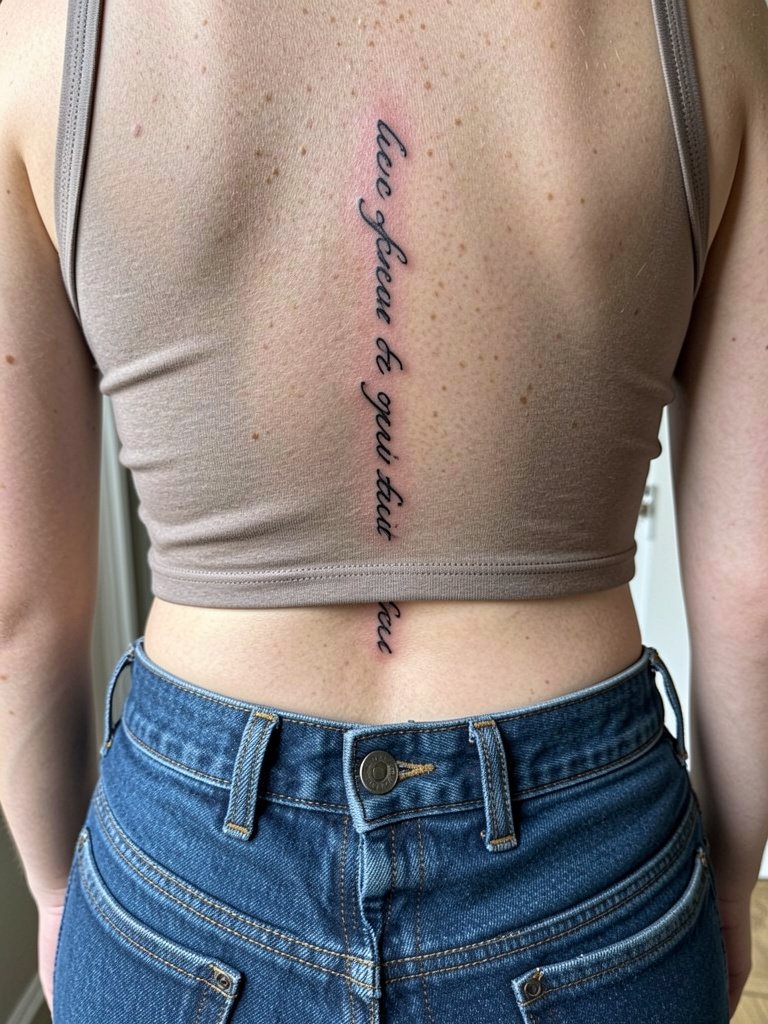
Script down the spine needs careful spacing. Provide the exact text you want and ask the artist to show it at multiple heights so letters do not sit under clothing lines. A common mistake is using extremely fine single-needle strokes without increased spacing, which leads to merging. Expect a quick outline session followed by a touch-up at six to twelve months. For session wear a [high ponytail or bun] so the nape remains exposed and the artist has a clear line of sight.
20. Cosmic Solar System Panel
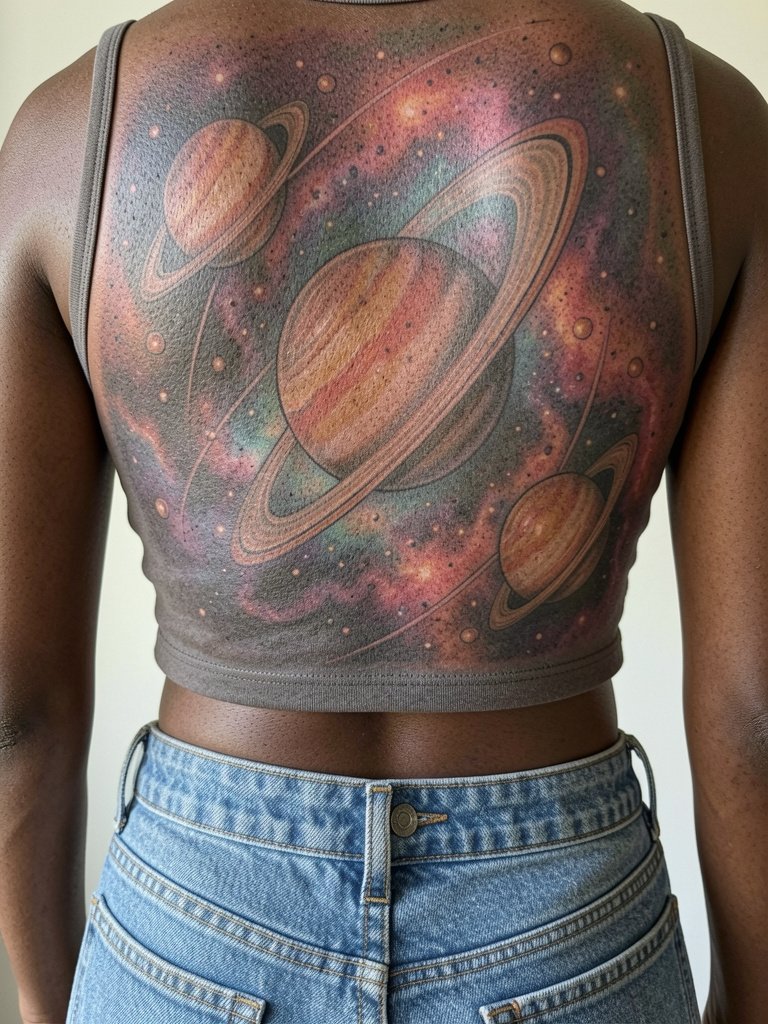
Celestial panels rely on contrast between crisp orbit lines and soft nebulas. Specify how big each planet should be so small round elements do not lose definition. A typical error is placing tiny moons that blur into dots with time. Sessions often split between detailed dot work and broader color washes. For showing the panel, a back-slit dress makes the spine arc visible.
21. Tree of Life with Root-to-Canopy Flow
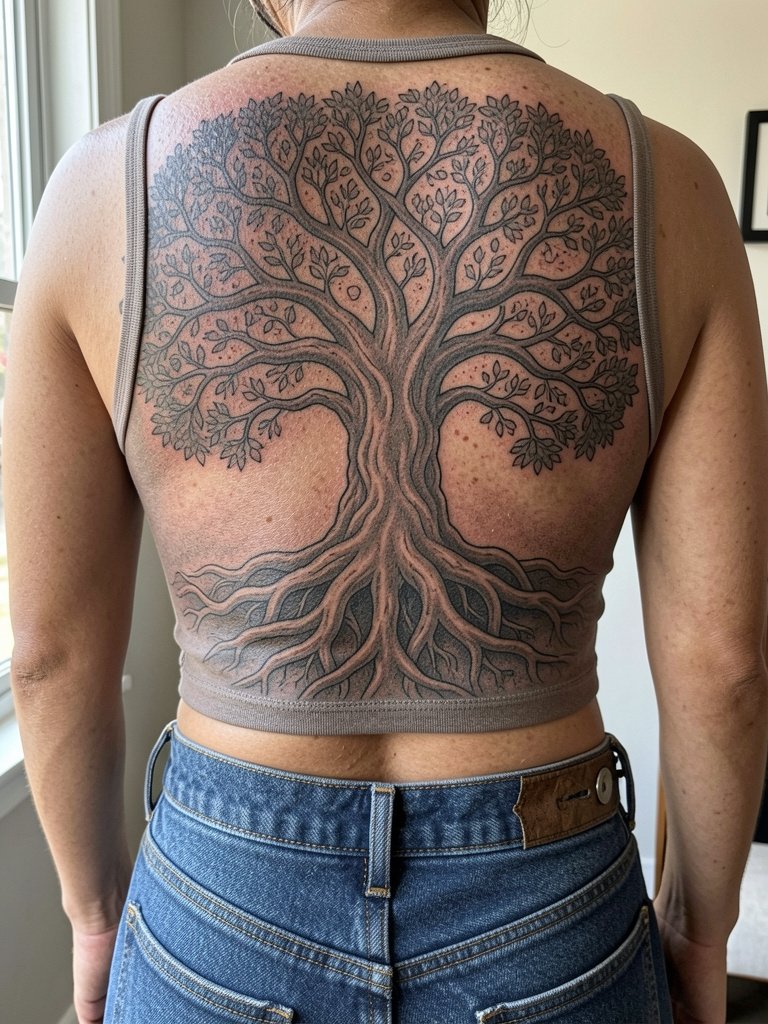
A tree composition works because roots and branches mirror back curvature. Ask the artist to map roots against your lumbar curve and the canopy to shoulder slope to maintain balance when you bend. A common issue is a heavy canopy that makes shoulders look top-heavy; balance this with lighter negative-space branches. Sessions will likely separate root work and canopy shading. For the session wear a [button-front shirt] so the artist can adjust your posture to test flow.
22. Stained-Glass Panel with Black Leadwork
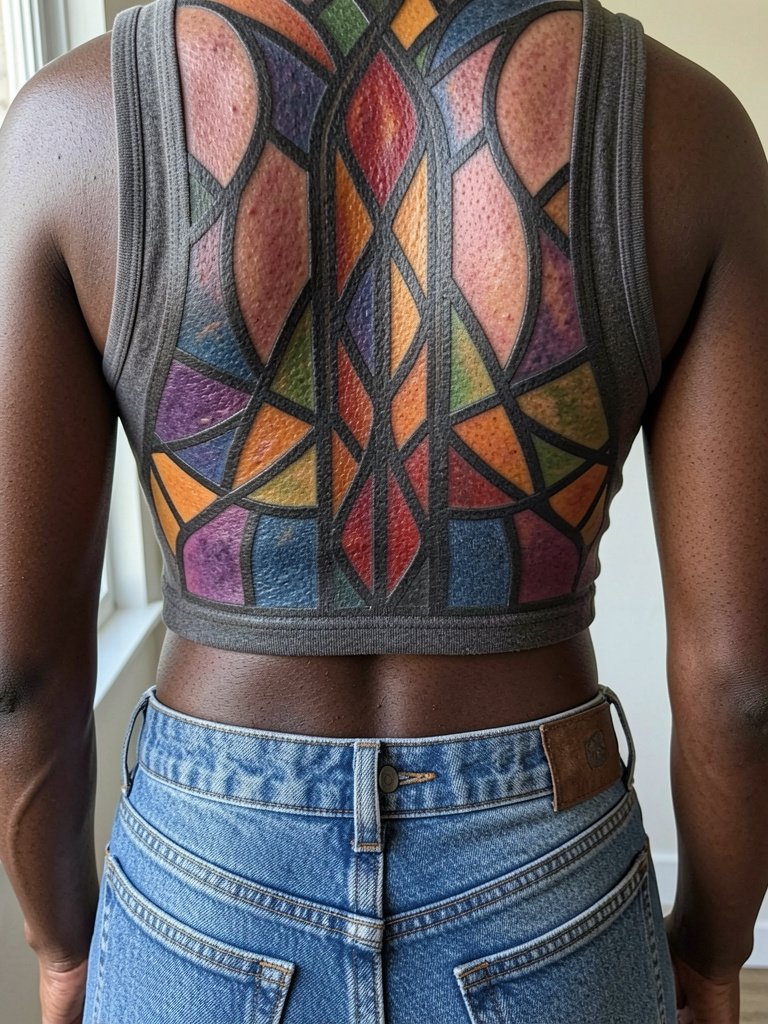
Stained-glass effects benefit from bold leadwork to keep colors separate as they age. Tell your artist which panes should be saturated and which should be muted to plan touch-ups. A mistake is relying on thin lead lines that later thin out. Expect large black passes followed by color fills. For showing this off, a backless evening top lets the color panes read.
23. Architectural Skyline Wrapped to the Sides
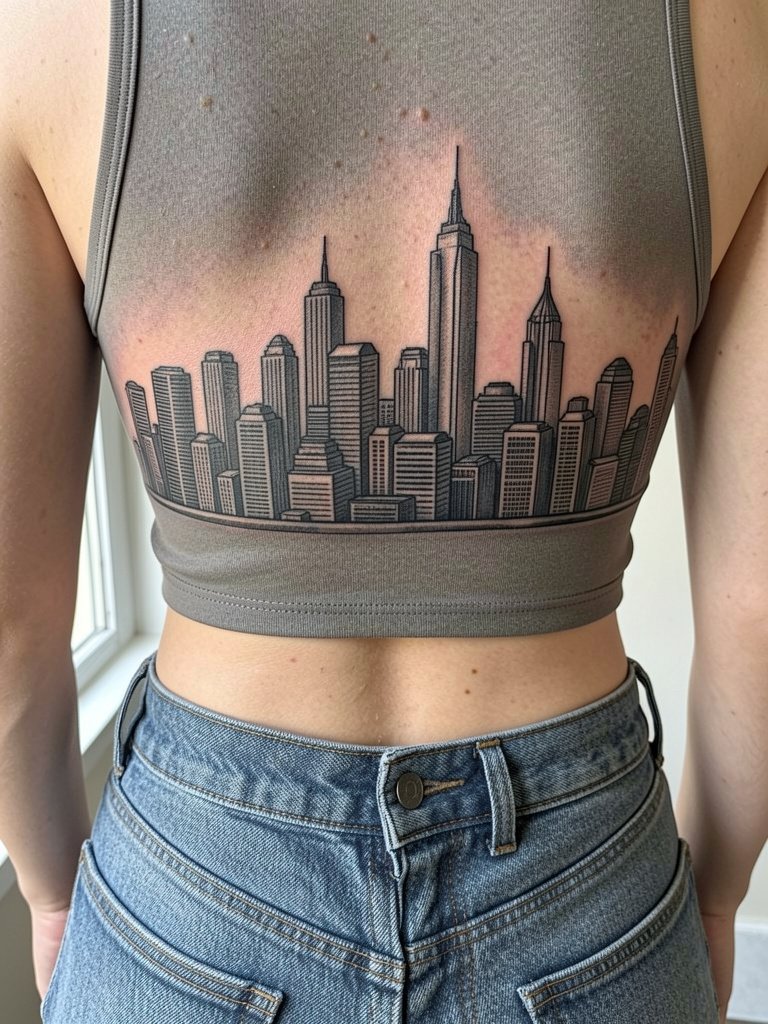
Architectural scenes need correct perspective to sit with body curves. Bring profile photos so the artist can curve horizon lines and buildings without distortion. A common problem is straight horizon lines that look skewed when the back moves. Expect long sessions for linework and then shading for depth. For the appointment wear [button-front shirts] you can remove without brushing the fresh ink.
24. Topographic Map or Contour Lines
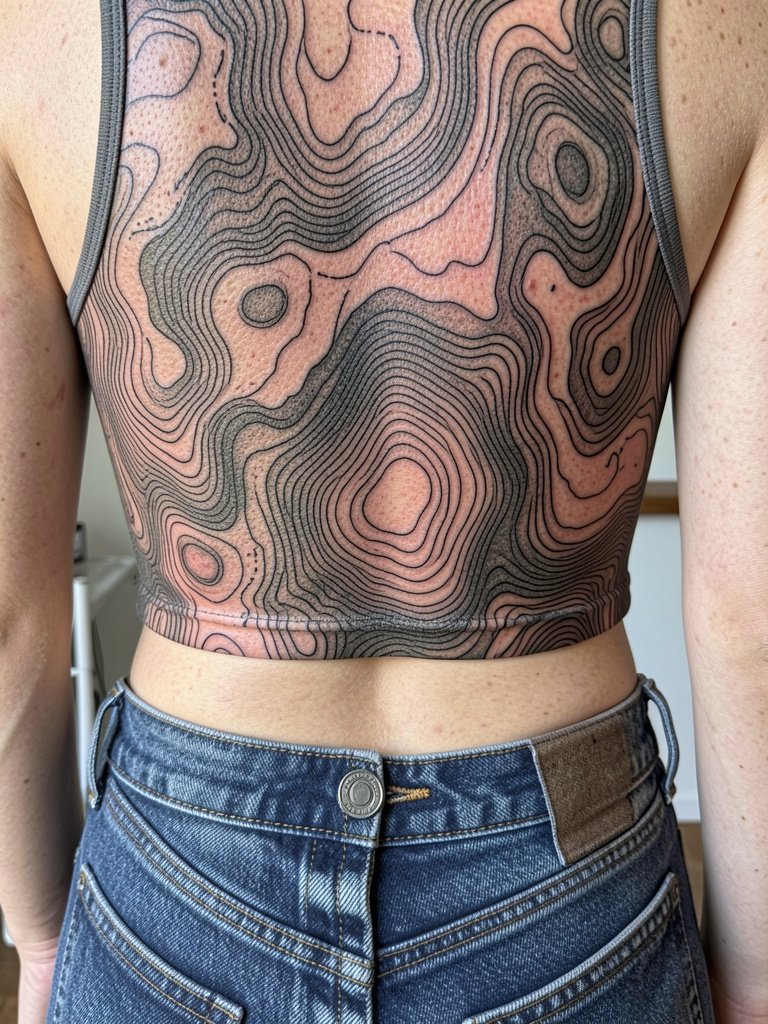
Contour-line maps need consistent spacing to maintain legibility. When booking, specify minimum line width so the ridgelines do not collapse visually. A typical mistake is using ultra-thin lines that disappear with skin settling. Sessions will emphasize measured, steady linework over speed. For showing off this subtle map, a scoop-neck top frames the central contours.
25. Nautical Ship and Ocean Scene
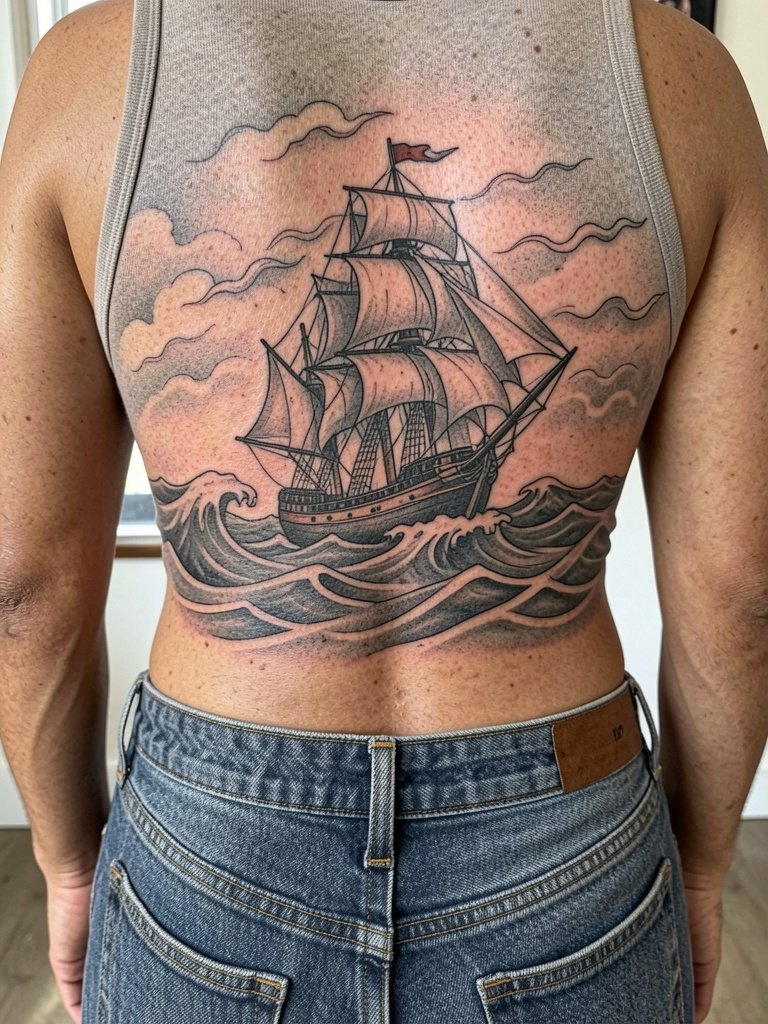
Nautical scenes pair well with bold horizon anchors and windbars that read at distance. Discuss how much sea detail you want near the lumbar to avoid having elements sit under waistlines. A common error is over-detailing small rigging that gets lost; focus on silhouette and wave motion. Sessions typically separate linework, black shading, and selective color fills. For the session wear drawstring shorts or loose pants so your clothing does not press the lower back.
26. Phoenix Rising Across the Back
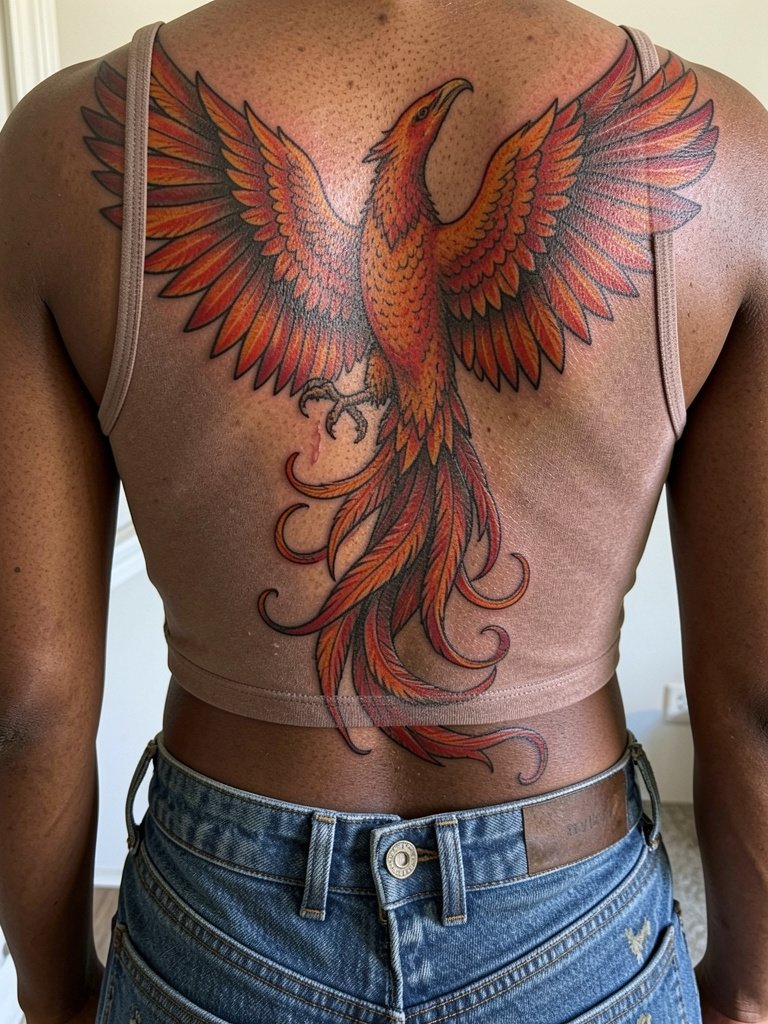
Phoenix compositions benefit from strong silhouette wings and flowing tails that follow the back curve. Make sure the artist sizes feather clusters so they remain defined as the back moves. A mistake is packing feathers too densely; allow airy tail feathers to prevent muddiness. Expect multiple color glaze sessions and at least one touch-up to refresh saturated reds. For display, a back-slit or open-back top highlights the wing span.
27. Abstract Negative-Space Collage
Abstract collages let you play with rhythm and rest areas, which helps with aging because the eye focuses on form rather than tiny detail. Discuss negative-space thresholds with the artist so black fields and skin gaps preserve contrast over time. A common mistake is overcomplicating shapes that look muddled after healing. Sessions usually alternate between large fill blocks and clean edgework. For the session wear a zip hoodie you can remove easily to avoid fabric pulling.
Frequently Asked Questions
Q: How many sessions does a true full back piece take?
A: It depends on detail and saturation, but typical full back pieces break into outline, shading, color, and a touch-up. A medium-detailed narrative panel can take four to eight sessions spread over months. Expect longer single sessions when artists are saturating large black backgrounds or laying glazes of color.
Q: How do I avoid a lower-back tattoo looking dated like early-2000s styles?
A: Modern lower-back work emphasizes symmetry, scale, and ornamental framing rather than tiny centered stickers. Choose mandalas, ornamental crests, or floral compositions with clean edges and ask for mockups at your waistband so the design sits intentionally above clothing lines.
Q: Where can I find portfolios and healed examples without naming specific artists?
A: Use hashtags like #backpiecetattoo, #fullbacktattoo, and #irezumiback on Instagram and TikTok with a location filter. Browse directory sites with portfolio search terms such as "full back piece" and read Reddit threads for healed progression photos. Look specifically for healed images that match your skin tone and similar scale before booking.
Q: Do fine-line spine designs hold up on the back?
A: Fine-line spine designs can hold up if spacing and needle depth are adjusted for back skin. Ask for slightly increased letter spacing or line weight and request healed photos from the artist at one- to three-year marks to confirm how similar work aged.
Q: What should I wear to a full back tattoo appointment?
A: Choose clothing that gives full access without removing too much. Button-front shirts, loose tanks, or zip hoodies work well. If the piece hits the lower back, wear loose drawstring bottoms to avoid waistband pressure. Bringing a hair tie helps with nape and upper-back work.
Q: When will I need a touch-up on a full back piece?
A: Many large pieces benefit from a touch-up around the one-year mark, especially where saturation was light or skin movement affected detail. Black-saturated backgrounds typically need less frequent touch-up than delicate fine-line areas. Follow the artist's specific guidance on timing.
