

Sketching tattoo designs doesn’t start with talent—it starts with structure. Whether you’re a beginner dreaming of becoming a tattoo artist or someone who just loves creating minimalist tattoo ideas, there’s a simple, repeatable process that makes your sketches cleaner, sharper, and more professional. And the best part? You don’t need fancy tools—just paper, a pencil, and the right techniques.
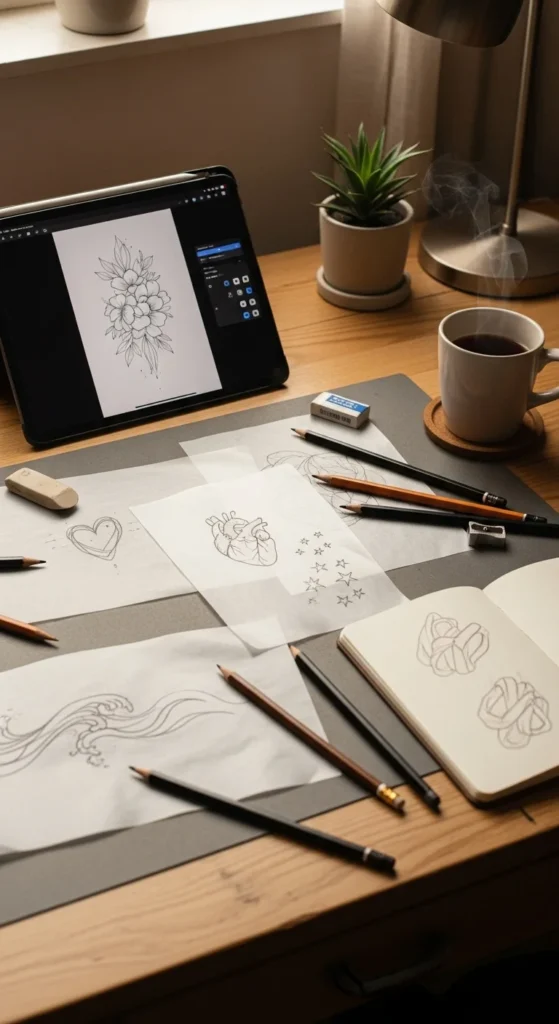
Let’s walk through a beginner-friendly, highly effective method inspired by real tattoo-artist workflows, trending motifs, and expert techniques.
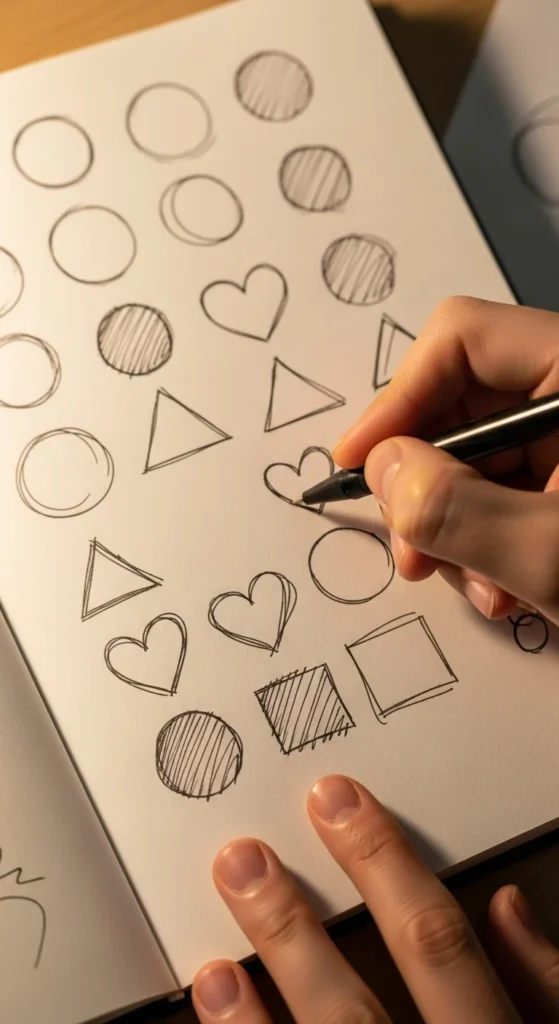
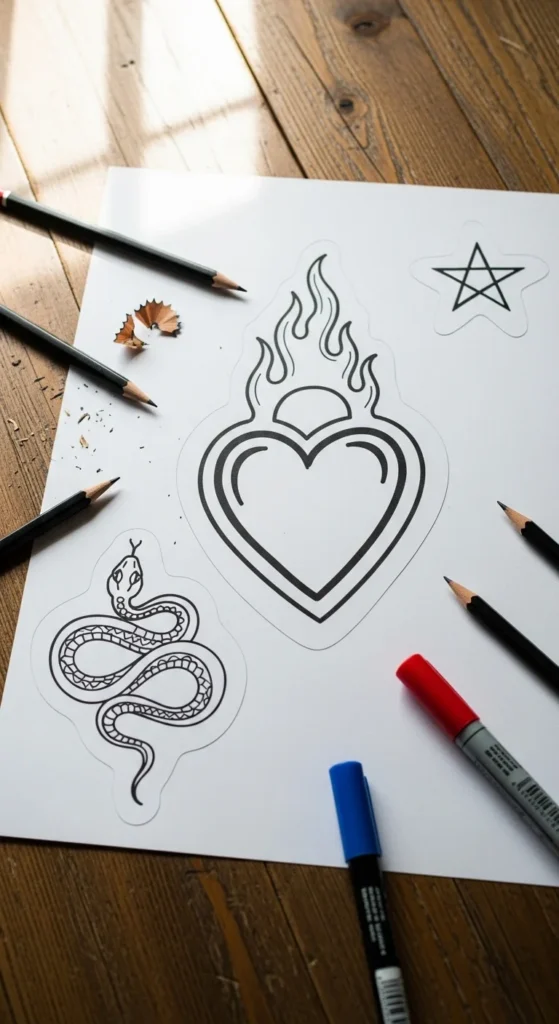
Step 1: Warm Up With Basic Shapes & Simple Motifs
Before you jump into drawing hearts, suns, snakes, or flames, warm up your hand. Tattoo artists almost always start with simple drills.
- Draw circles (big + tiny)
- Practice straight lines (long + short)
- Create cross-hatching patterns
- Sketch tiny hearts, stars, or waves repeatedly
These warm-ups improve line control, steadiness, and confidence.
Next, break every tattoo design into basic shapes—the foundation of clean proportions.
Examples:
- Flowers → circles + ovals
- Flames → curved S-lines + triangles
- Skulls → ovals + rectangles
- Hearts → two circles + a V shape
This method appears everywhere in tattoo tutorials because it works.
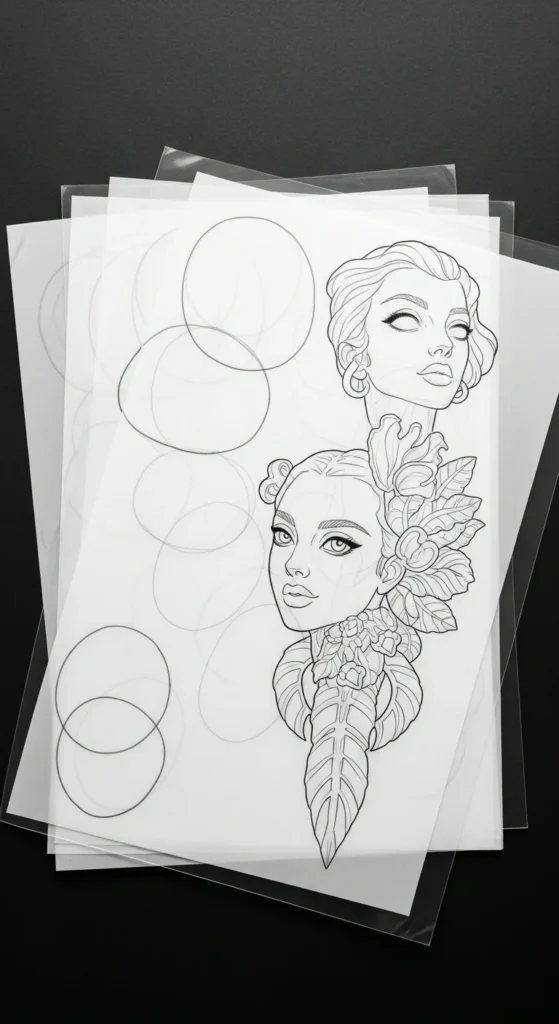
Step 2: Use Layering & Tracing Paper (The Game-Changer for Beginners)
If there’s one pro technique that instantly improves your sketches, it’s layering.
Tattoo artists build designs in multiple stages:
- Basic shapes
- Details
- Outlines
- Shading or line-weight adjustments
Using tracing paper makes these stages effortless. Instead of erasing and redrawing, you simply add a new sheet on top.
Why tracing paper wins:
- Helps beginners stay proportional
- Lets you fix mistakes without ruining earlier work
- Makes your final stencil crisp and reusable
- Mimics the digital layer system used in Procreate
It’s literally the “4-Step Sketching Blueprint” the pros swear by.
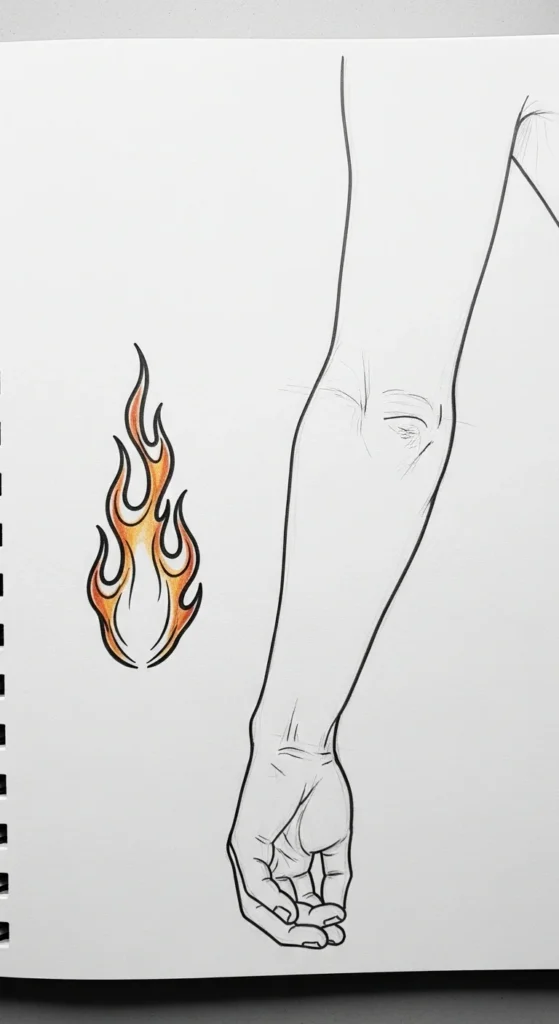
Step 3: Consider Body Flow Before Finalizing Your Sketch
A tattoo isn’t just a drawing—it’s a drawing for the body. That means it must follow the shape, curves, and movement of skin.
This is where beginners usually struggle.
Before you finalize your sketch, place it next to a simple outline of:
- A wrist
- An ankle
- A forearm
- A shoulder
Then ask:
- Does the design wrap naturally?
- Is the detail level appropriate for the placement?
- Will the lines remain readable as the tattoo ages?
Small body areas demand minimal detail, while curved areas (like calves or ribs) benefit from flowing lines.
Trending motifs that work well with body flow:
- Waves that wrap the wrist
- Flames curving around the ankle
- Snakes following the forearm muscles
- American Traditional stars sitting neatly on flat areas
Step 4: Build Clean Line Work With Bold + Thin Line Variation
Line work is the soul of simple tattoo designs.
Here are the rules artists follow:
Use thick + thin lines
- Thick lines = outer structure
- Thin lines = detail, inner texture
This creates contrast and depth without adding shading.
Master negative space
Minimalist tattoos rely on empty space as part of the design:
- Suns made with outlines only
- Waves drawn with simple curves
- Ghosts with no shading
- Dragons outlined with flowing curves
Keep symmetry in check
For hearts, stars, and smiley faces, draw guidelines to keep both halves even.
Follow the “Bold Will Hold” mantra
If your line is too thin, it will blur over time. Make intentional, confident strokes.
Step 5: Add Light Details or Keep It Ultra-Minimal
Now that your line work structure is clean, decide how much detail you want.
Trending approaches:
- Minimalist line tattoos (hearts, suns, waves)
- Traditional mini motifs (bold-lined stars, roses, flames)
- Cartoon fillers (tiny ghosts, SpongeBob-style faces)
- No-shading designs (dragons, snakes, skulls)
If you do add shading, keep it light:
- Cross-hatching
- Dot shading
- Soft pencil gradients
Just remember: small tattoos lose detail fast—simplicity = longevity.
Step 6: Create a Clean Stencil (Like Real Tattoo Artists Do)
Once the sketch feels right, turn it into a reusable stencil.
How?
- Retrace your final lines with a fine-liner or dark marker
- Photocopy the design for crisp edges
- Digitize it in Procreate for resizing
- Store it as part of your “flash sheet” collection
Many artists build entire portfolios using this technique.
Step 7: Practice on Fake Skin or Digital Mockups
Before inking real skin, pros practice repeatedly on:
- Practice skins (perfect for stars, suns, skulls, and roses)
- Printable arm/leg templates
- Procreate body mockups
Practice skins help you perfect:
- Line steadiness
- Curve consistency
- Pressure control
- Line-weight variation
Try repeating a single design (like a heart or star) 10–20 times. You’ll see progress instantly.
Step 8: Save References & Build Inspiration Boards
If you ever get stuck (artist’s block is real), create a reference folder using:
- Unsplash
- YouTube tutorials
- Digital sketch apps
Look for:
- Minimalist heart variations
- Suns, waves, and flames
- Traditional mini tattoos
- Cartoon-style fillers
- Simple dragons and snakes
Studying real examples sharpens your eye and speeds up your sketching workflow.
Final Takeaway
Sketching simple tattoo designs isn’t about perfection—it’s about process. Build your shapes, layer your sketches, consider body flow, master line work, and keep practicing on templates or fake skin. With every sketch, your confidence grows.
✨ Save this guide for your next sketch session—and start your own mini flash sheet today!
